|
Pocket Nappy with Snaps
Click on any image for
larger version Requirements: 1
nappy cut of PUL 1 nappy cut of suedecloth or fleece Ballpoint sewing needle 100% polyester thread Elastic, 6mm wide (swimwear or lastin) Resin plastic snaps, 16 sockets, 20 caps, 4
studs |
||
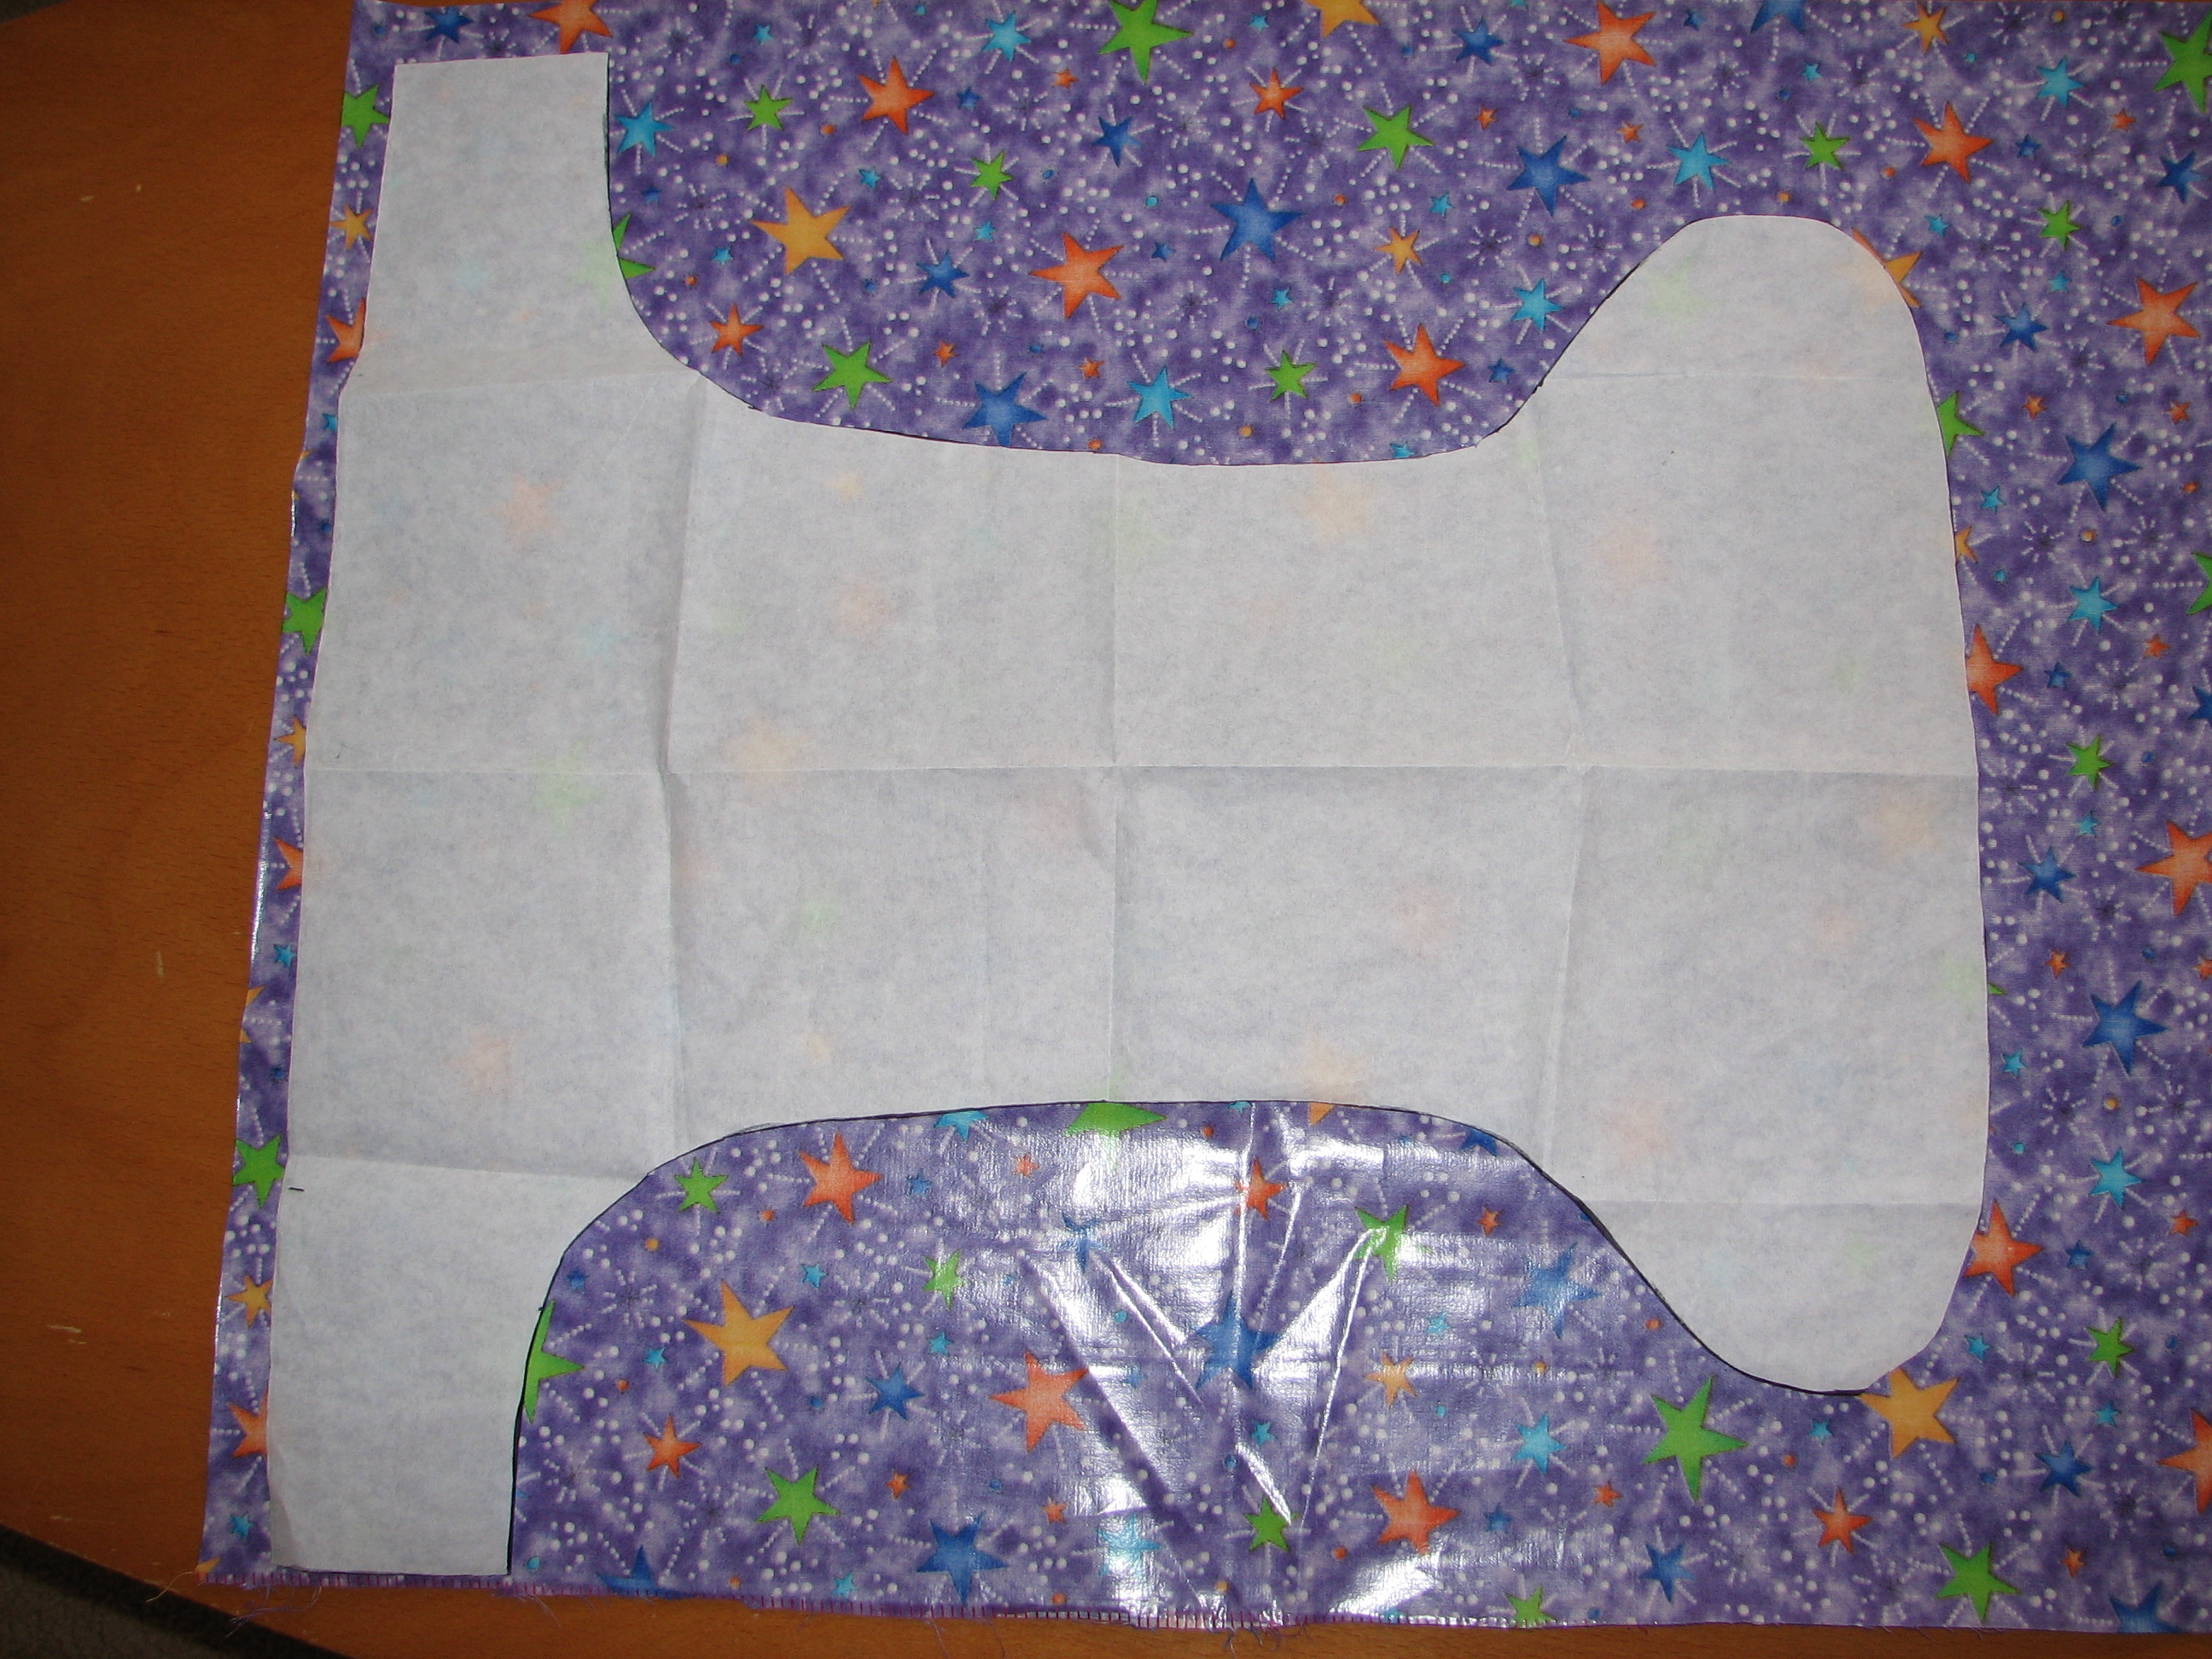
Step 1
Lay PUL material laminate side up, and position paper pattern.
|
|
|
Step 2
Trace exactly around the pattern with pen or texta, marking elastic lines and pocket opening. Cut out, keeping scrap pieces of PUL. |
|
|
|
Step 3 Lay out the
suede (or fleece) wrong side up, and position the paper pattern. If you can, have the greater stretch going
side to side rather than lengthways, but it doesn’t really matter if you
can’t (suedecloth doesn’t stretch much anyway). |
||
|
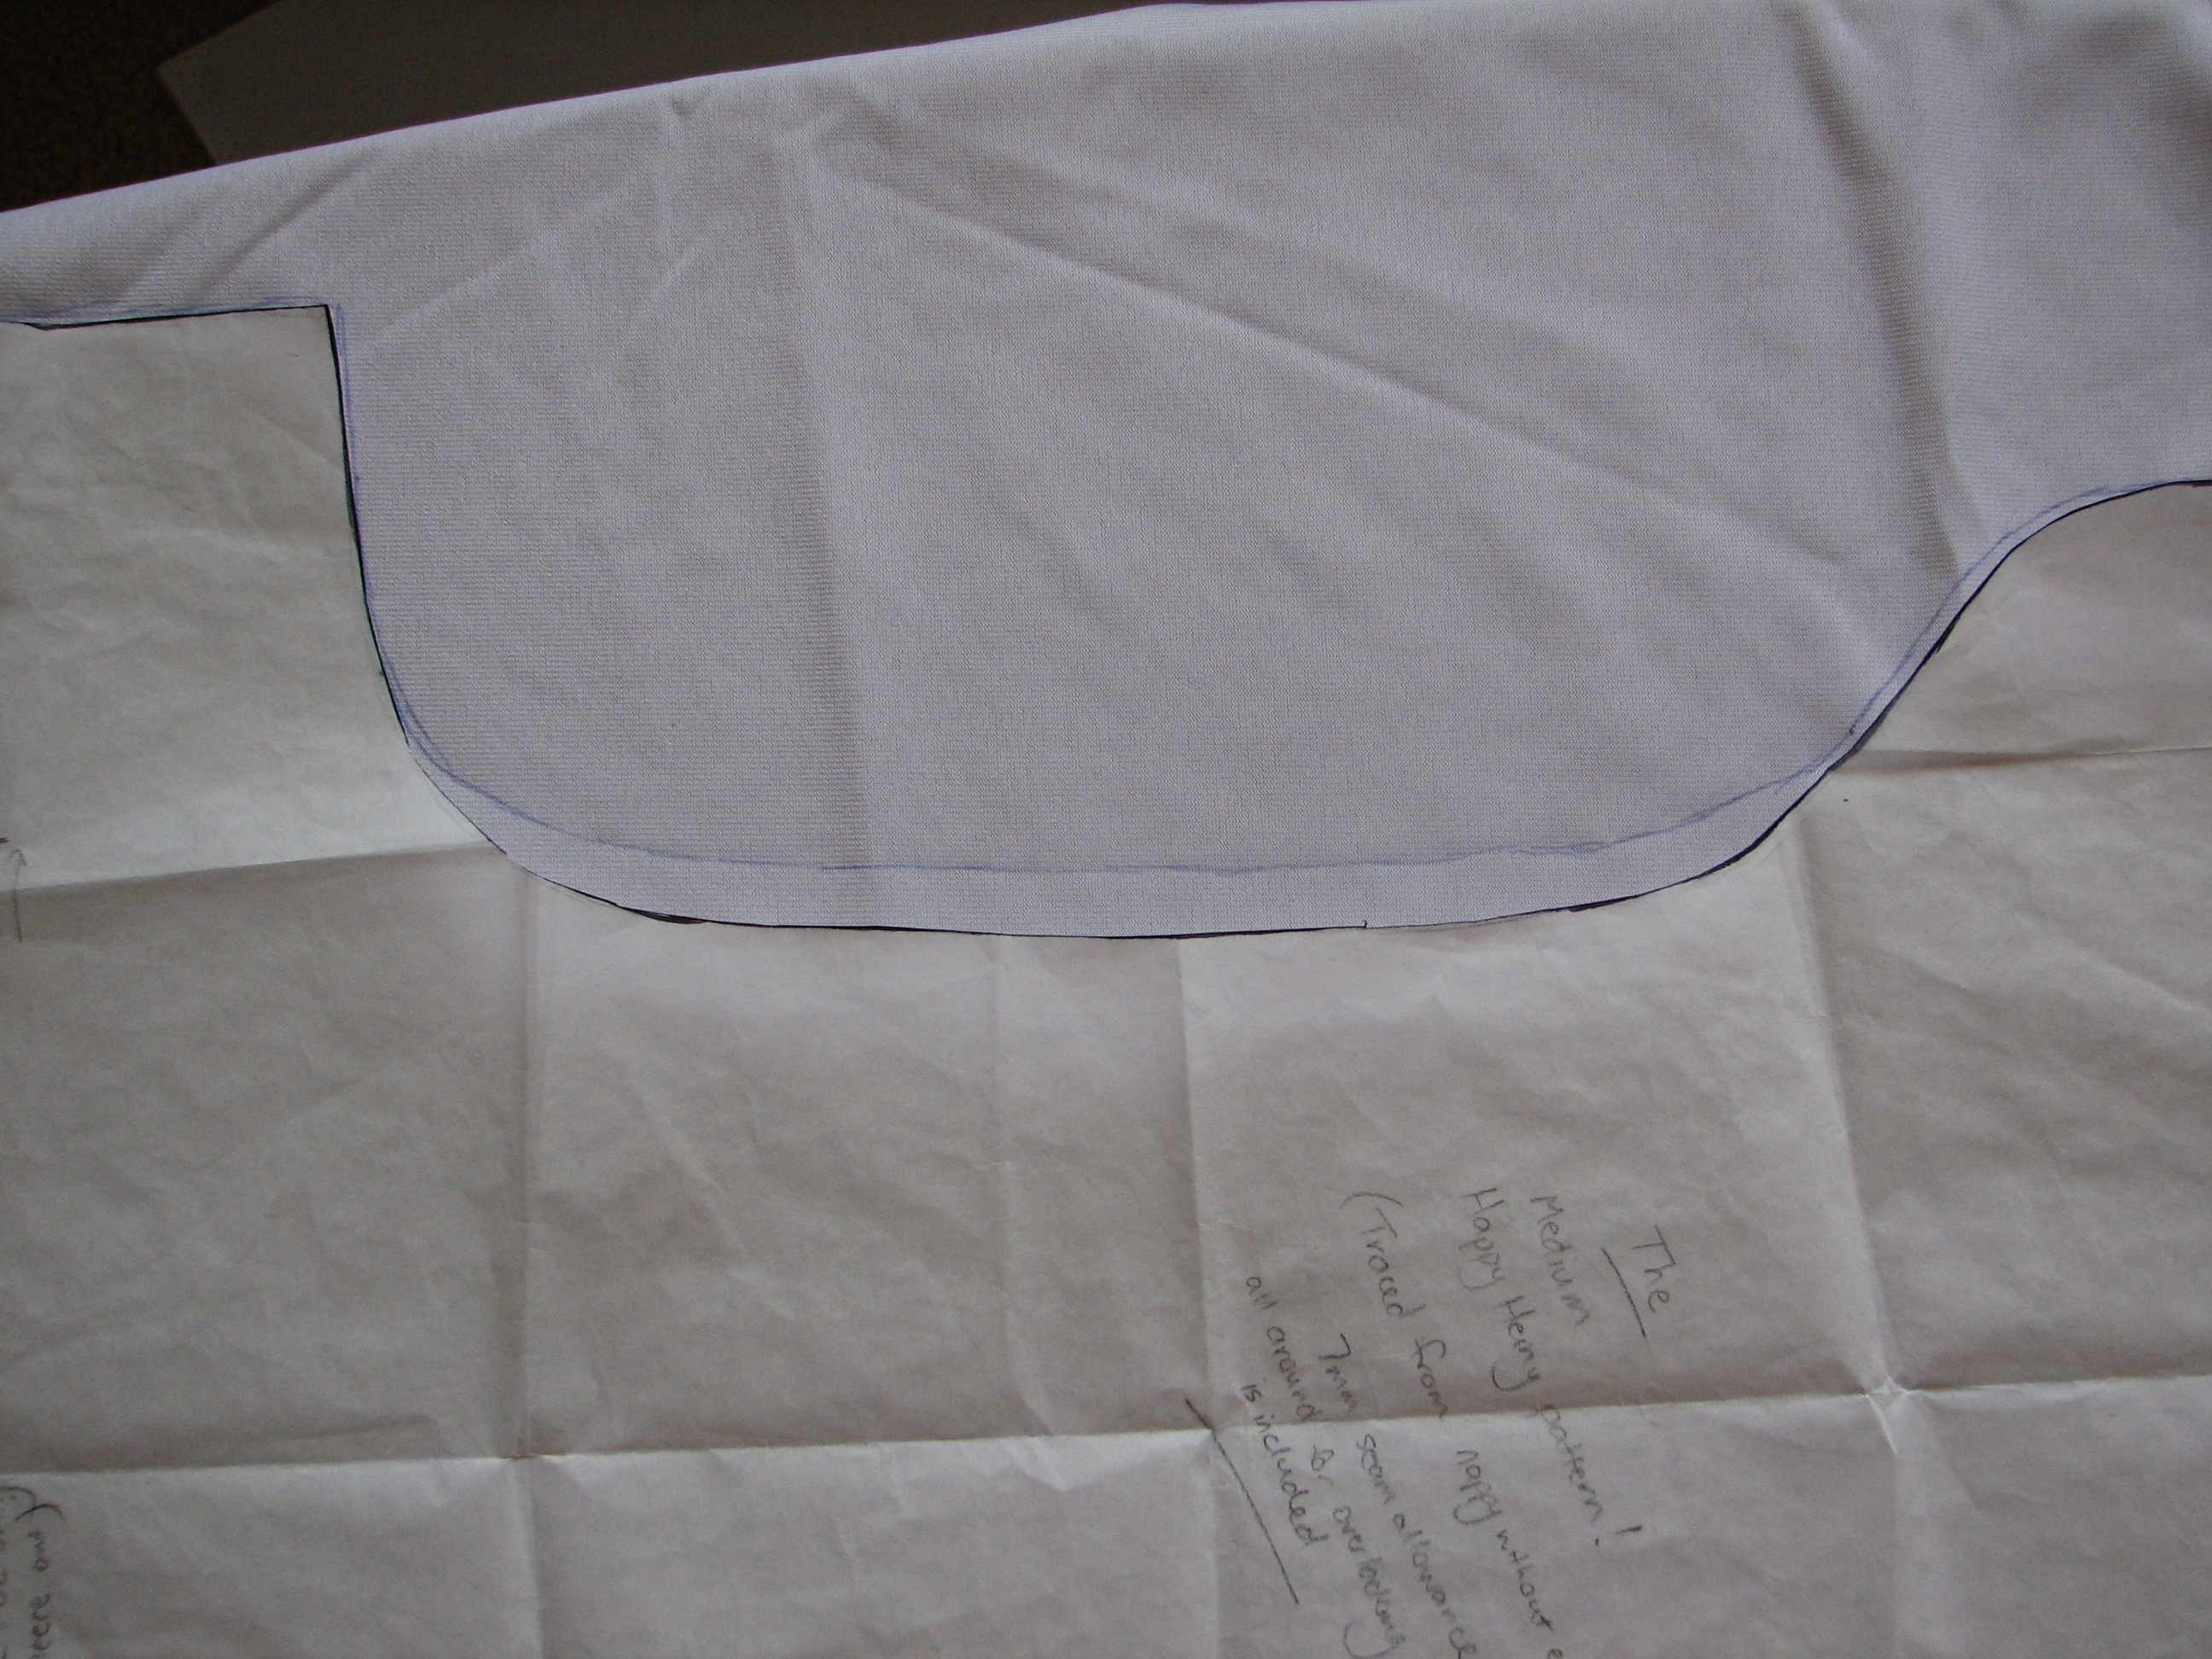
Step 4 Trace the paper pattern with a pen or pencil (or non-bleeding texta) exactly, except for the crotch. Here, bring your cutting line out about 2cm. This will allow the suede to roll out in the finished nappy, protecting bub’s legs from the PUL and to help reduce wicking. |
This photo shows the cutting line on the suede, adding the extra 2cm width around the crotch. |
After cutting, the suede cloth should be flush with the PUL except around the crotch. |
|
Step 5 Put PUL and suede pieces right sides together, and overlock edges on front section only, between the front elastic marks. |
|
|
|
Step 6 On the material side of the PUL waist section, fold it in half and mark this halfway point with a disappearing marker pen. Then 1cm either side of the halfway line and about 2.5cm down from the top edge, mark a dot. Going in a straight line 2.5cm from the top, mark 3 more dots on both sides, 2.5cm apart. Then mark dots 4cm directly below those 8 dots. These are the points where the snap sockets/caps will go. |
Fold
the material side in half and mark the halfway line with something that will
wash off
The
8 marks on the right represent the positioning for the snap sockets on the
front waist (left side) at 2.5cm intervals |
|
|
Step 7 From one of the
larger scraps of PUL, cut a rectangle about 8cm wide and 25cm long. This is to reinforce the snaps, so they
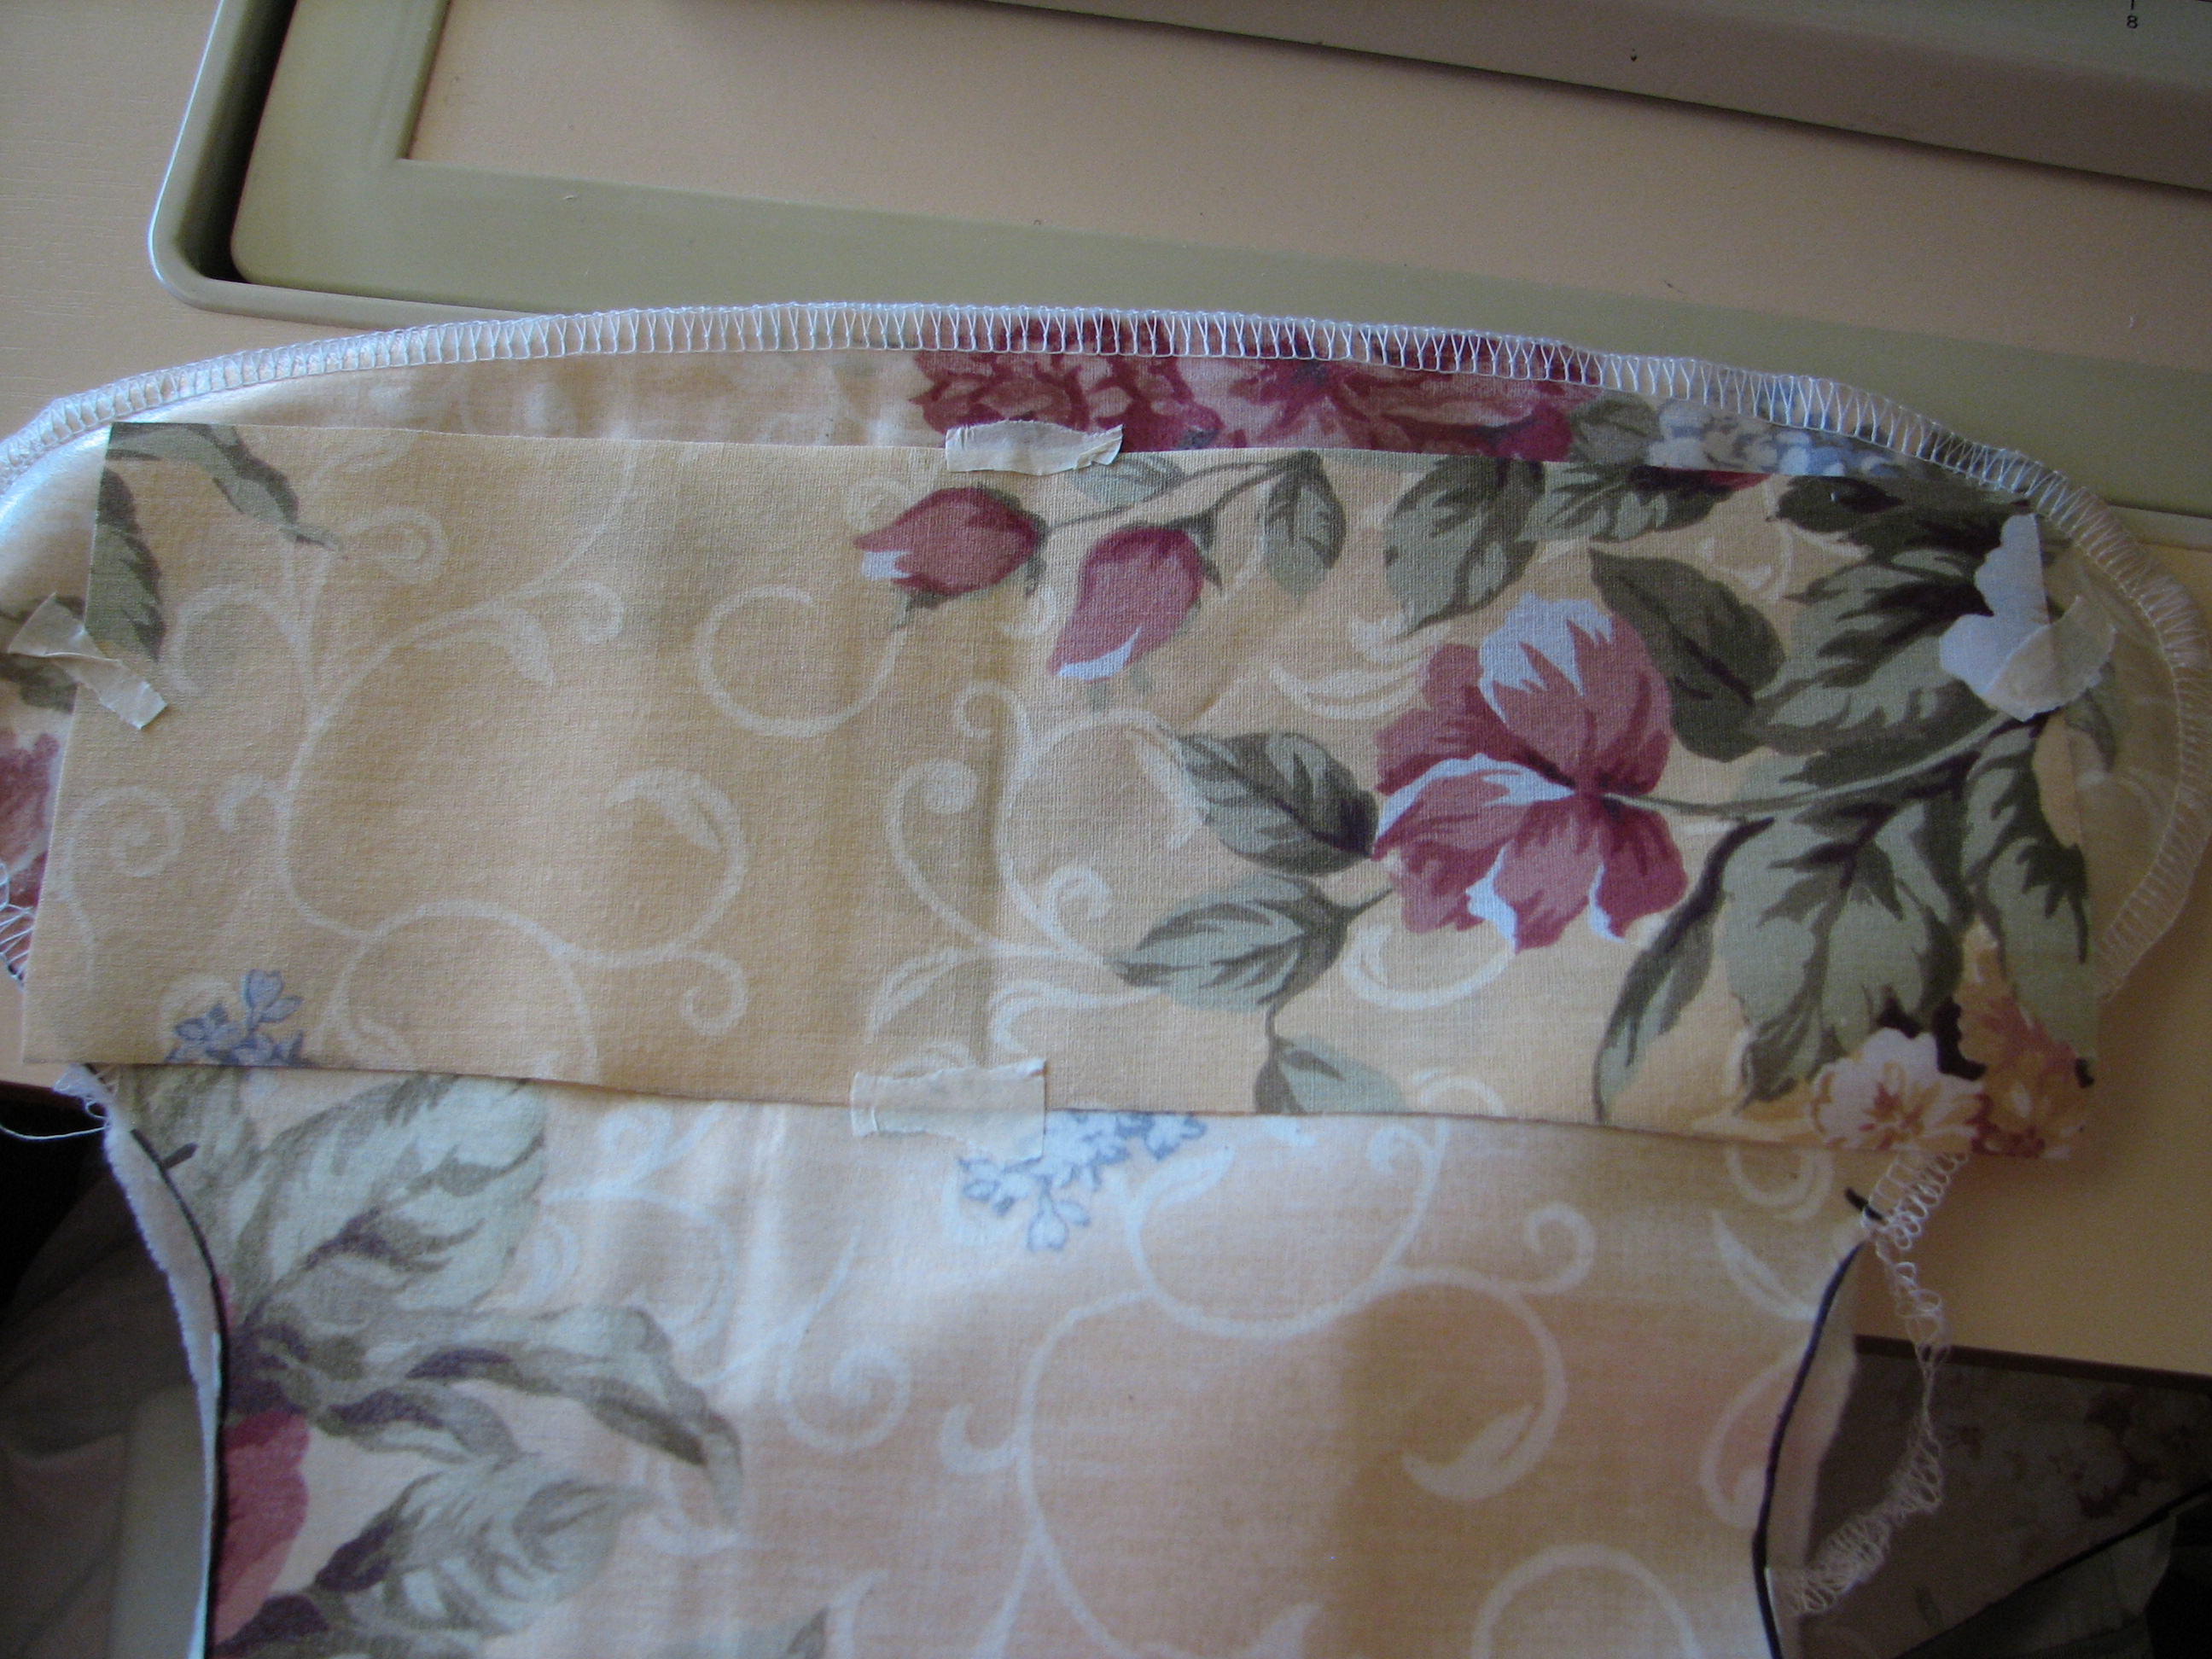
don’t pull straight through the material after a few uses. Use small pieces of masking tape to hold
the scrap PUL rectangle in place on the laminate side behind these dots. |
|
|
|
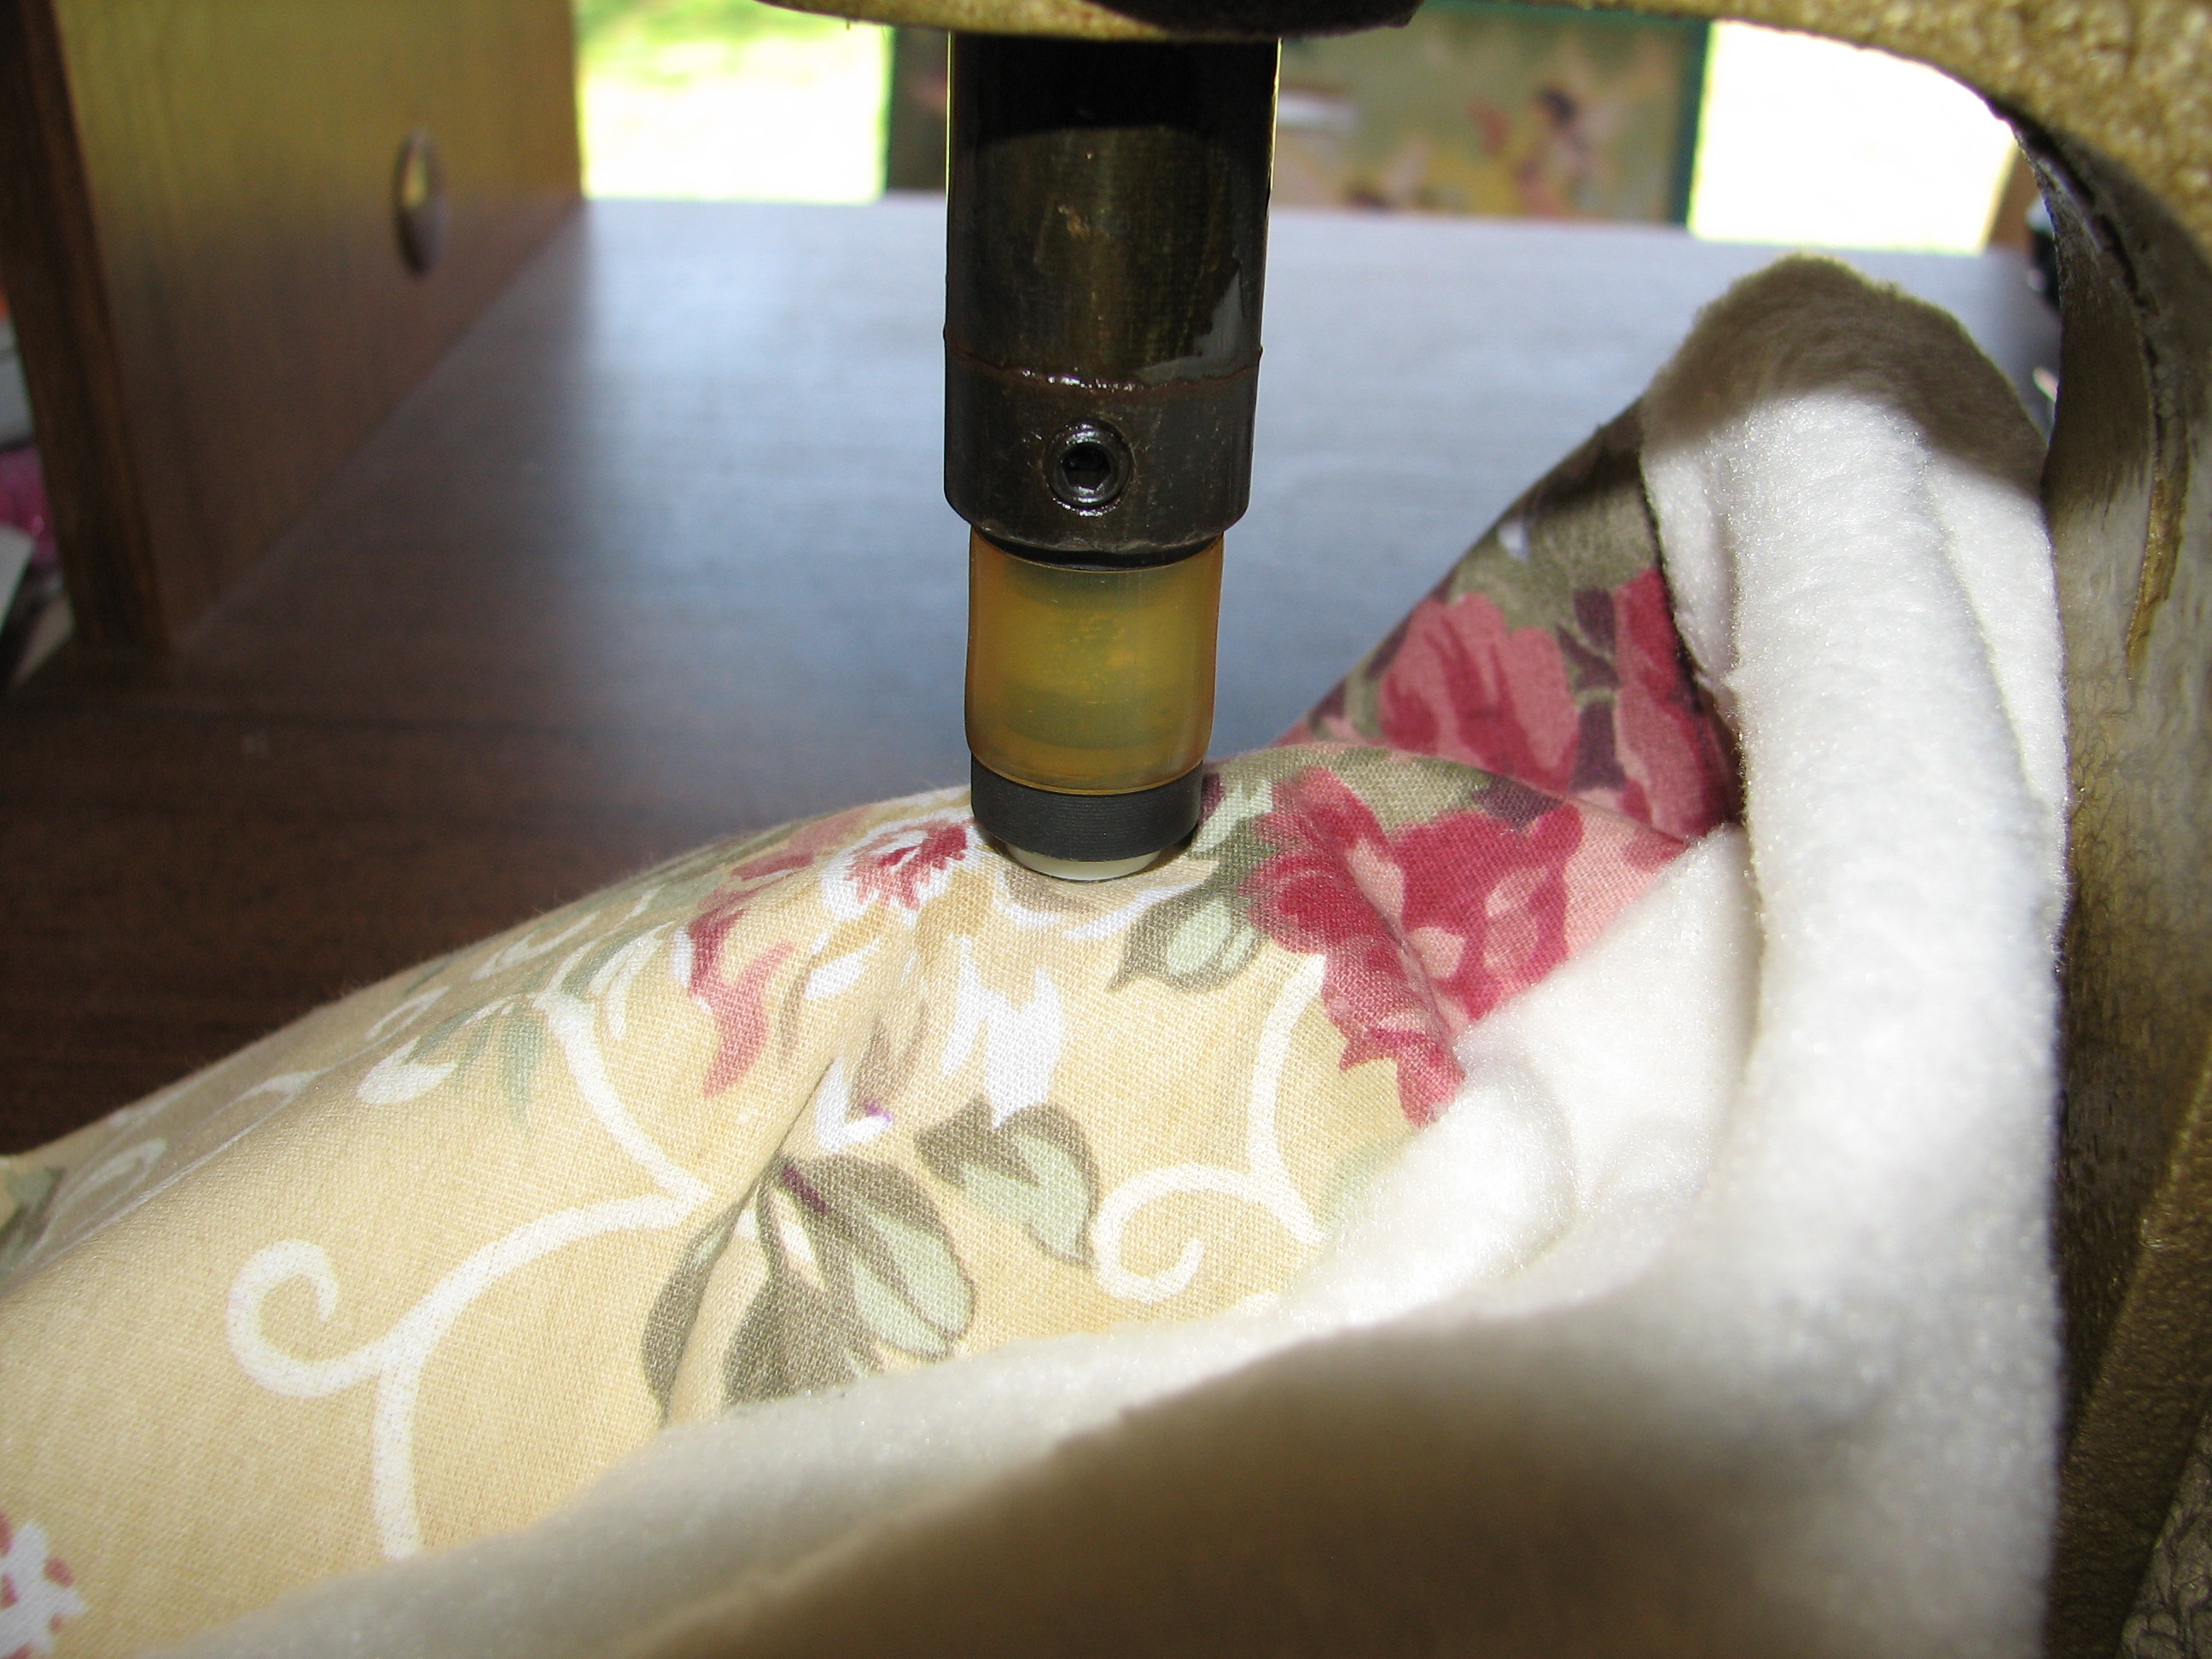
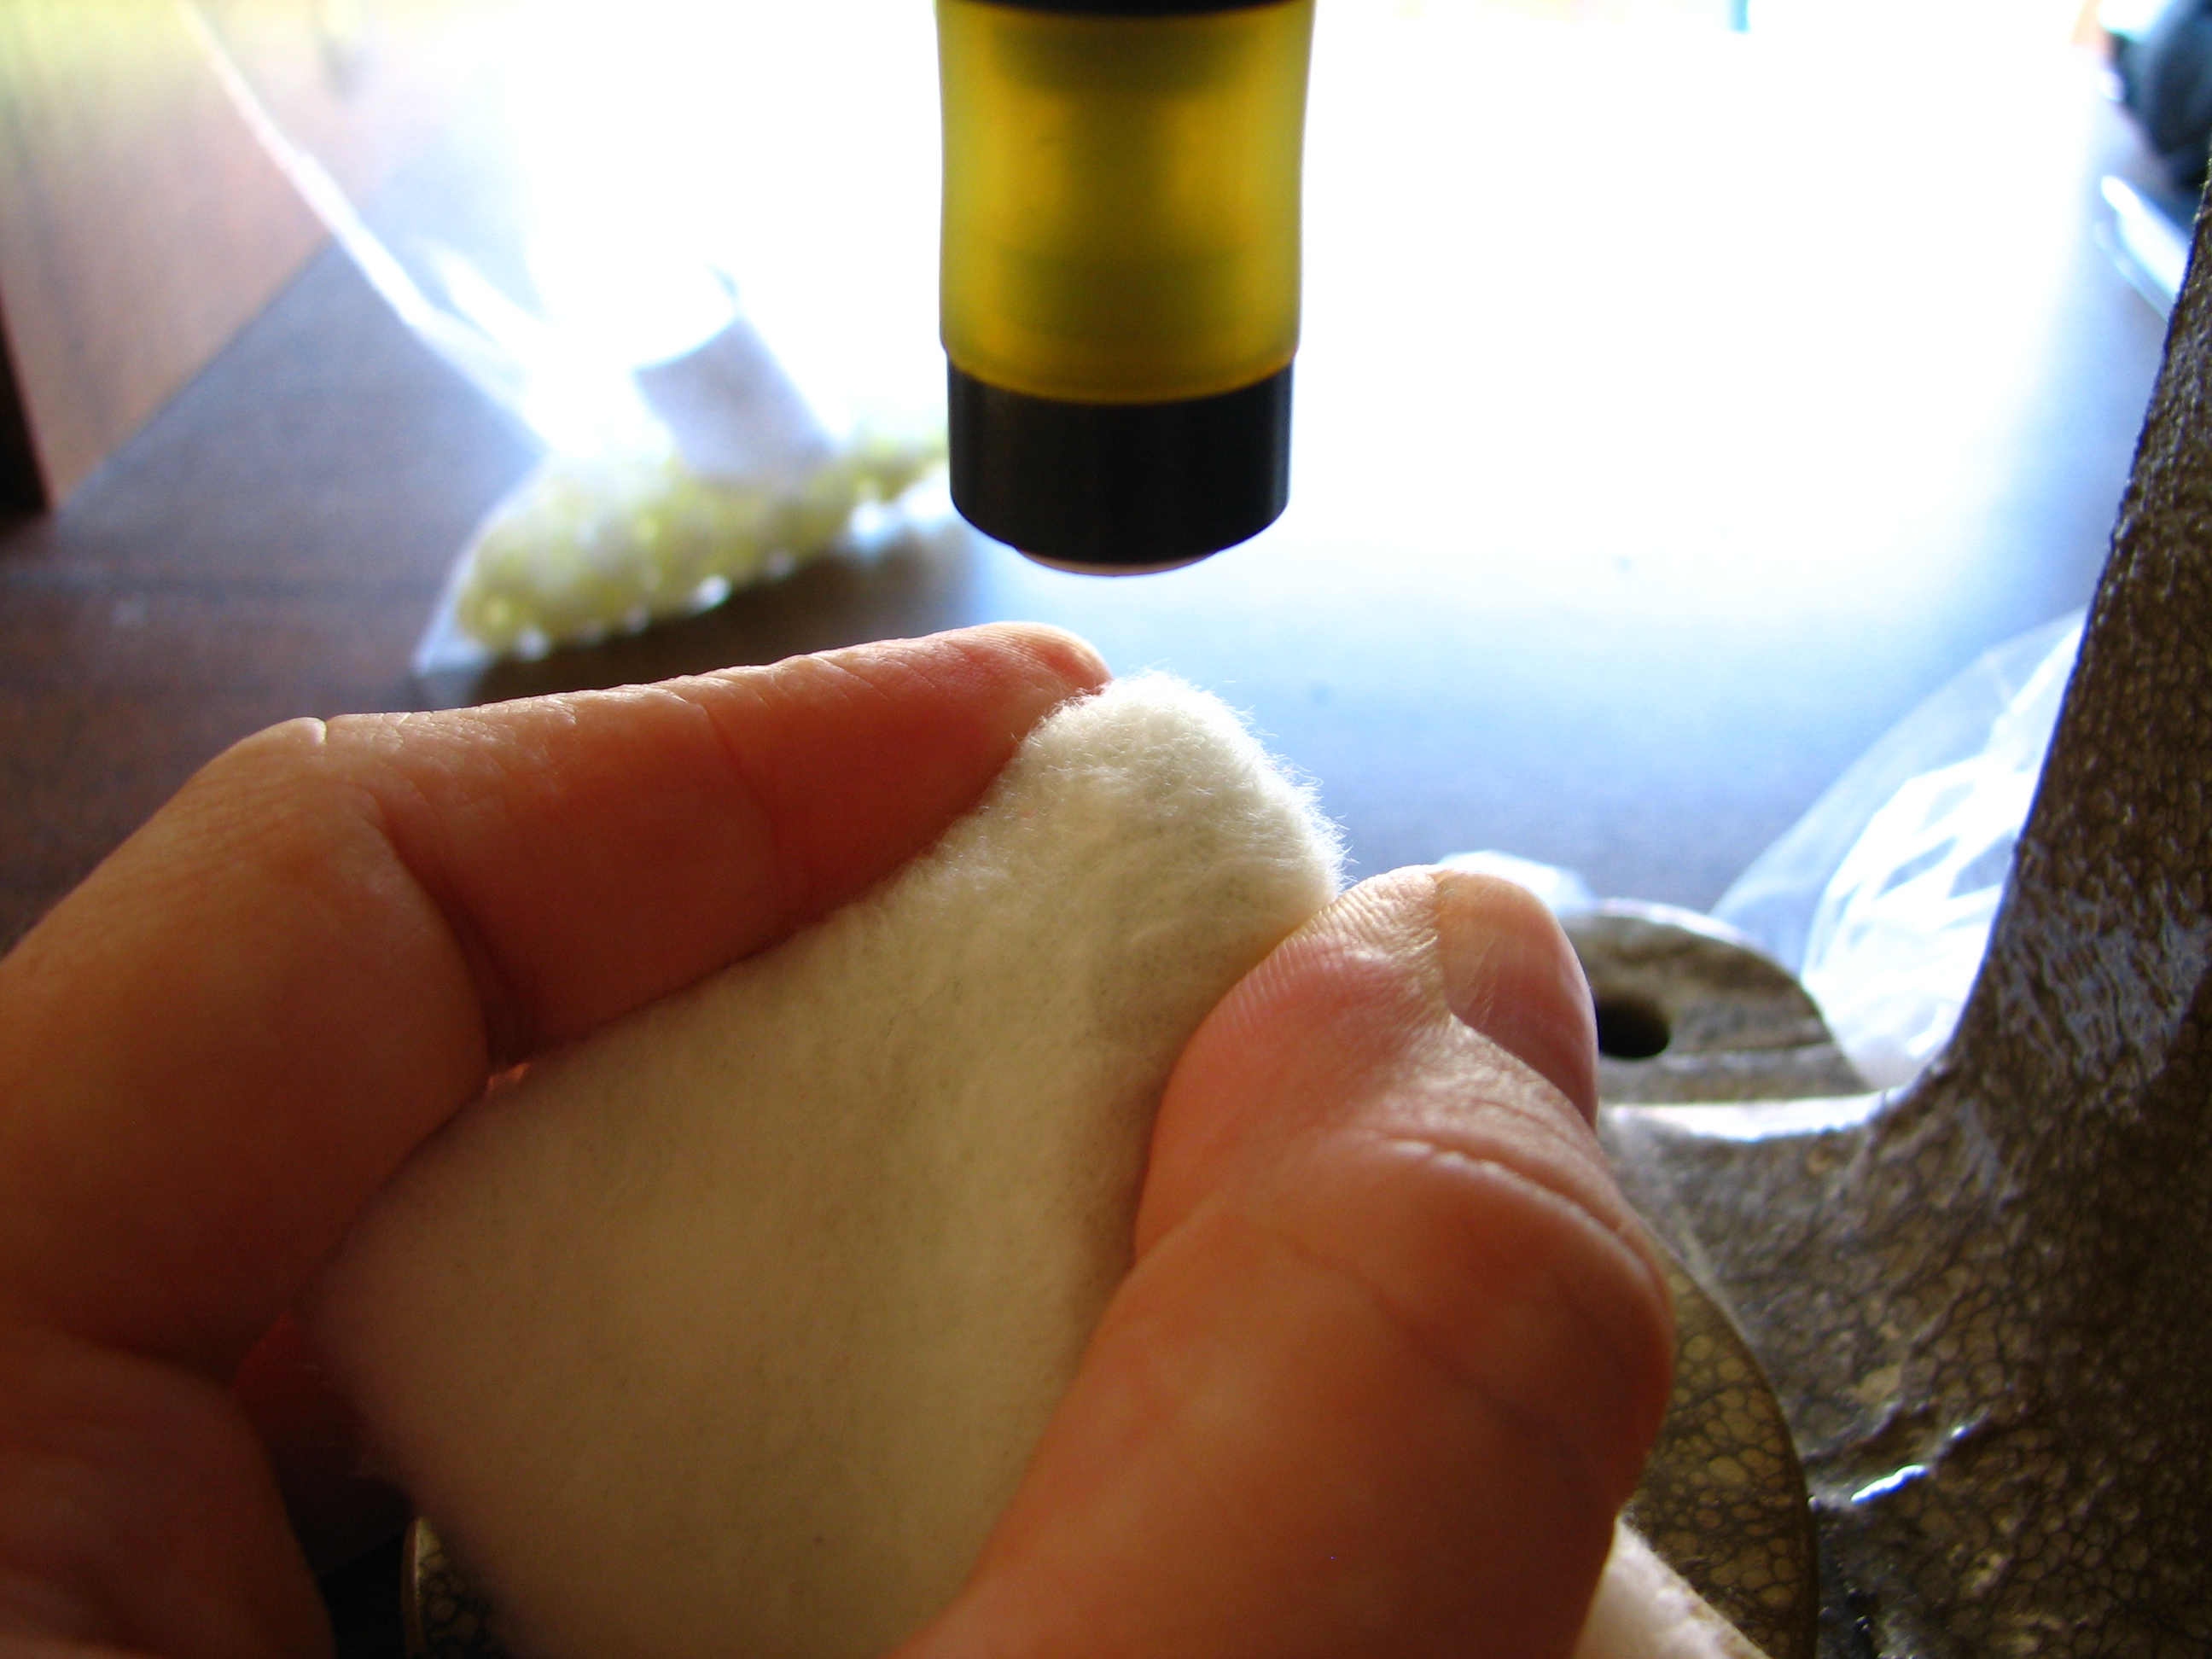
Step 8 Put the socket
in the snap press die, and line the point of the cap up with a dot on the
inside of the nappy. |
The cap goes on the inside of the nappy
Lining the point up with the mark on the outside |
|
|
Step 9 Place in the snap
press carefully, trying not to lose your place or move the reinforcing
PUL. Hold the material taut, keep your
fingers well out of the way and pull the press lever down very firmly to
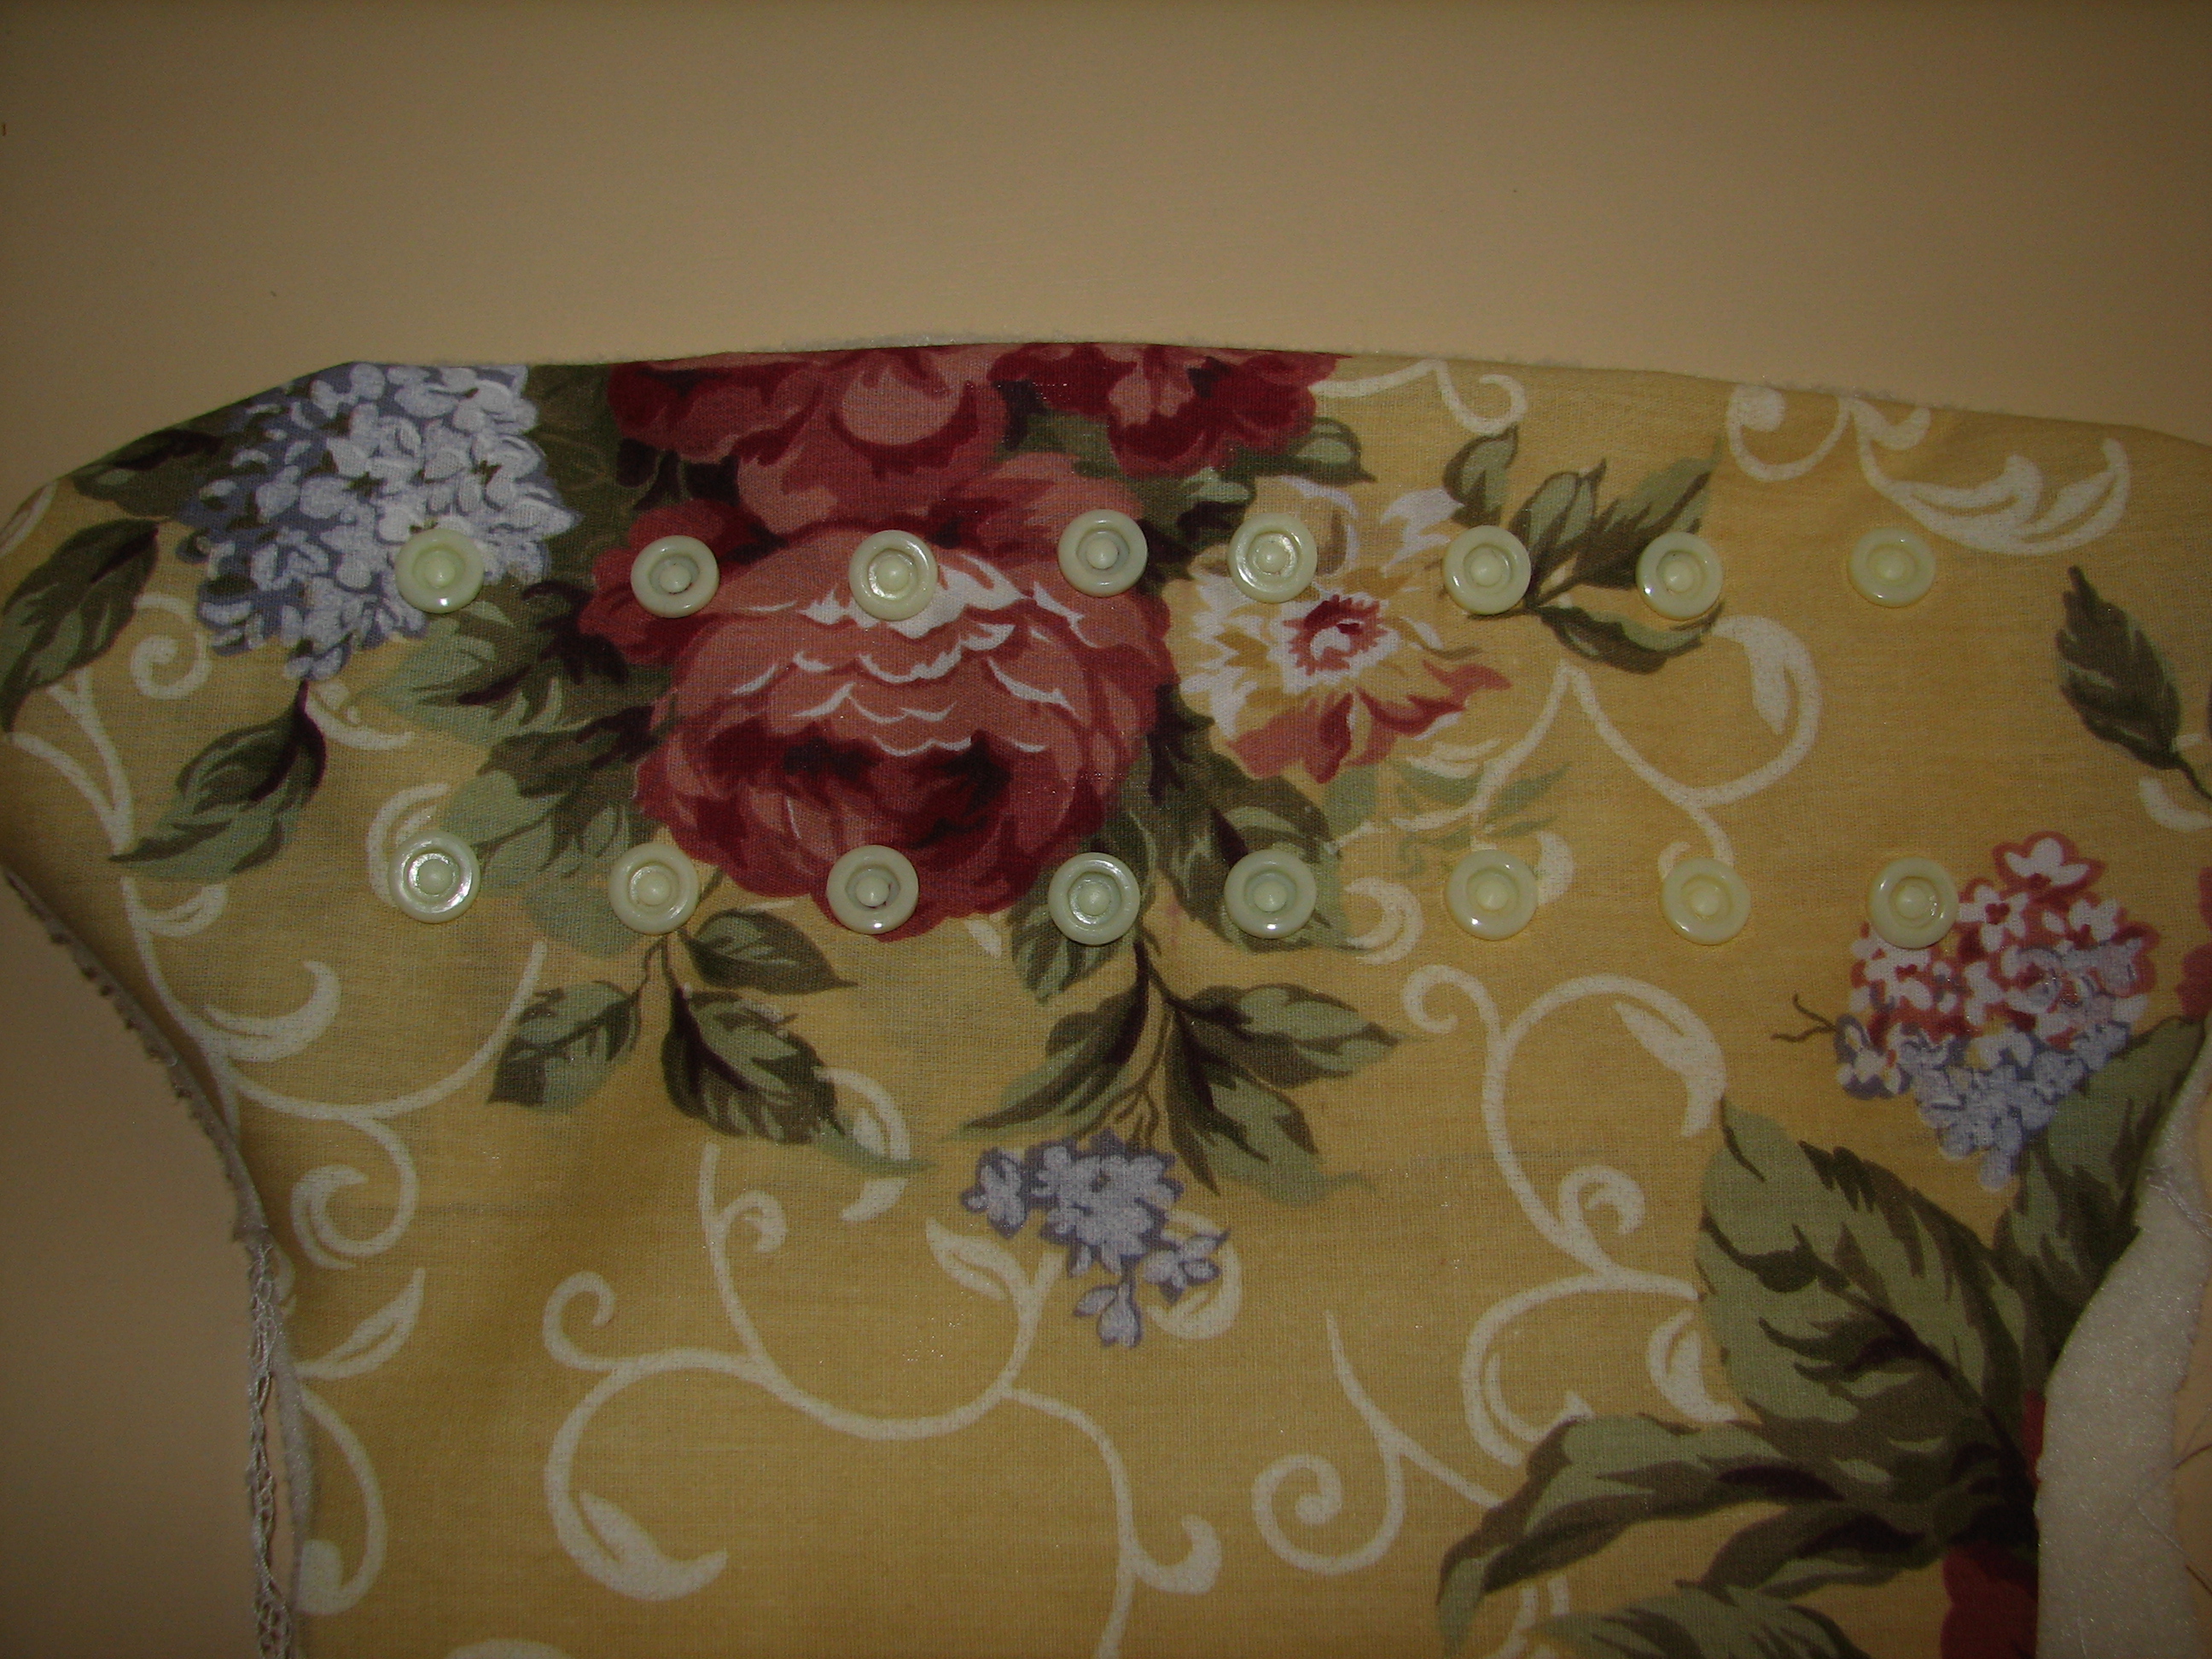
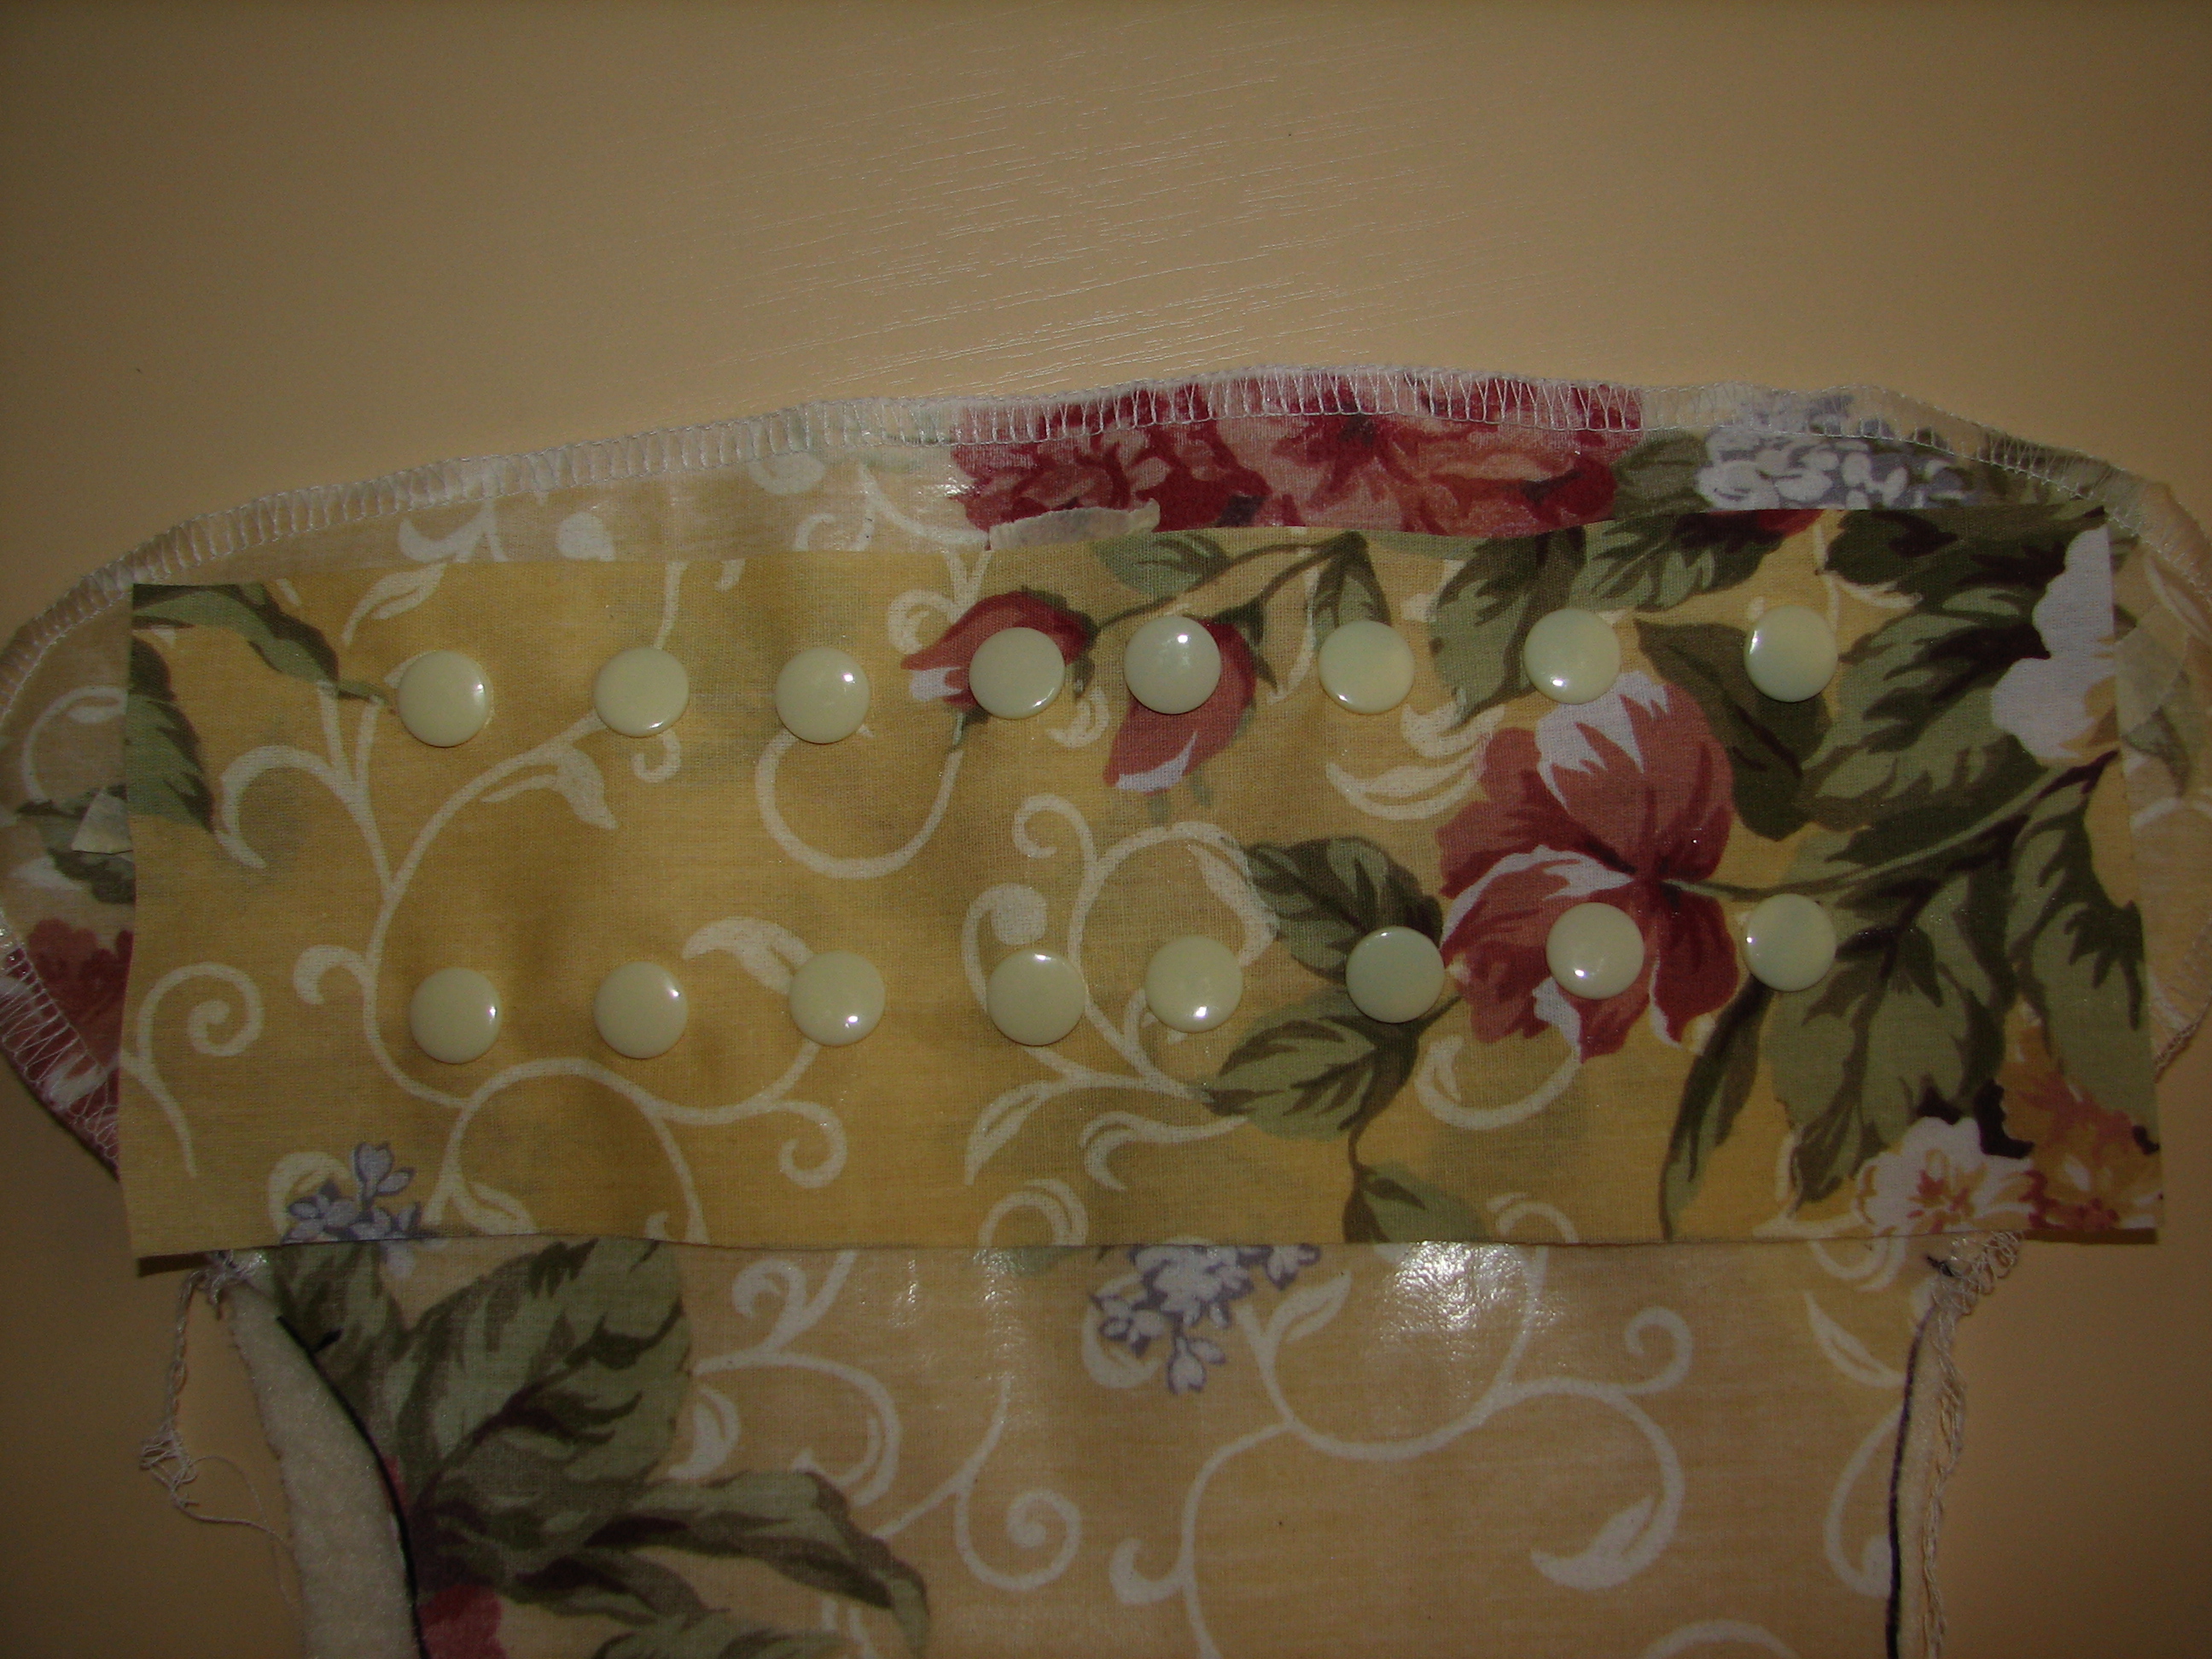
secure the socket in the material. The
cap will be hidden on the inside, and the snap socket will be what you see on
the outside. Repeat for each dot,
until you have all 16 in place. The
cap will be hidden on the inside, and the snap socket will be what you see on
the outside. Repeat for each dot,
until you have all 16 in place. You
may need to check the placement of the reinforcing PUL each time. Once all the snaps are in place, trim the
reinforcing PUL. |
Place in the snap press carefully, keeping your fingers out of the way but holding the material taut
Pulling the lever down to fasten the snap to the nappy
The finished sockets on the outside of the nappy
The finished caps on the inside of the nappy |
|
|
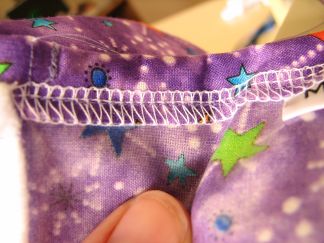
Step 10 Overlock the
rest of the nappy edges together, leaving the long back edge until last. |
|
|
|
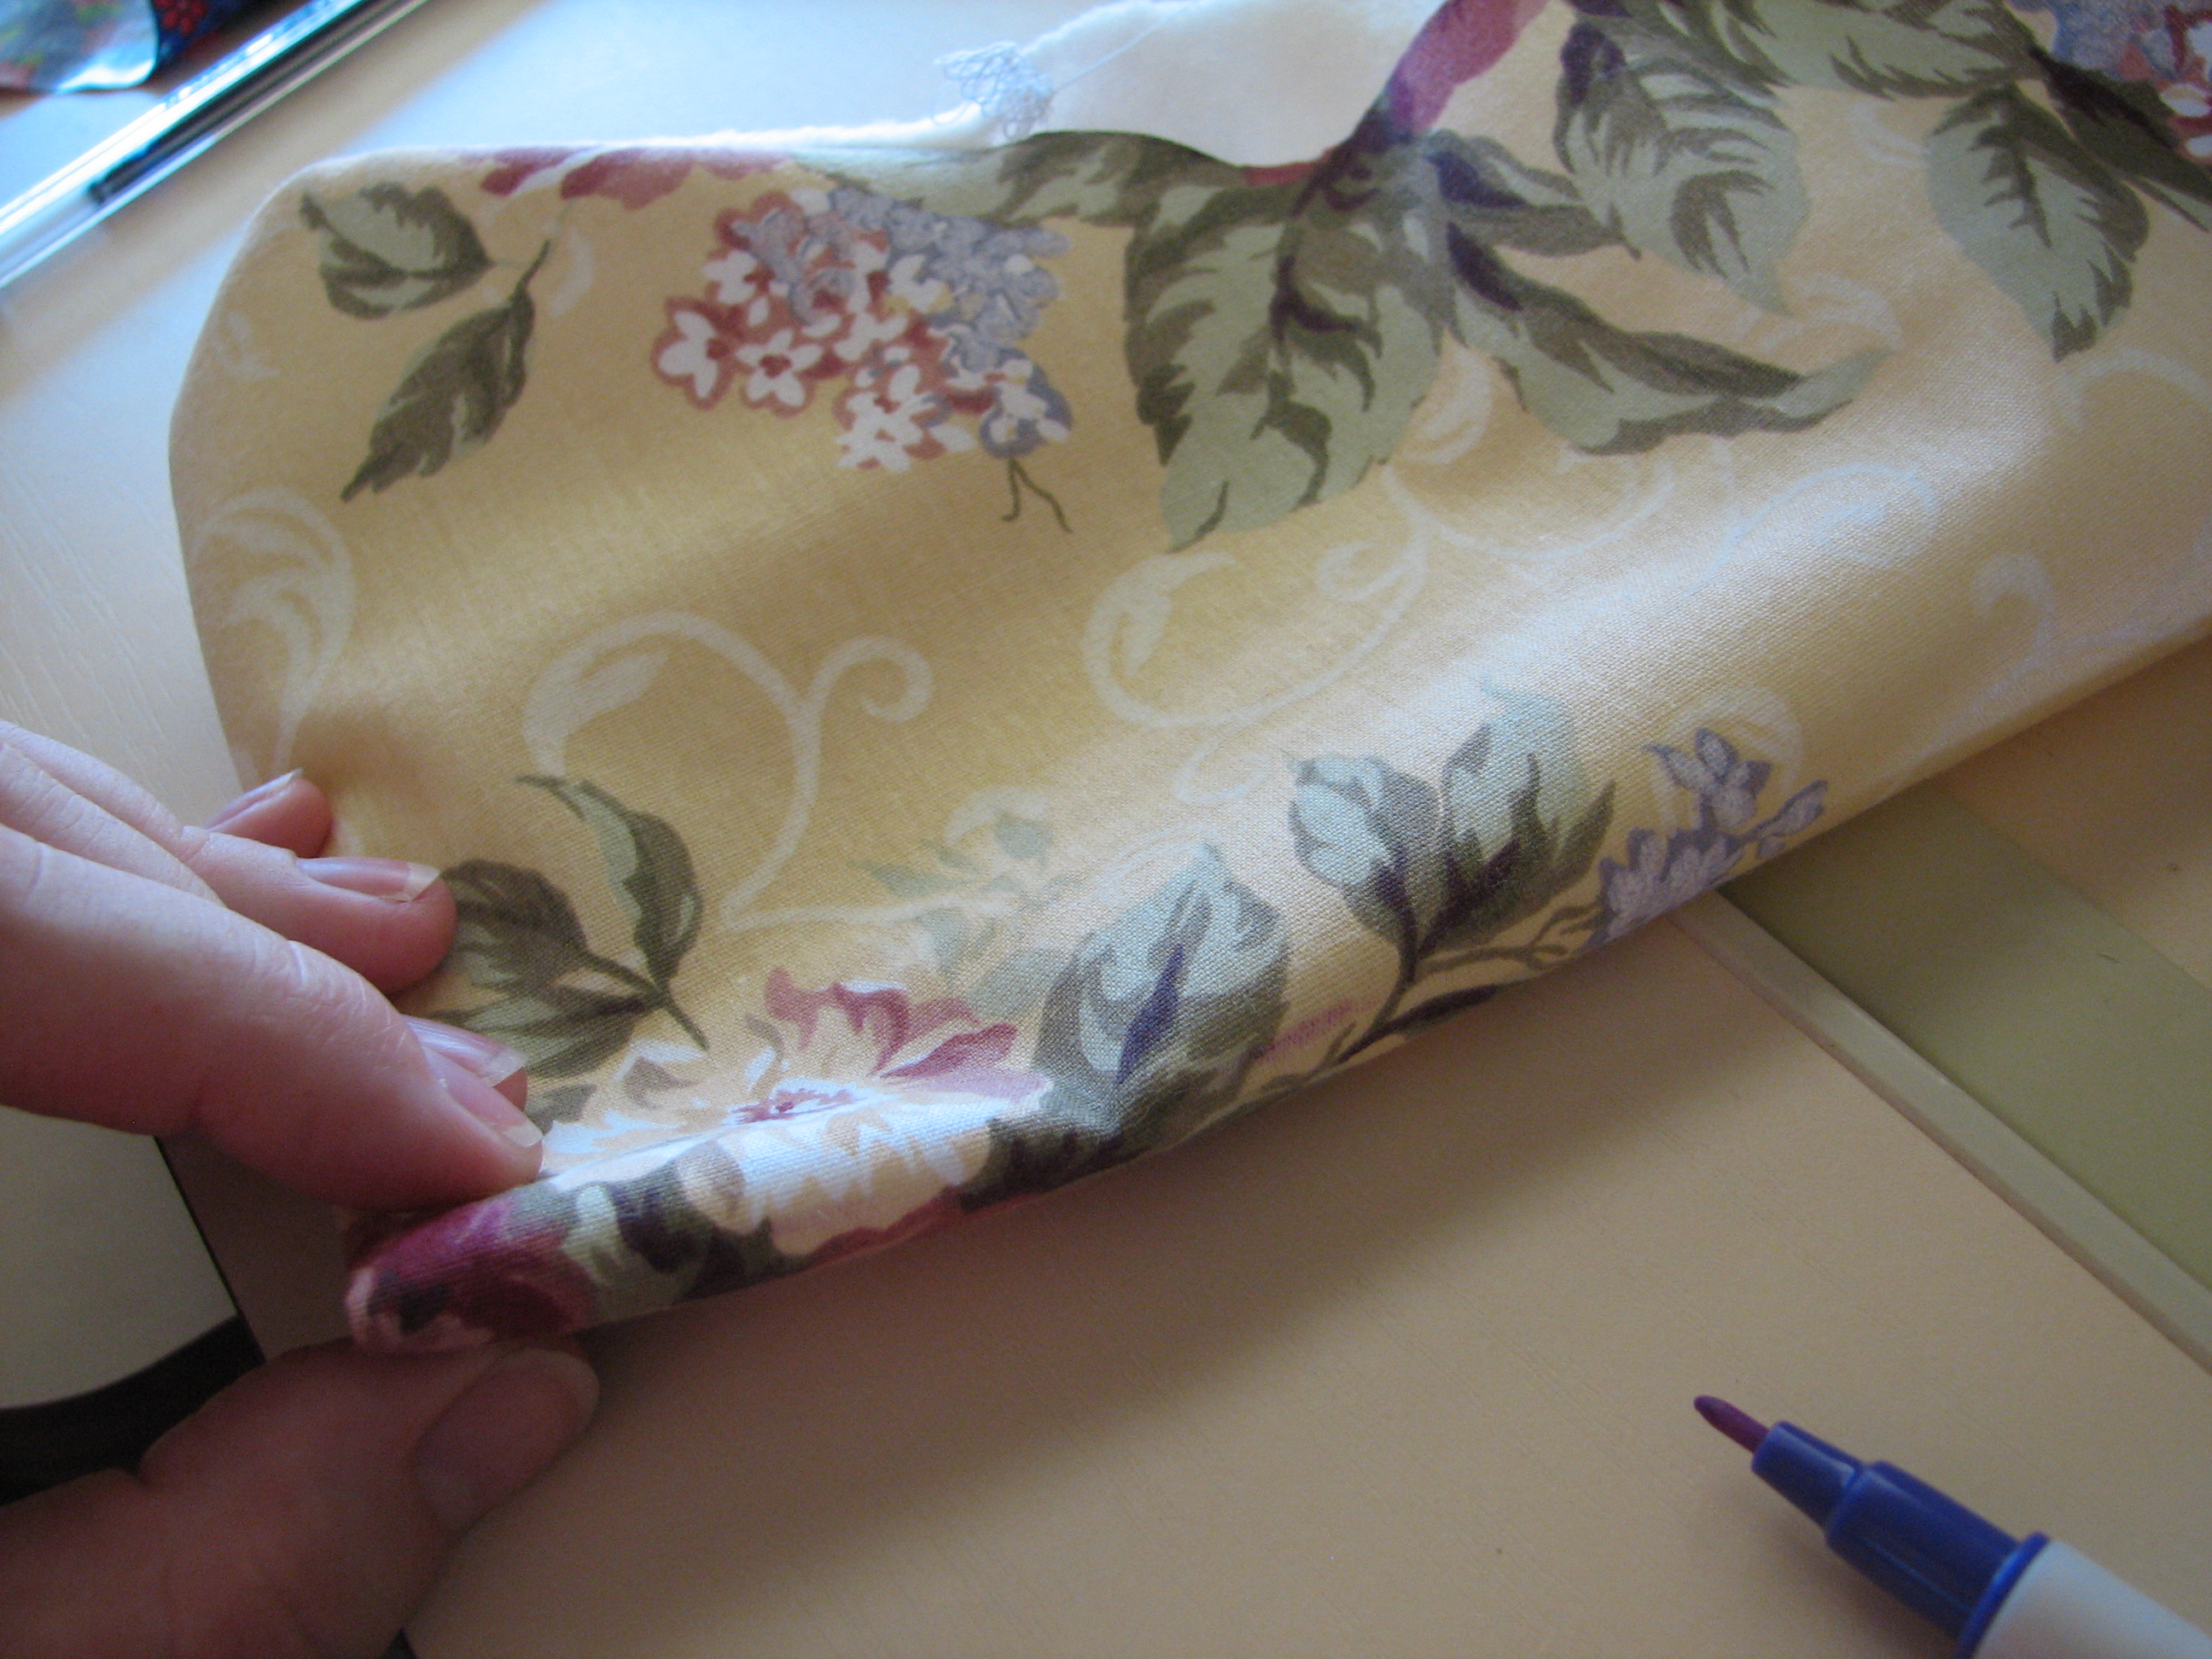
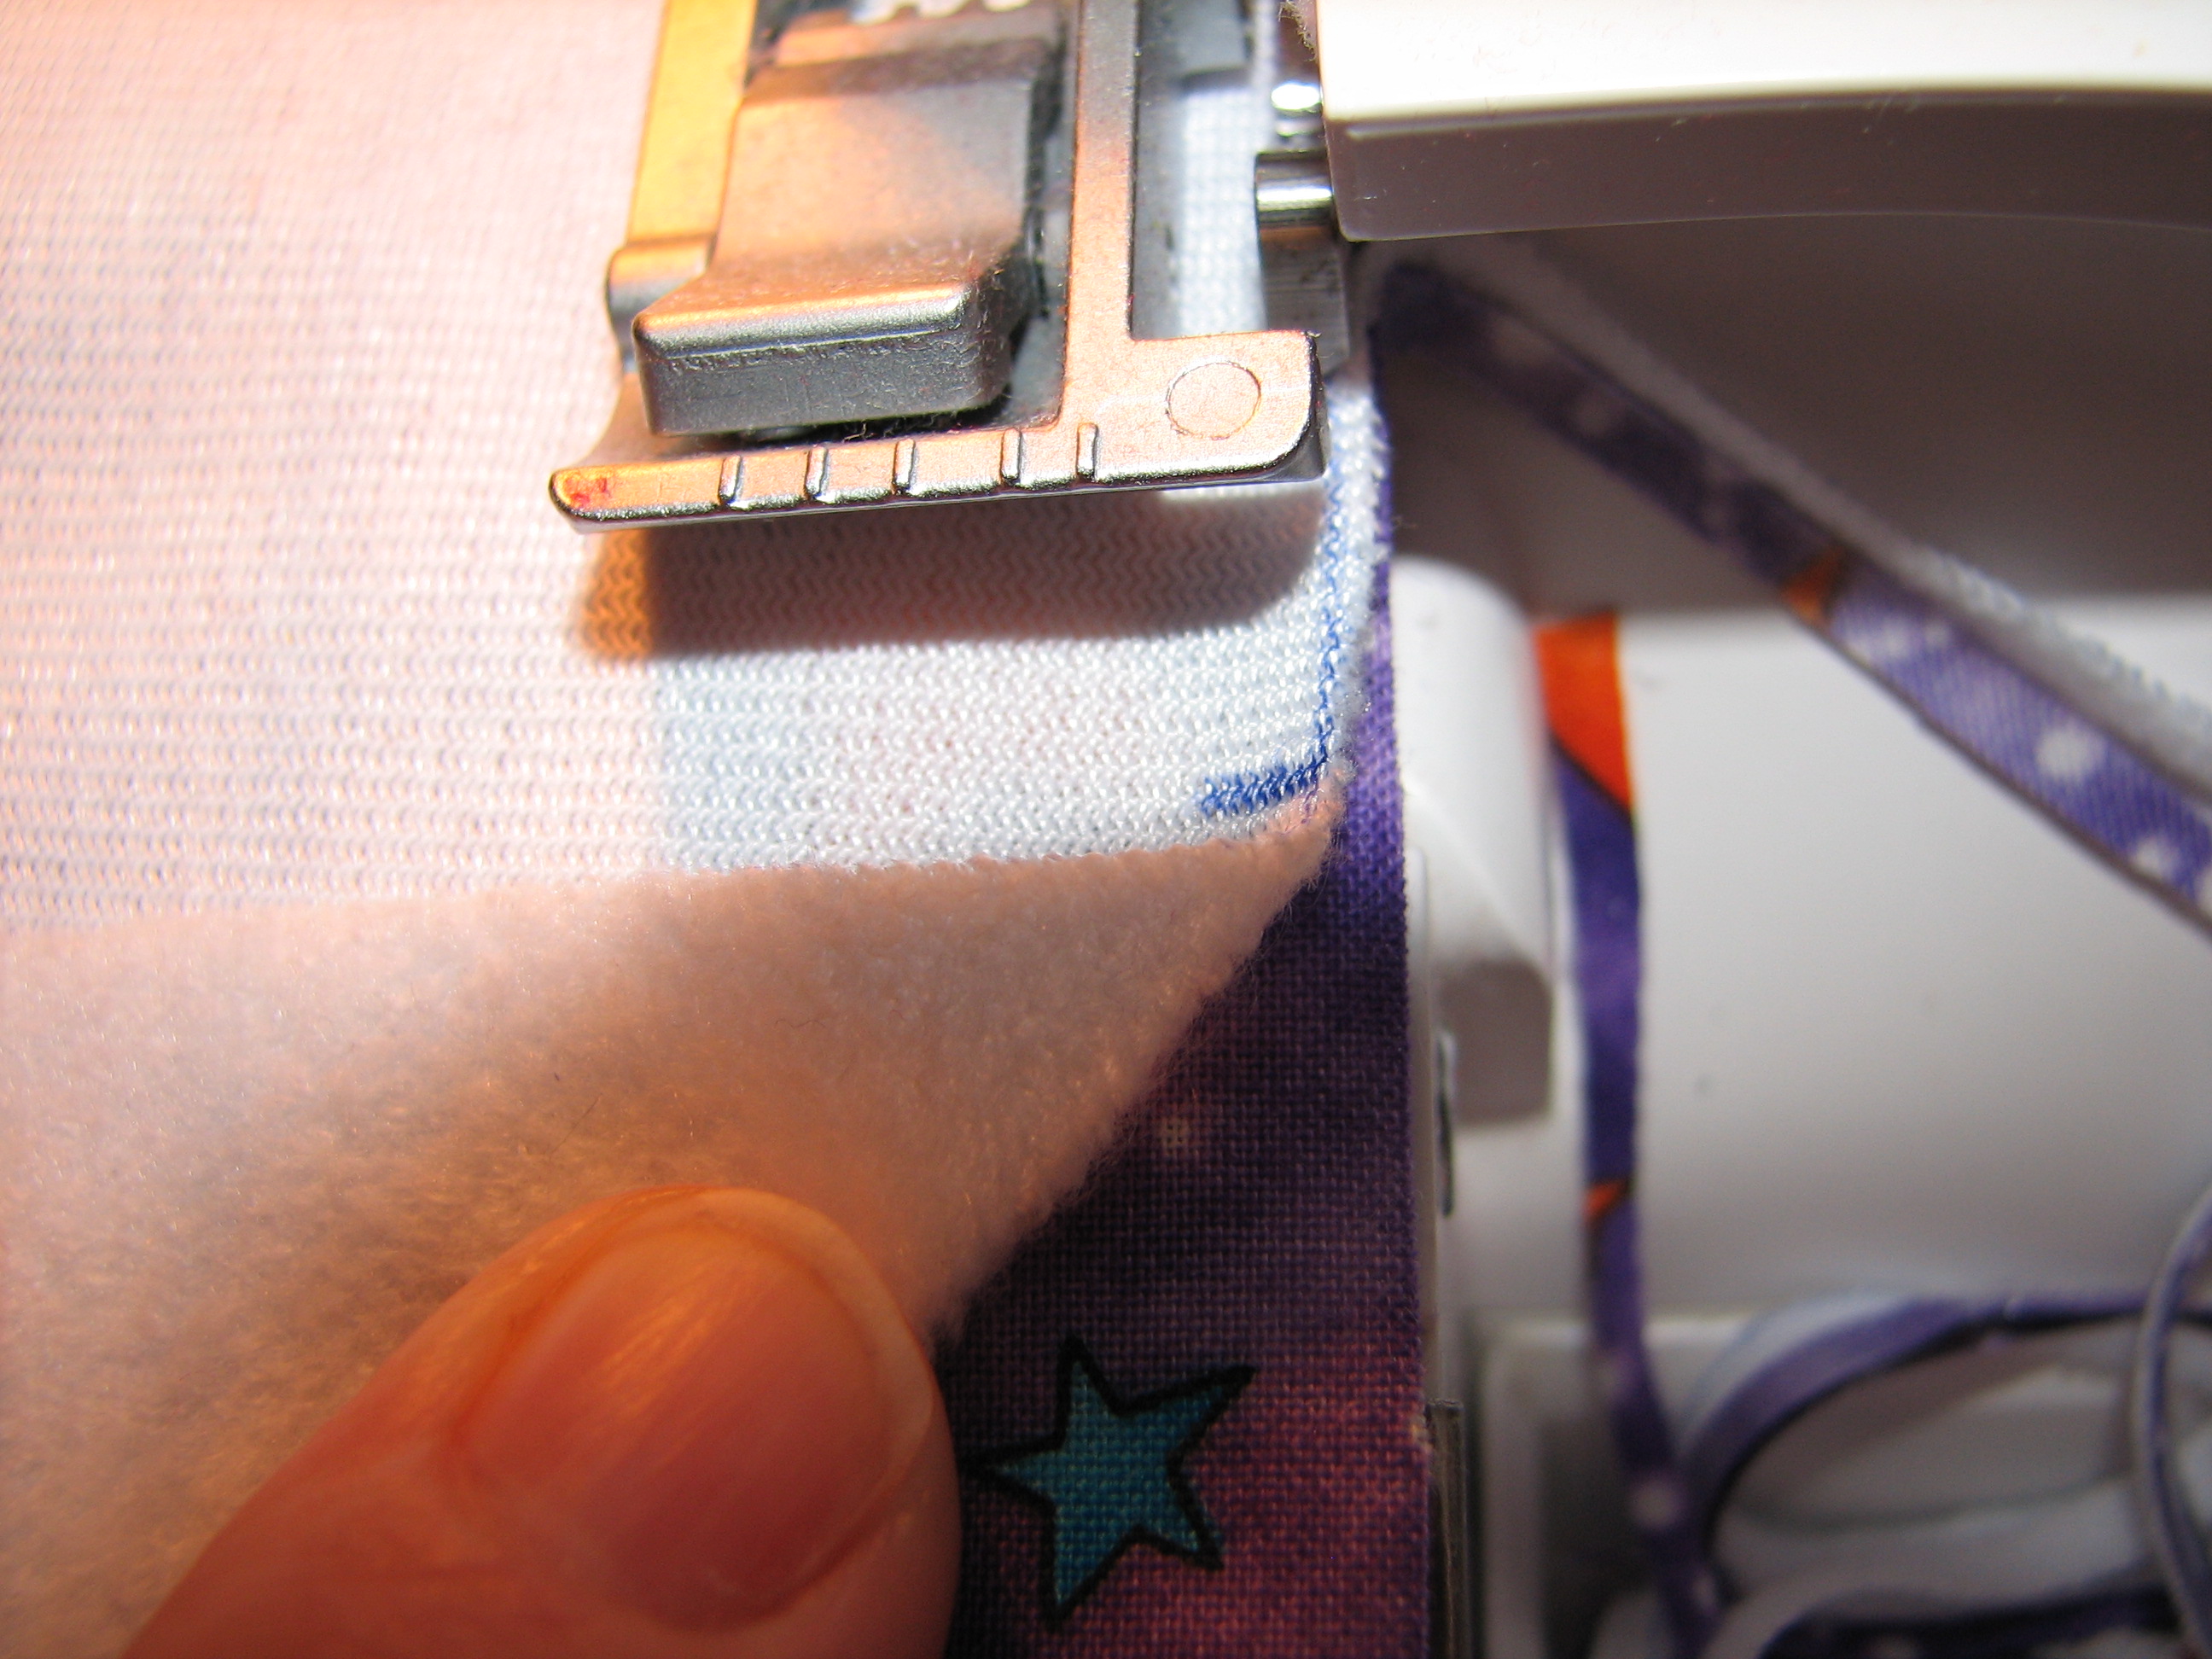
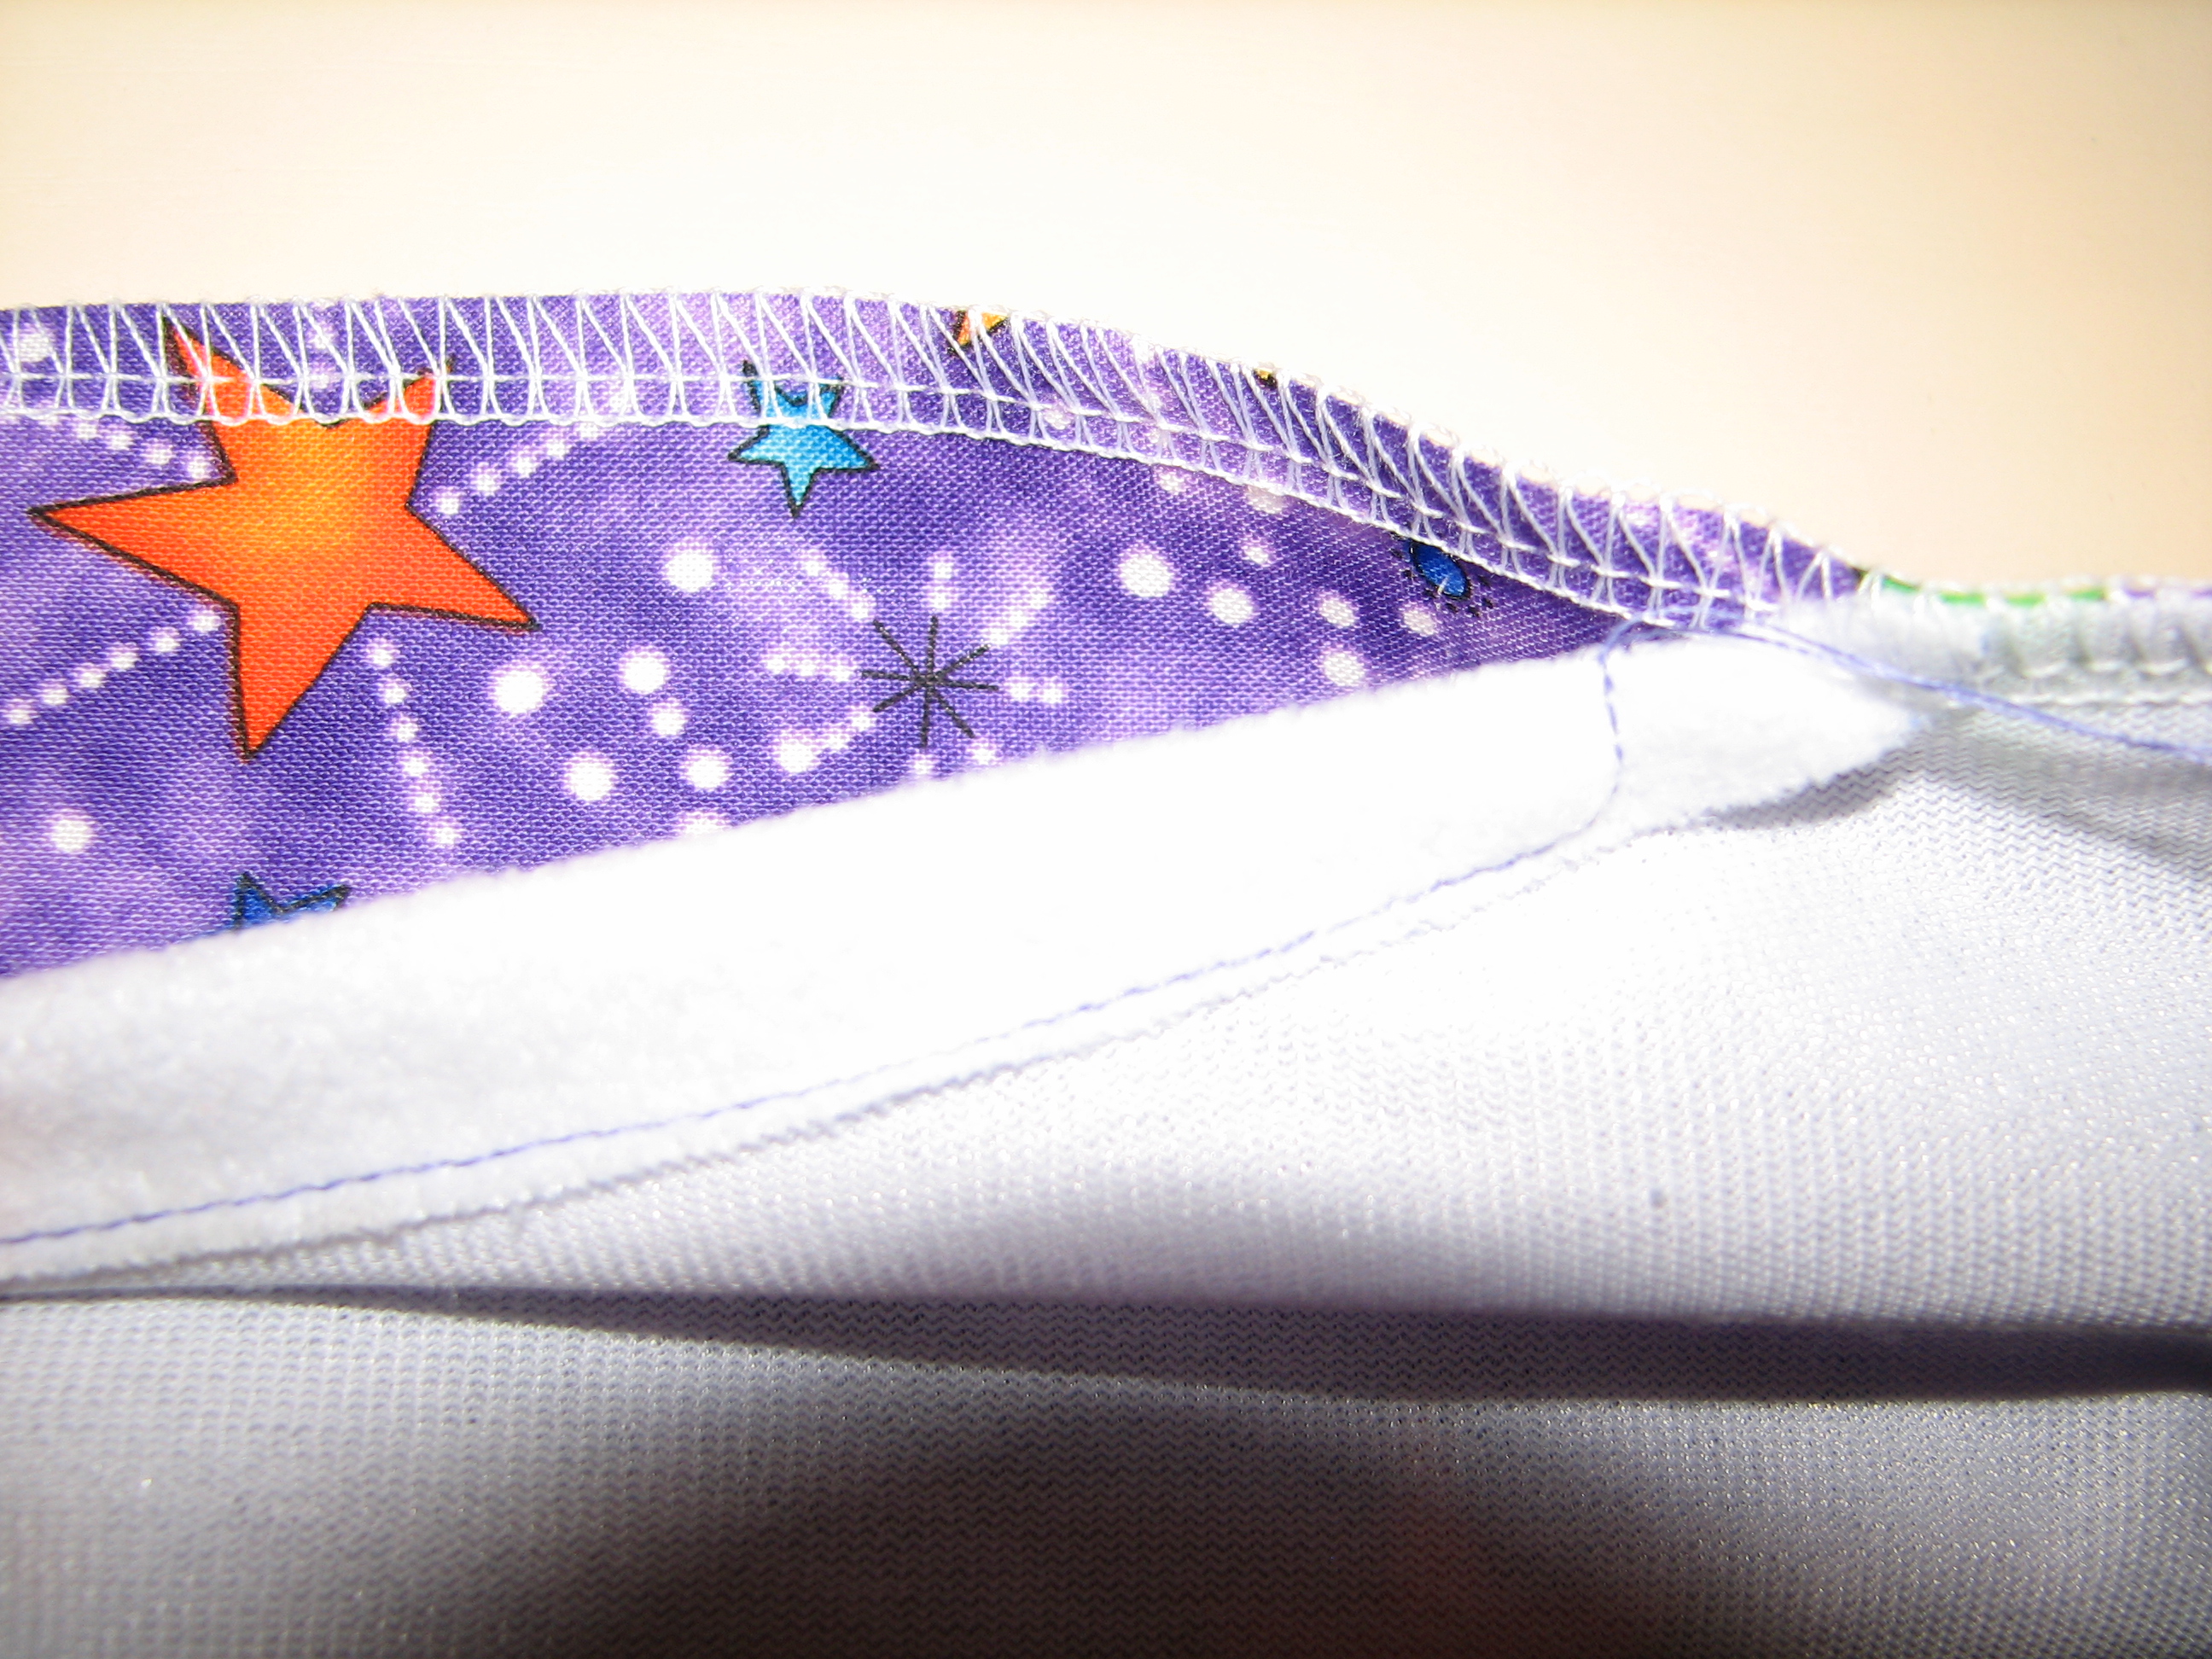
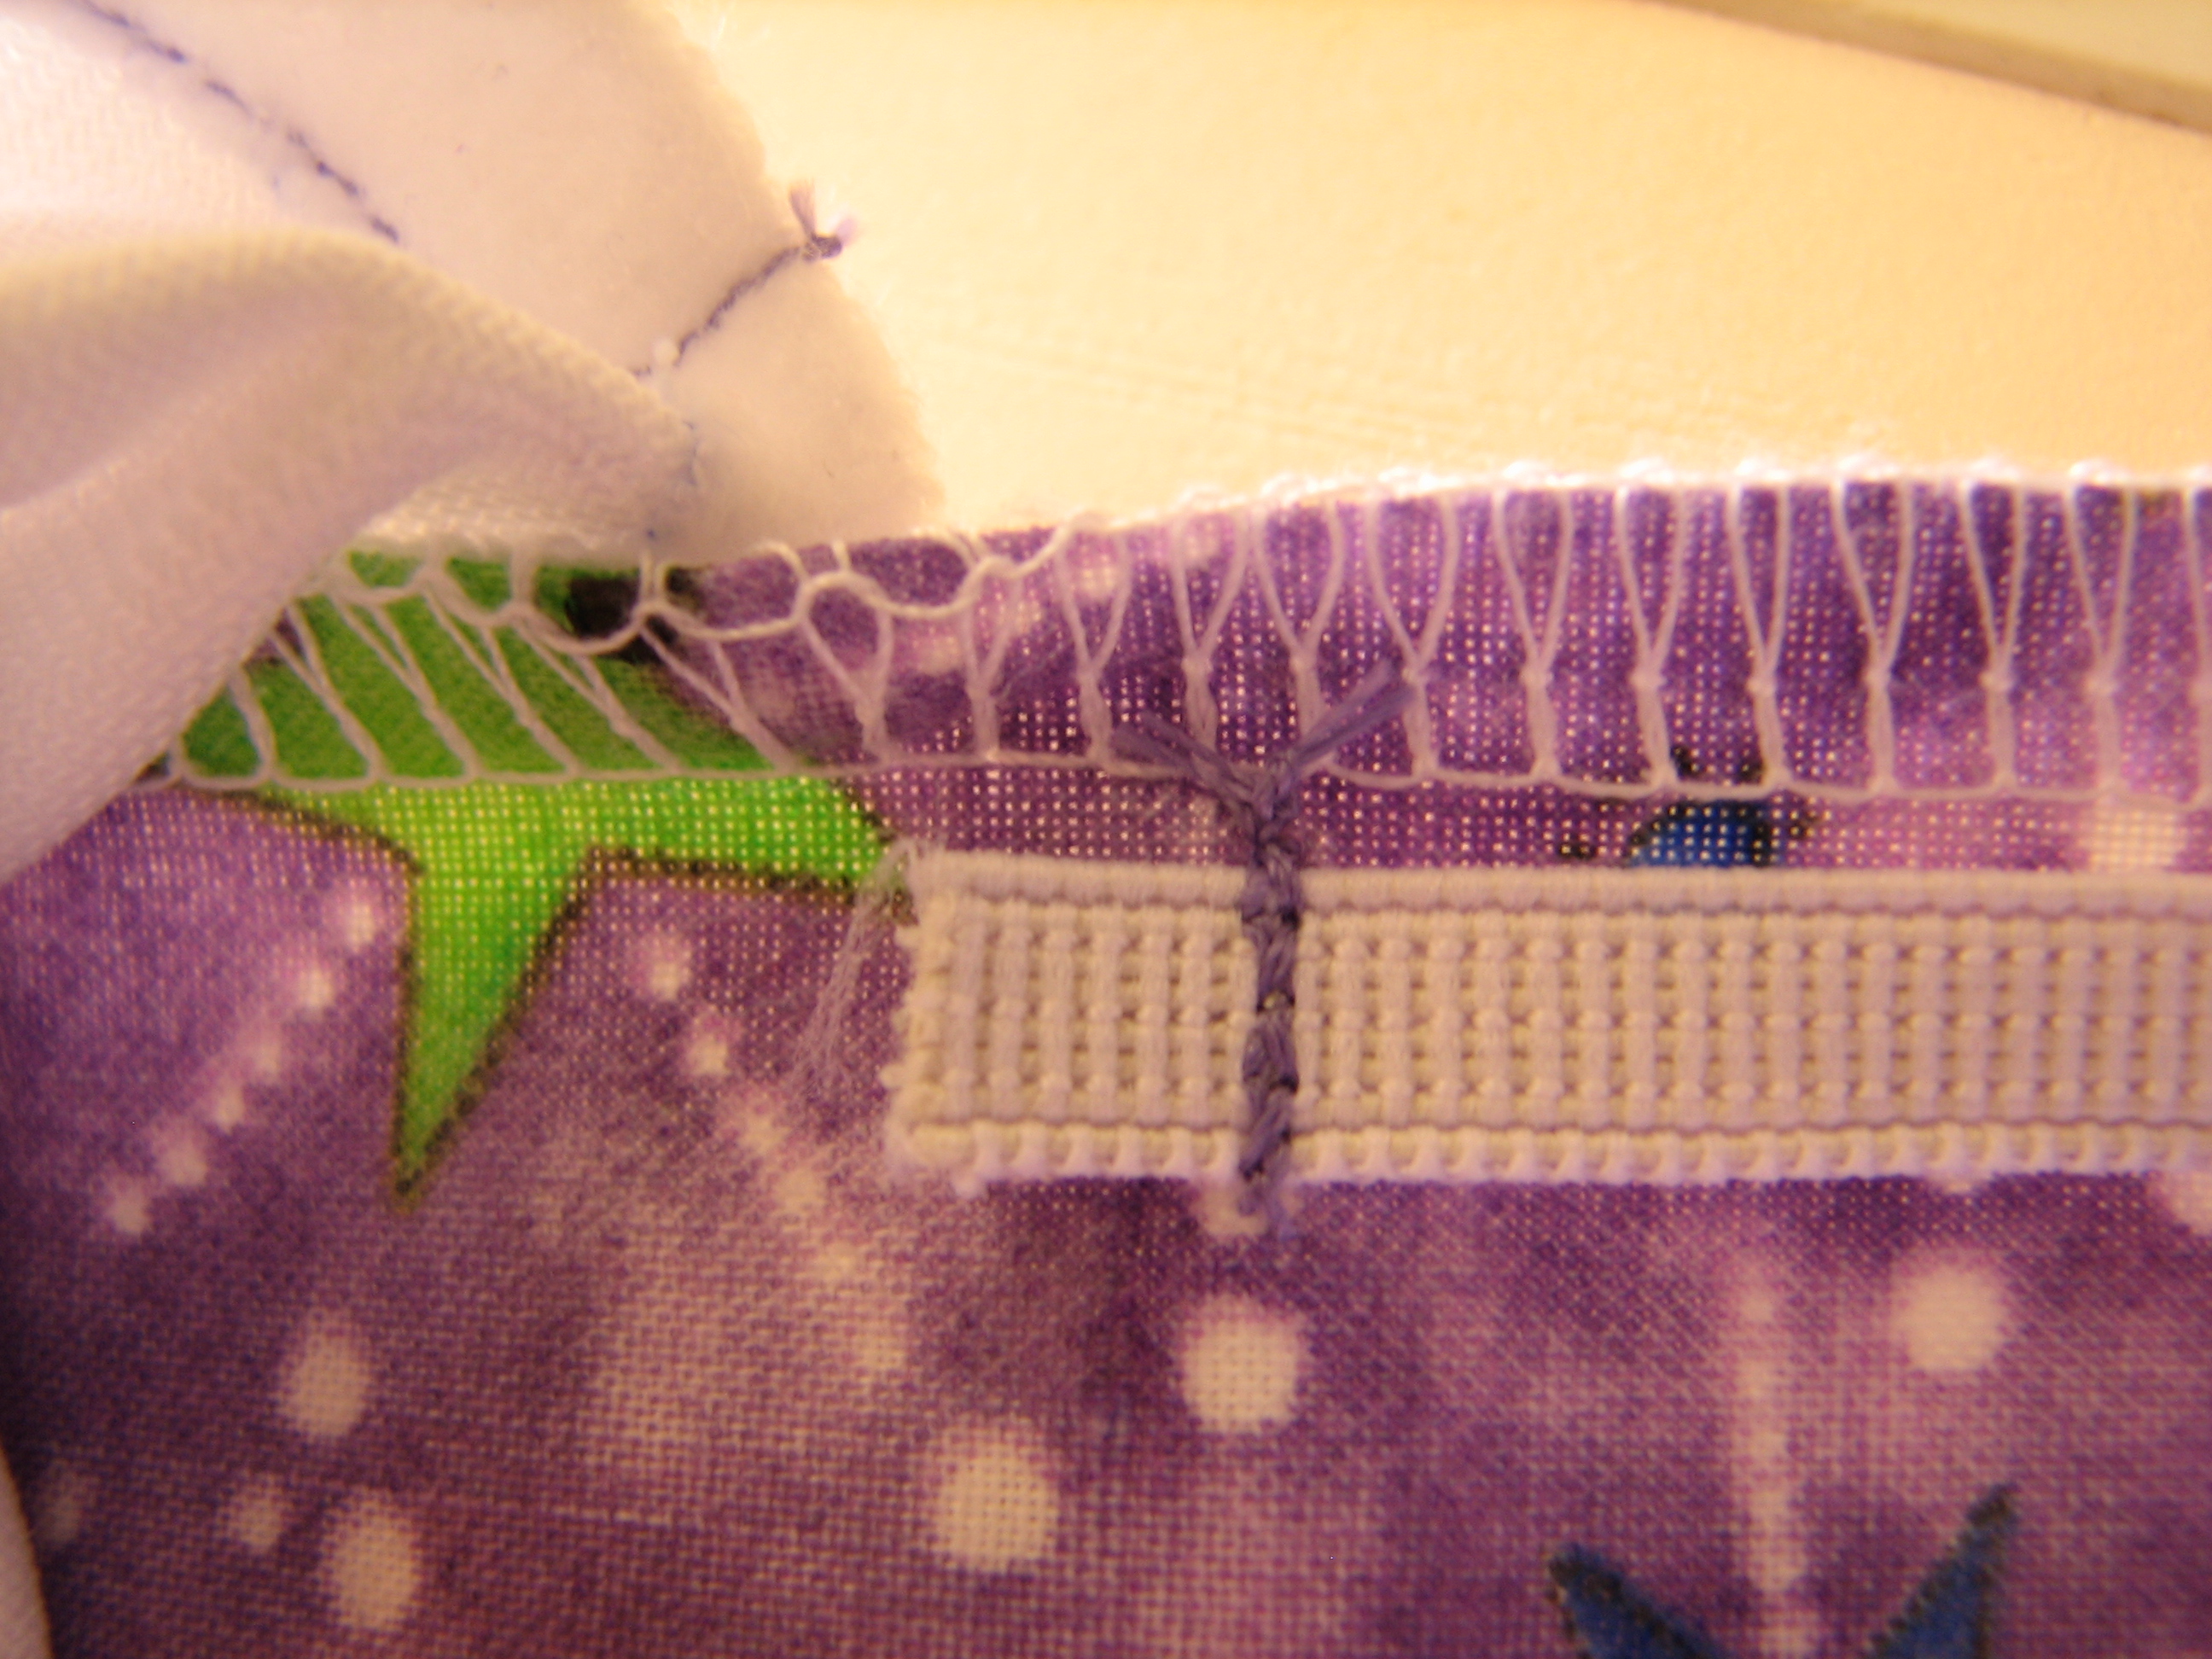
Step 11 The remaining long edge is what wraps around from bub’s back and meeting at the tummy in front. The pocket opening is in the middle, and should be big enough for you to put your hand through holding boosters. Start overlocking from one end, keeping an eye on the 1st pocket opening mark. As you get close to it, fold the suede back at a 45° angle, so that you continue overlocking the PUL but not the suede layer. Keeping sewing until you get close to the 2nd mark and again fold the suede at a 45° angle, so that you go back to overlocking the PUL and suede layers together. Continue to the end, tie off loose threads and trim. |
Folding
the suede back at a 45 degree angle at the first pocket opening mark.
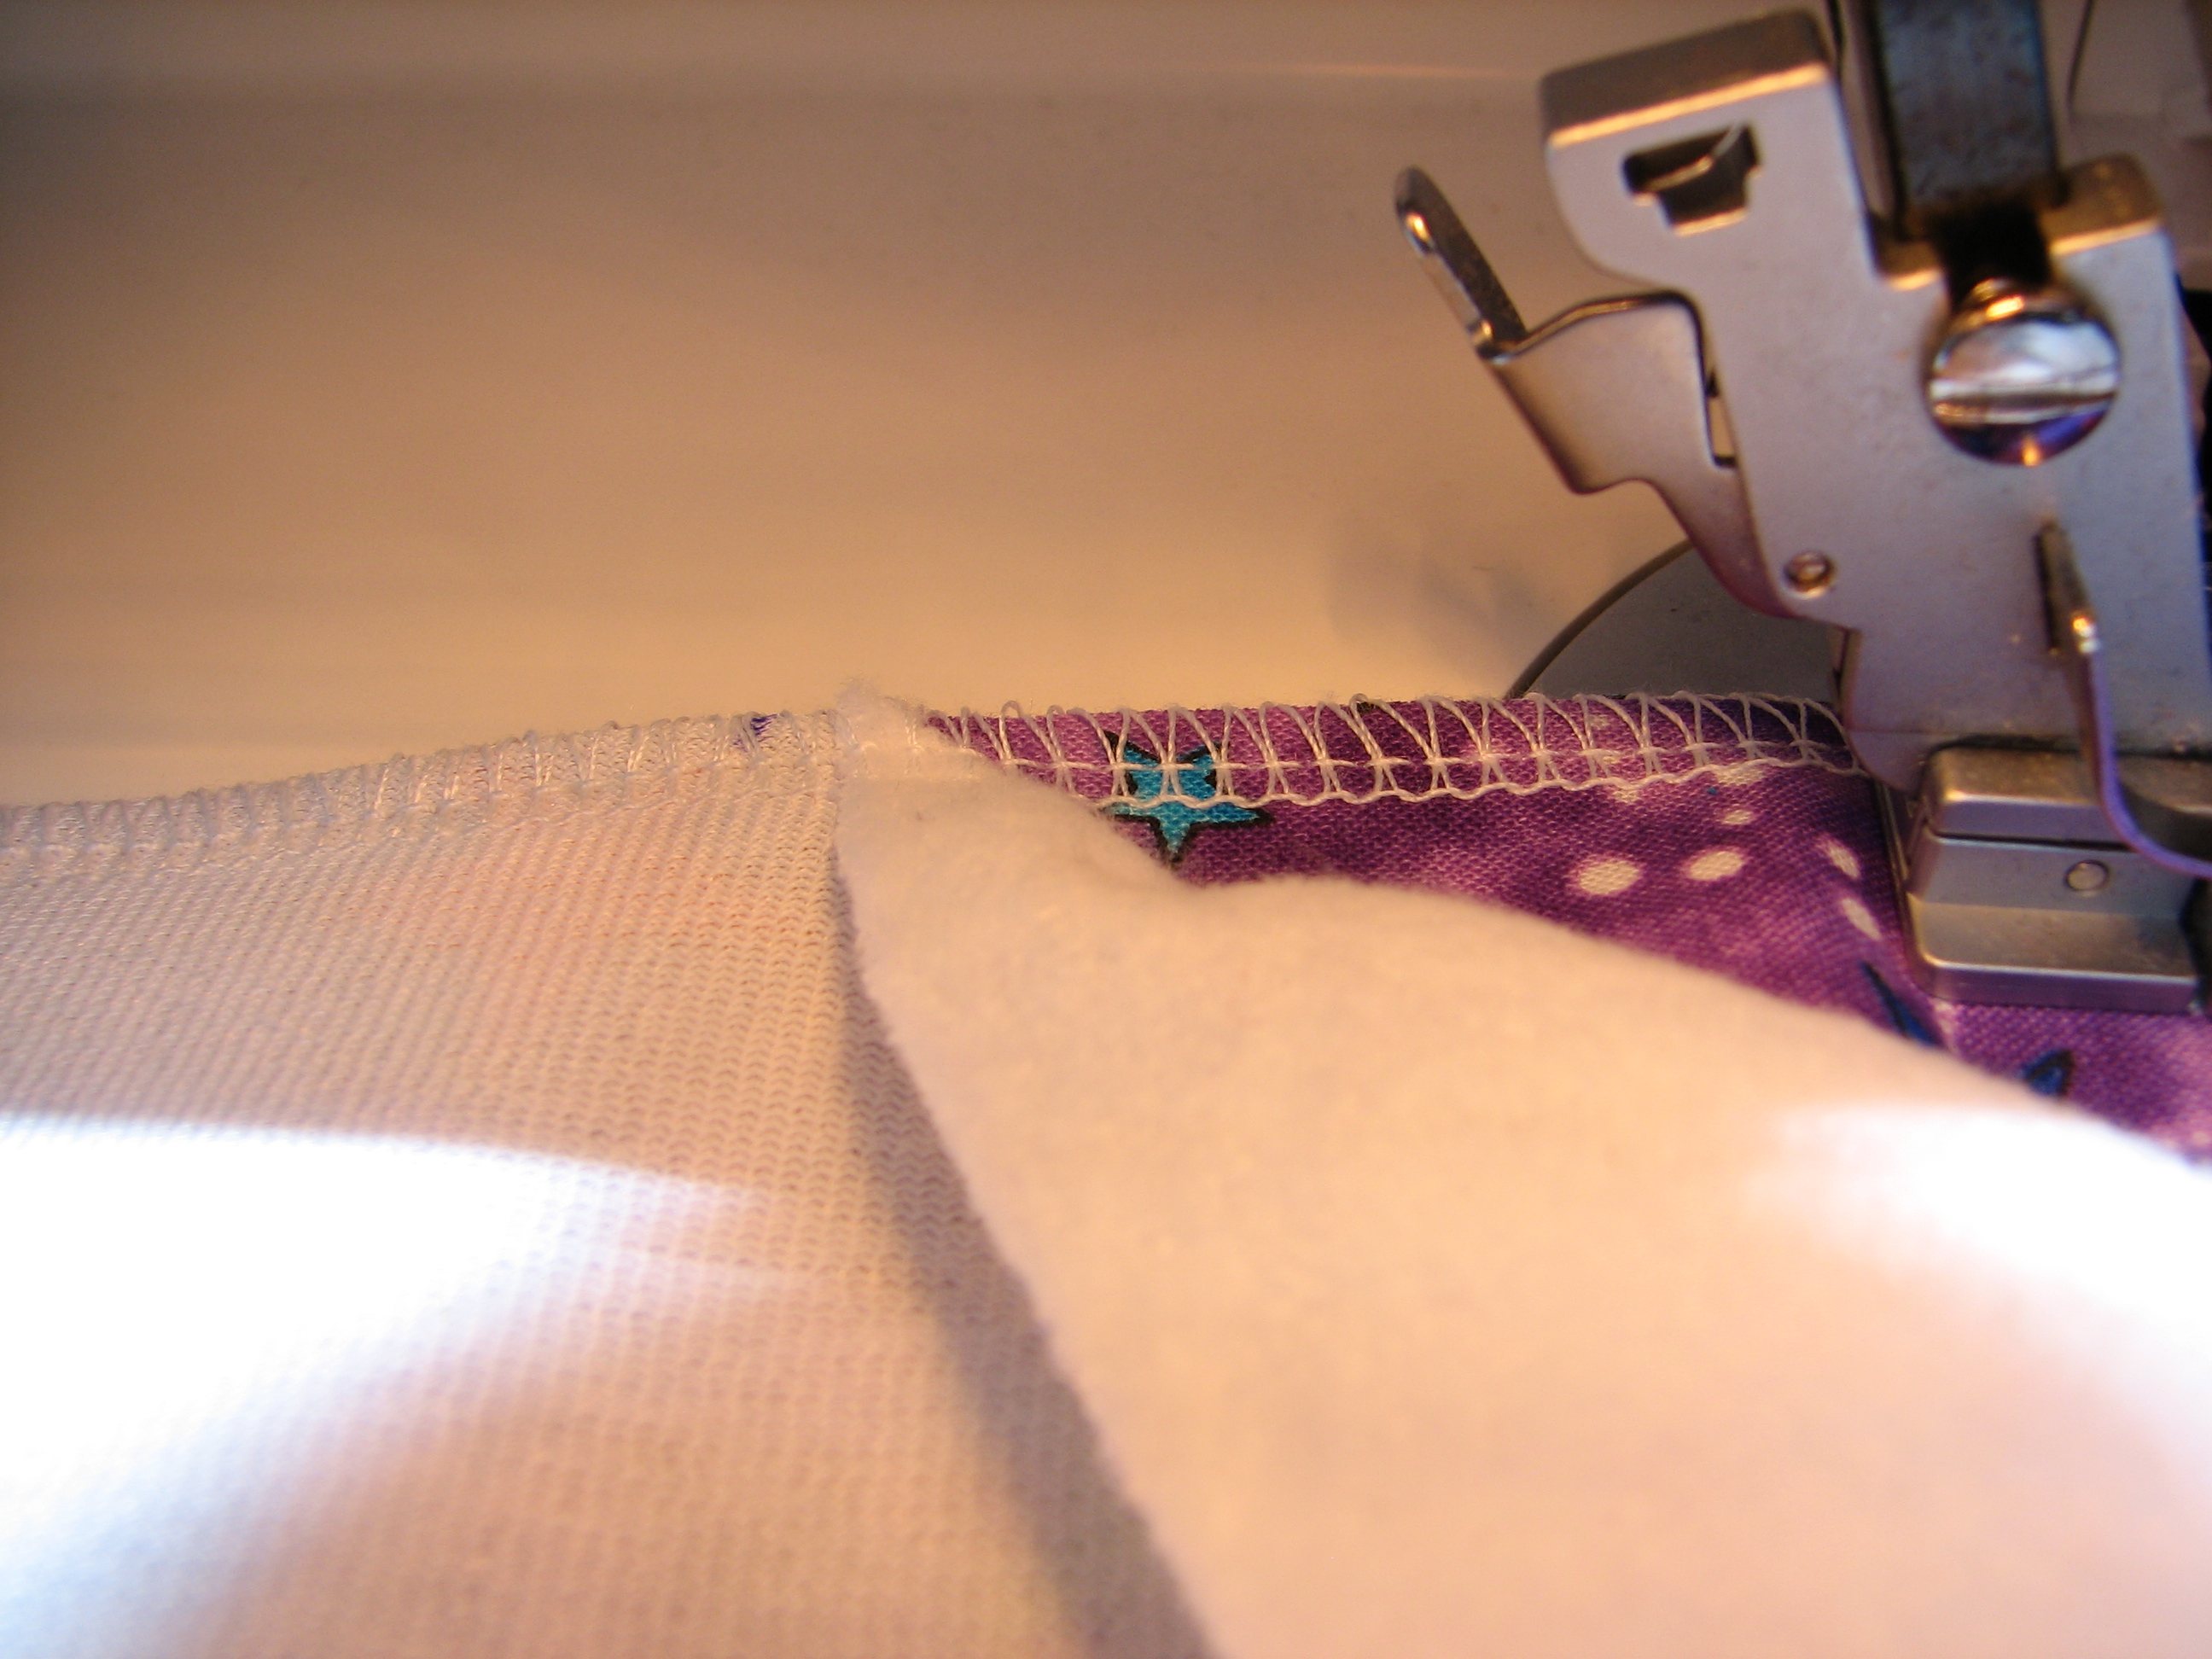
Continue
overlocking the PUL as a single layer
Folding
the suede back at the second pocket opening mark to restart overlocking the
two pieces together |
|
|
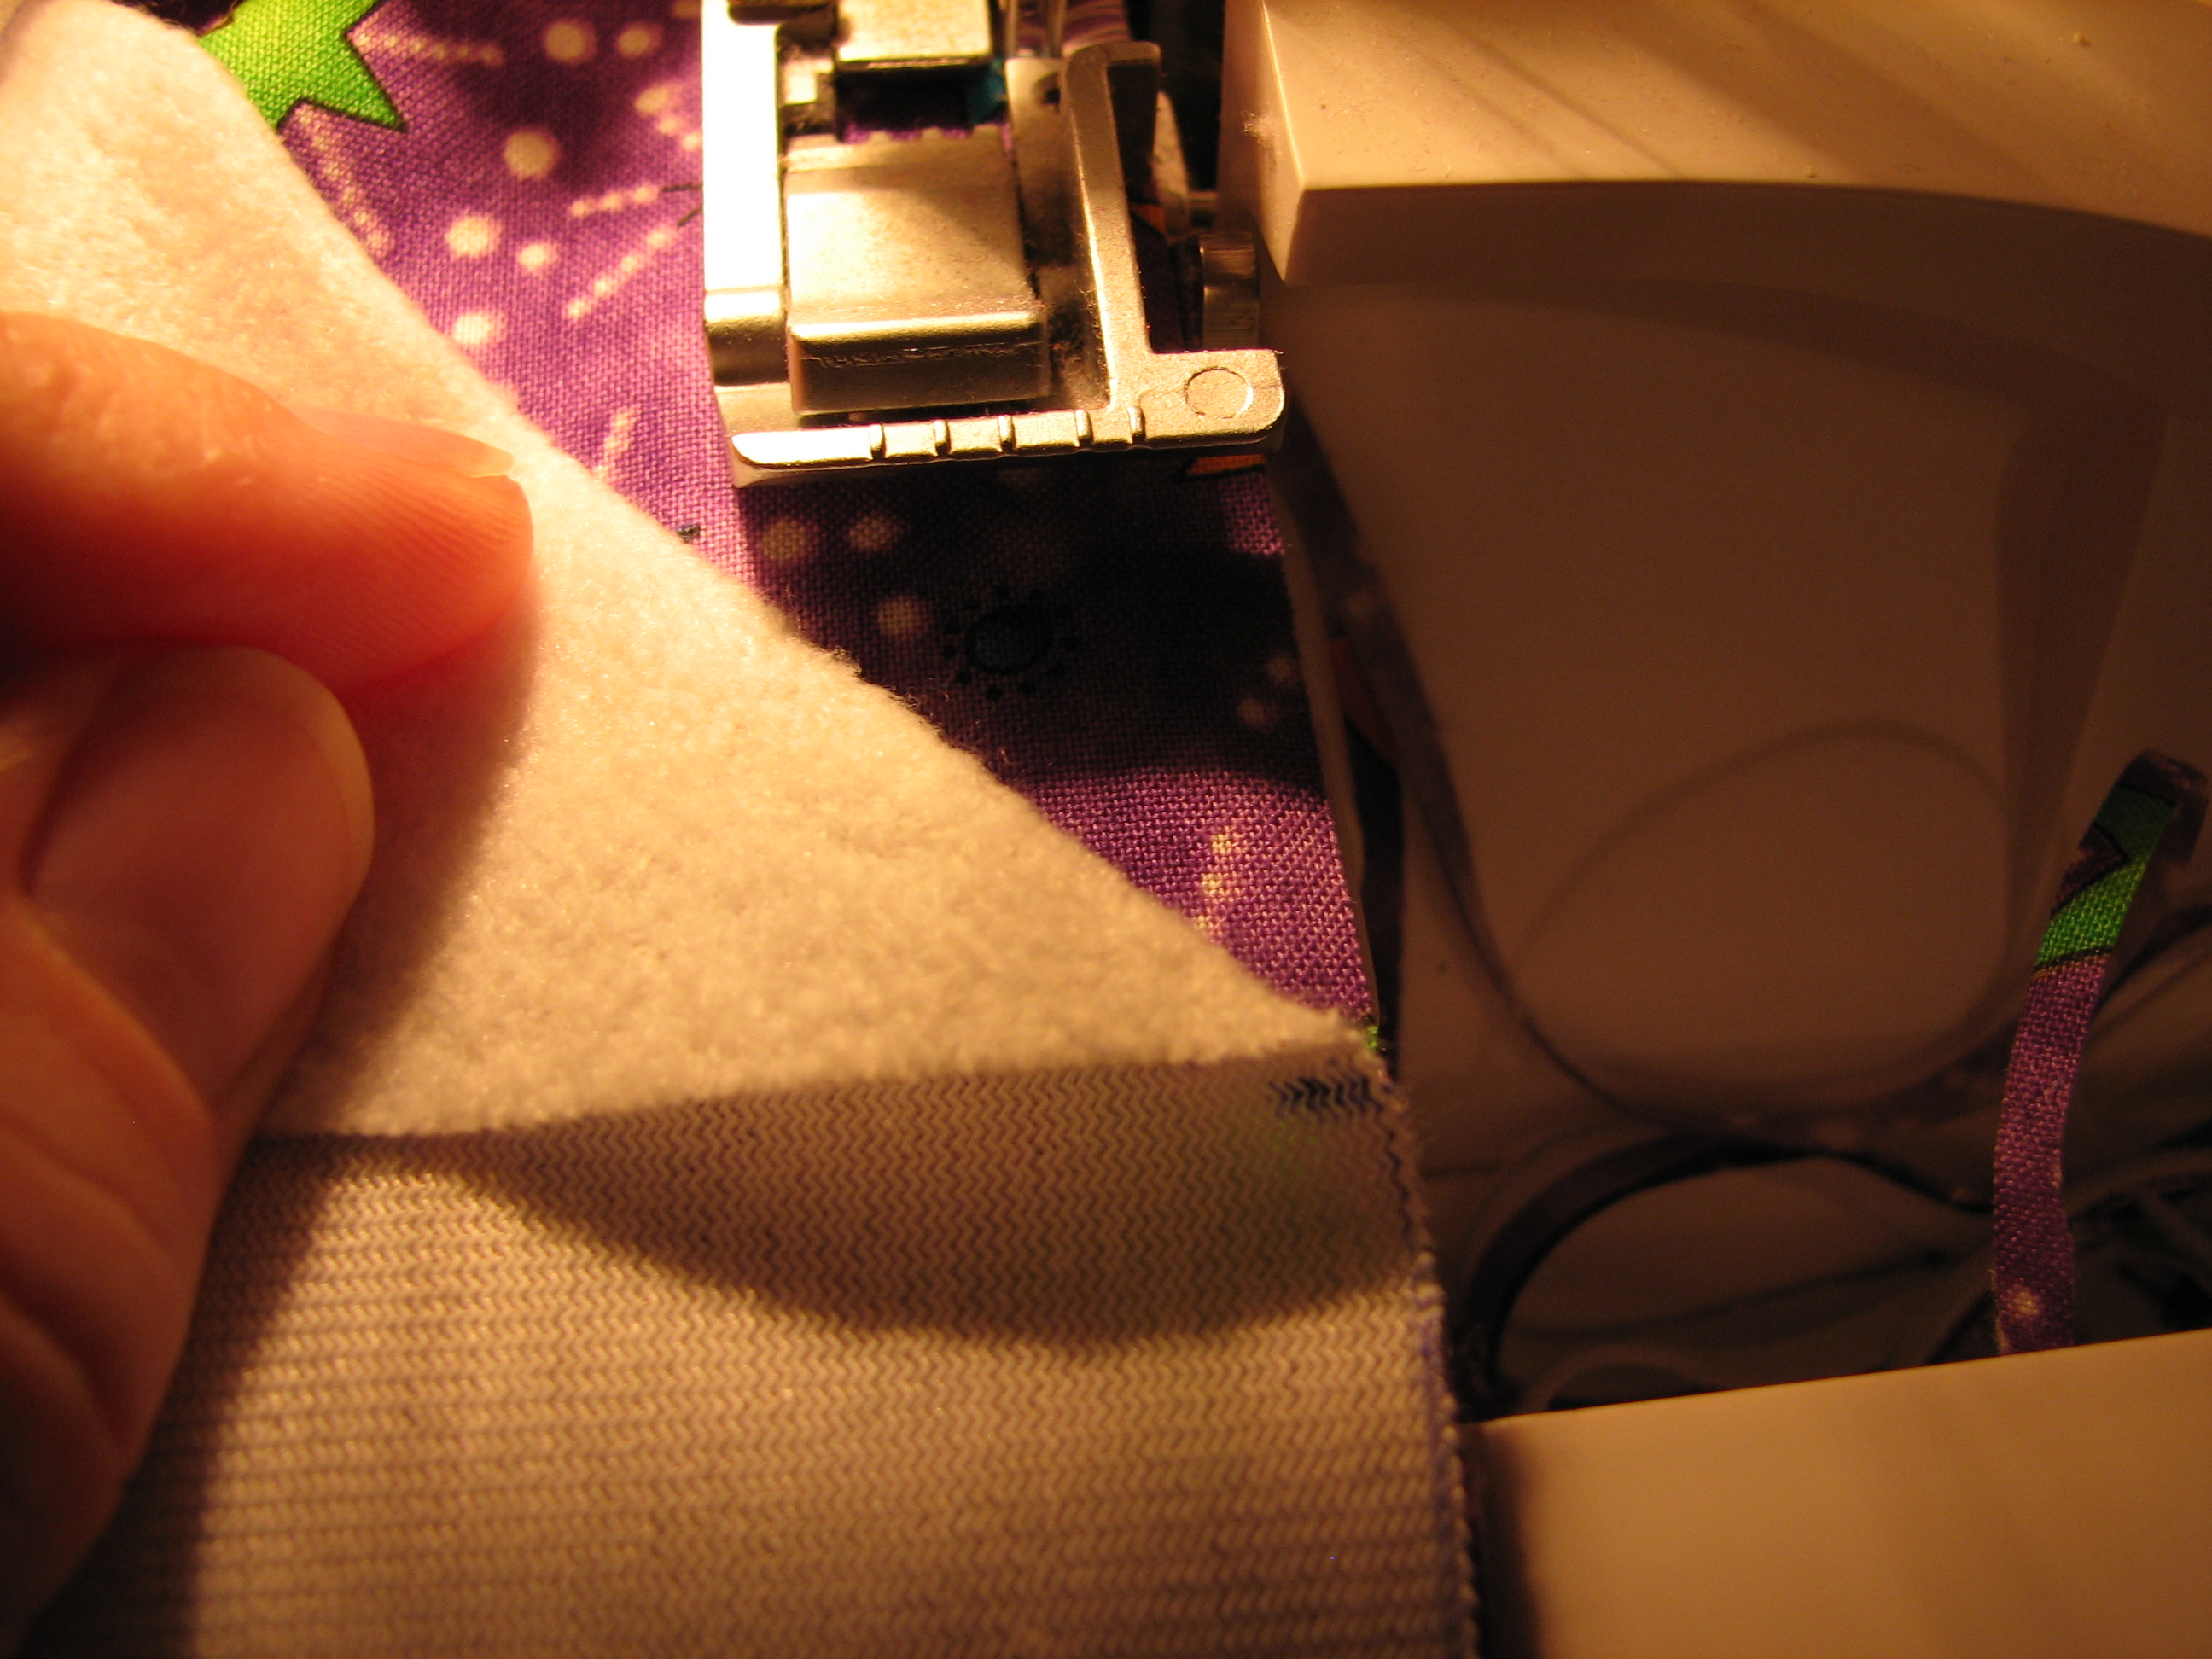
Step 12 Fold the unedged
suede down about 1cm along the length of the opening, and straight stitch it
down. (As suedecloth and fleece don’t
fray, it doesn’t matter that it’s not overlocked, and this step is really
only for neatness. I usually skip this
step with fleece.) Tie off and neaten
loose threads. |
Fold the raw edge of the suede down about 1cm |
Straight stitch it down and tie off loose threads |
|
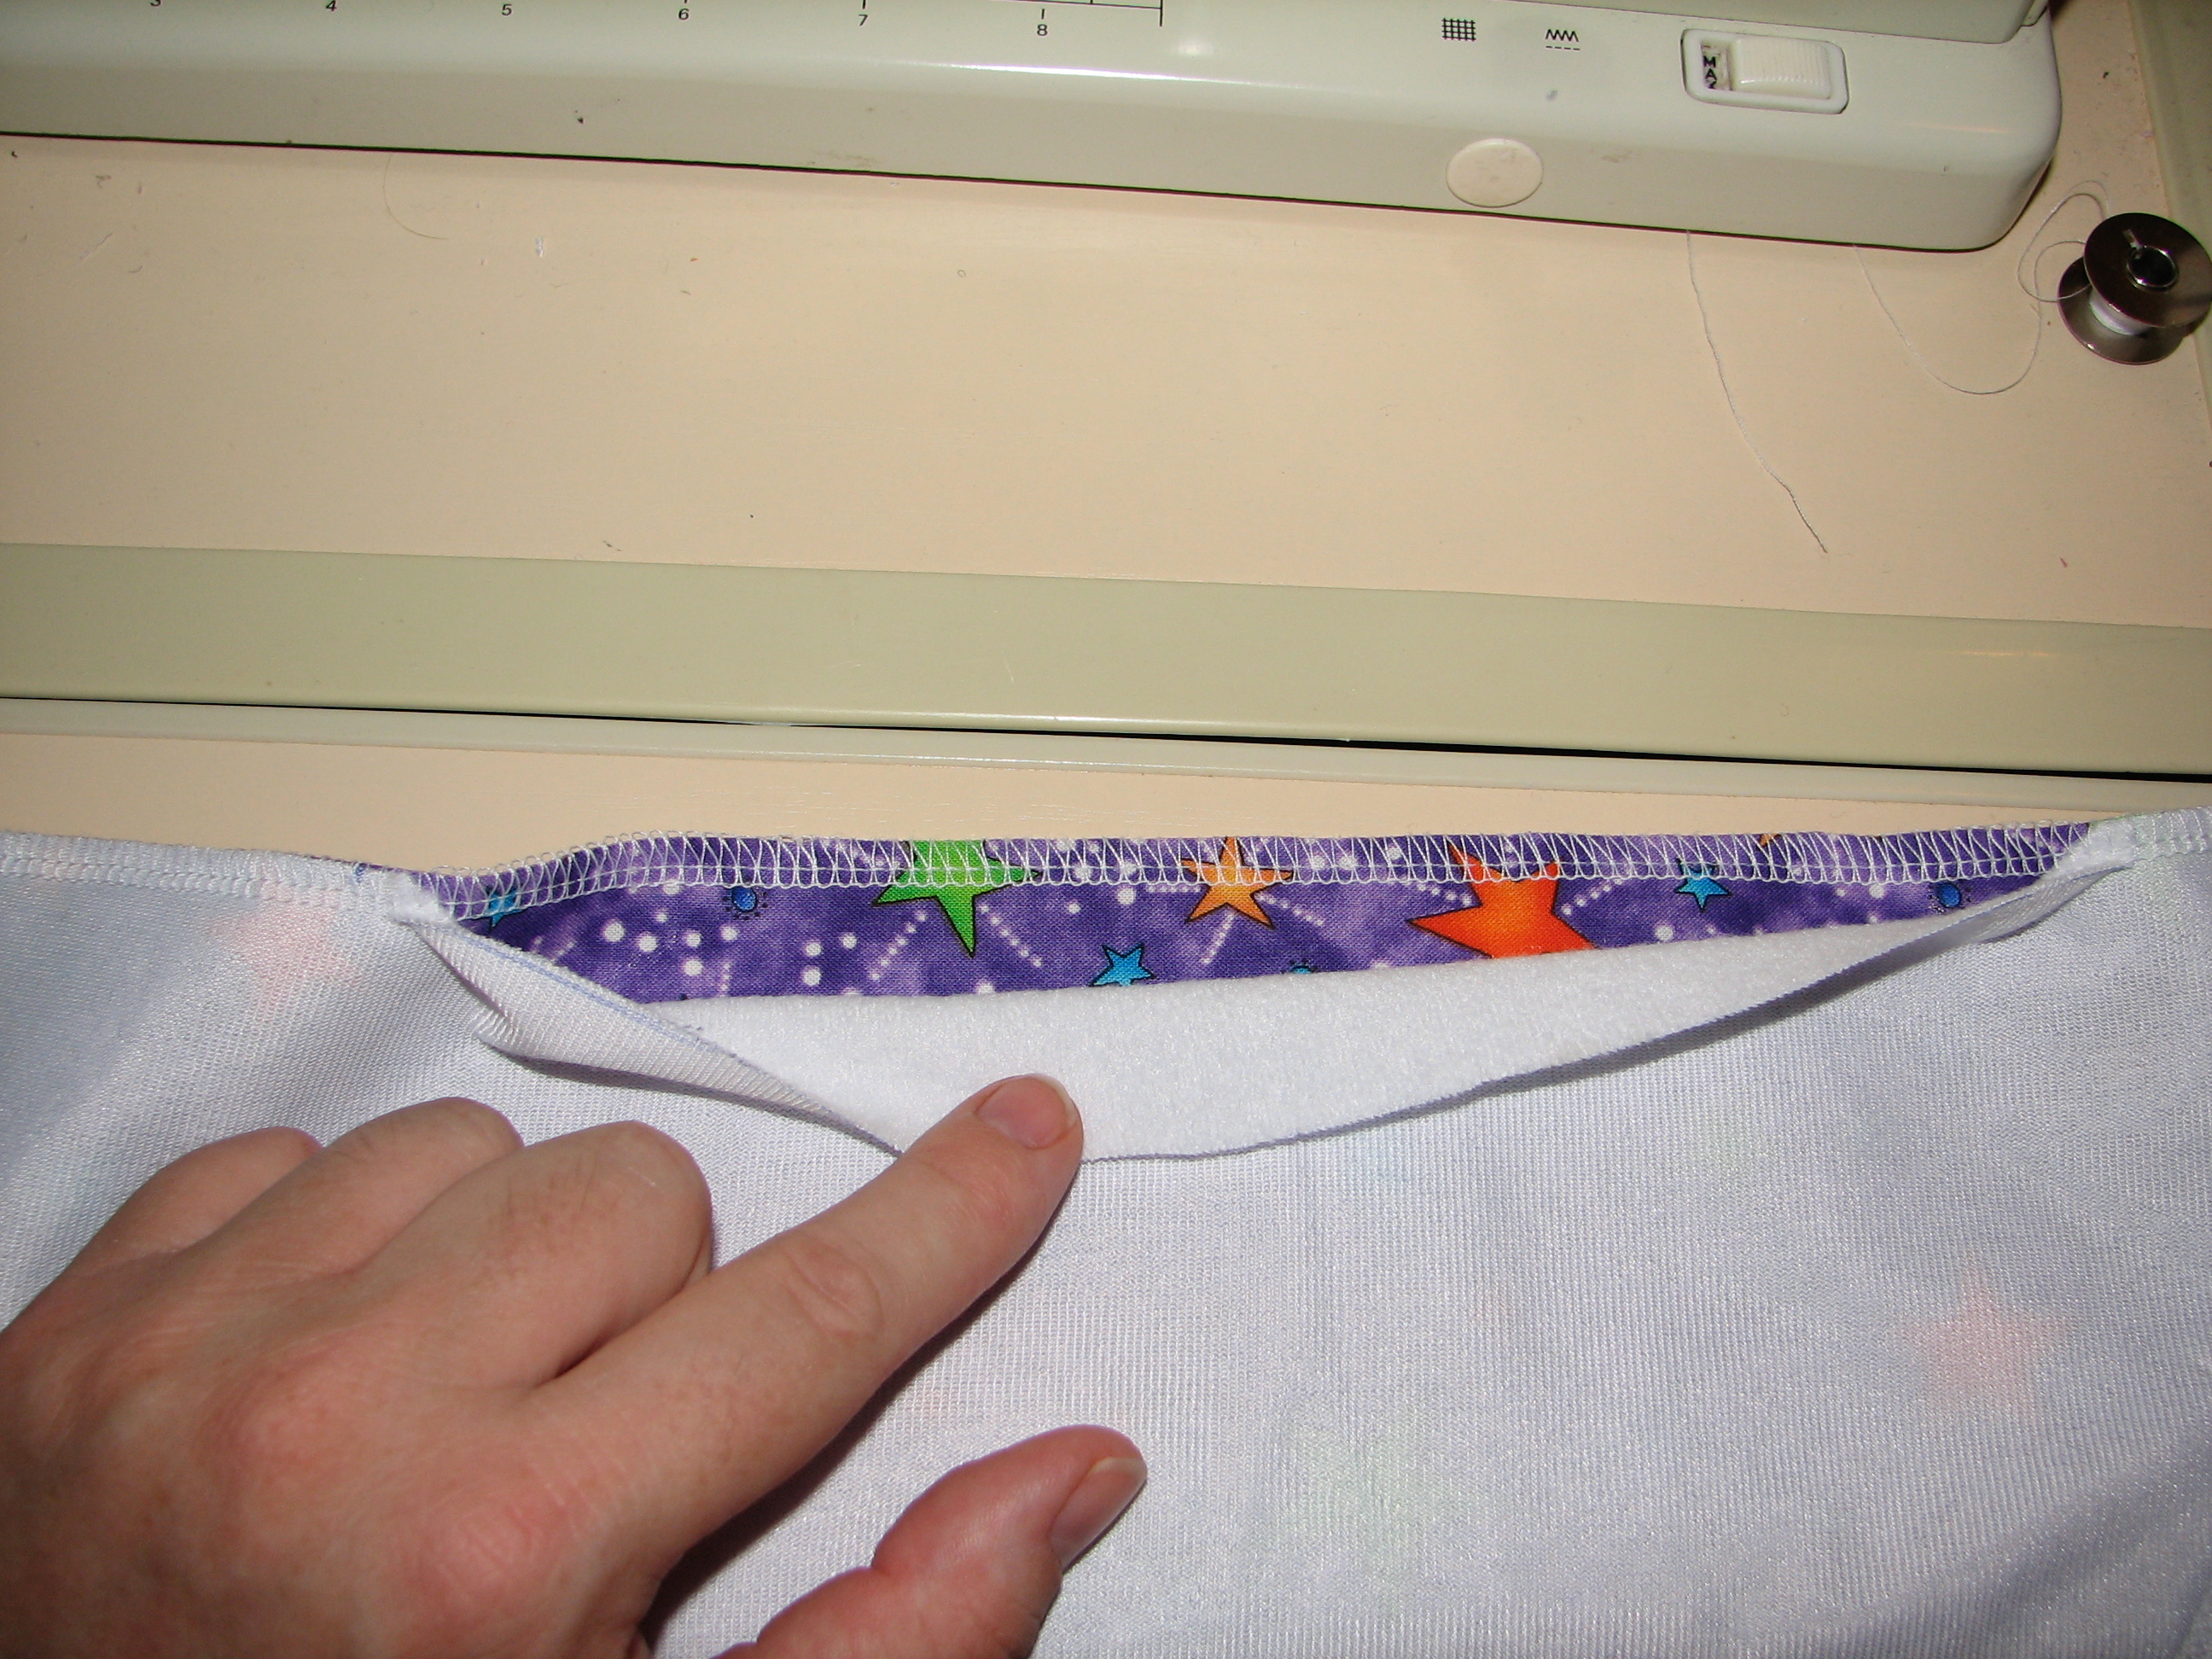
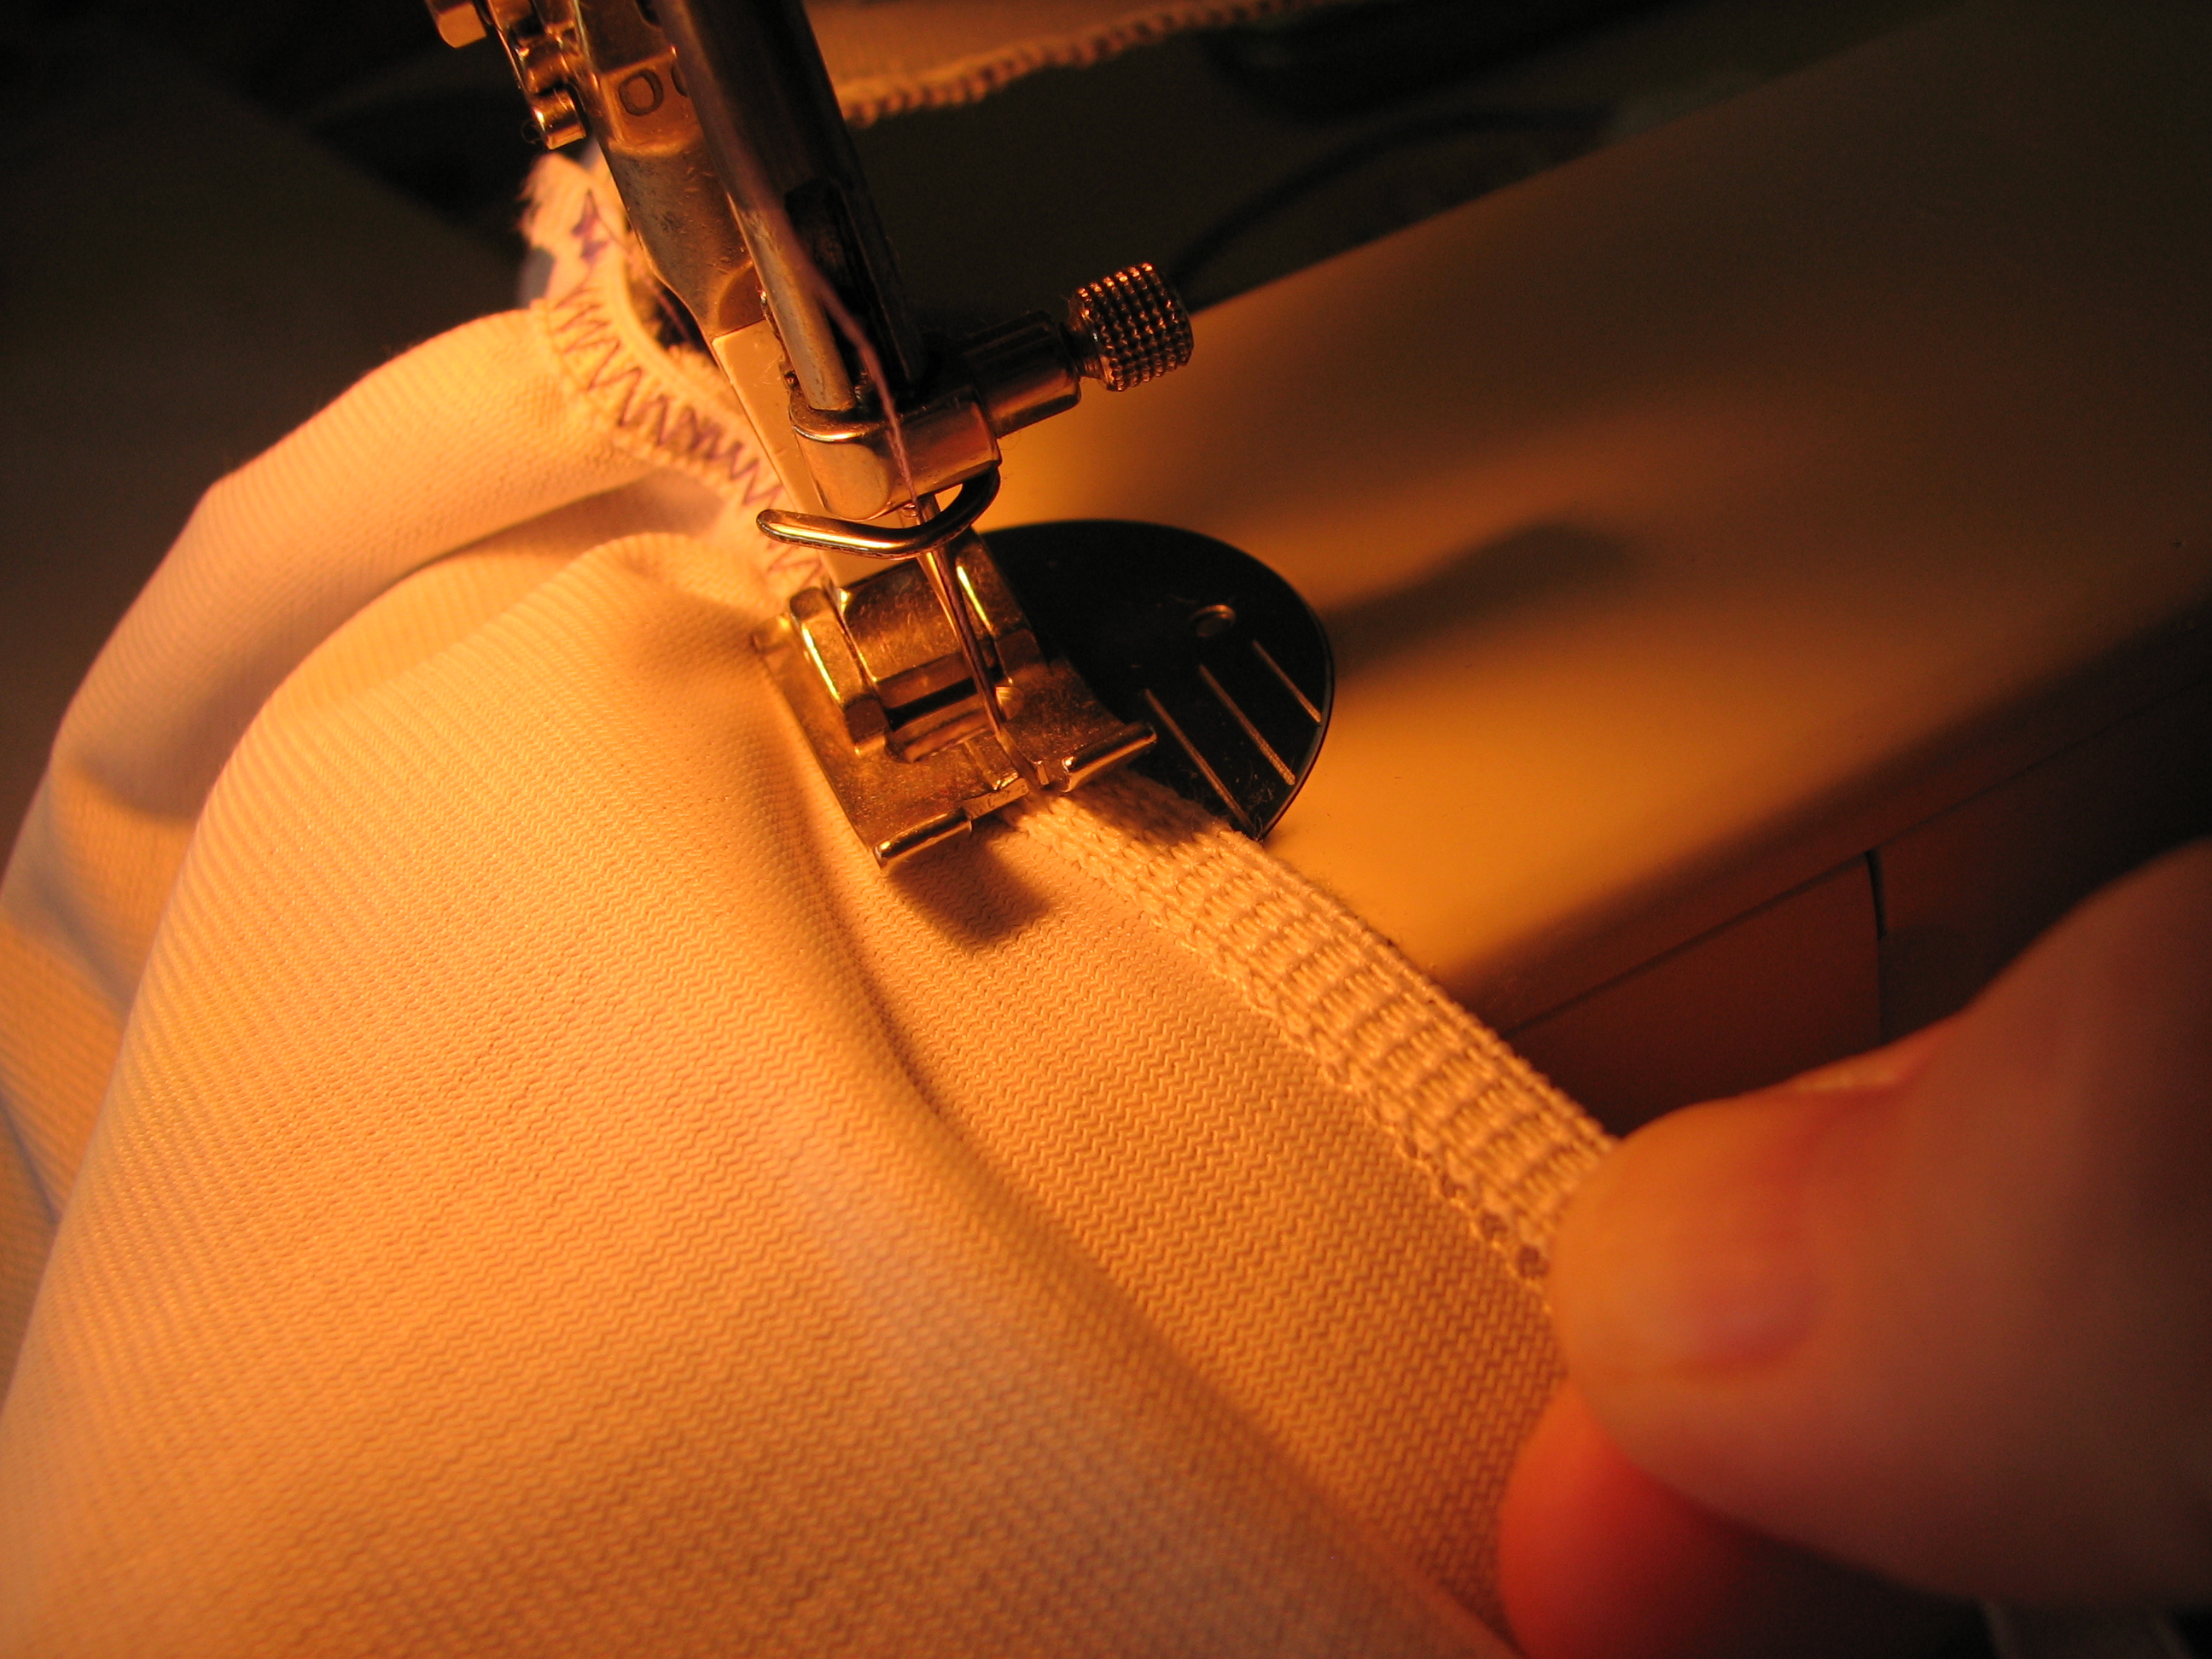
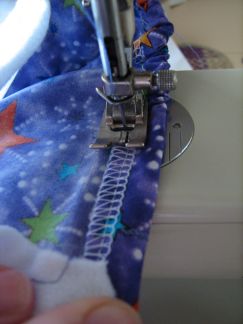
Step 13 To add the leg elastic, anchor the elastic at one end with a few zigzag stitches back and forth, then moderately stretch the elastic as you sew. Sew on the suede/fleece side to encourage it to roll outwards, and use either plain or 3-step zigzag in the seam allowance. Anchor the other end, tie off and trim threads, and repeat on the other side. |
After anchoring the elastic, stretch as you sew in the seam allowance |
Leg elastic finished on both sides |
|
Step 14 Turn nappy right side out. Measure the pocket opening length – it should be approx 21 cm long. Cut a piece of elastic 2/3 of this length, so approx 14 cm. |
||
|
Step 15 Open up the pocket, and secure the elastic at one end, on the laminate side of the PUL layer, just underneath the overlock stitching. Pull the threads through to the laminate side, tie off and trim. Stitch the other elastic end to the other side of the pocket opening, taking care not to twist the elastic. |
Secure the elastic end at one side of the pocket opening just underneath the overlocking stitching on the laminate side |
Both ends secured, taking care not to twist the elastic |
|
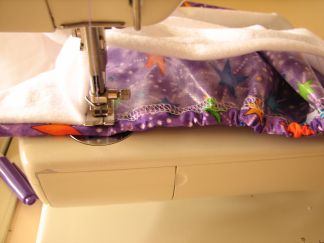
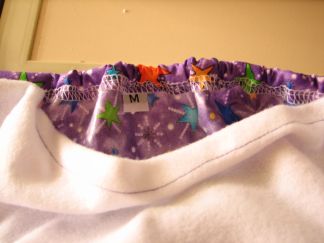
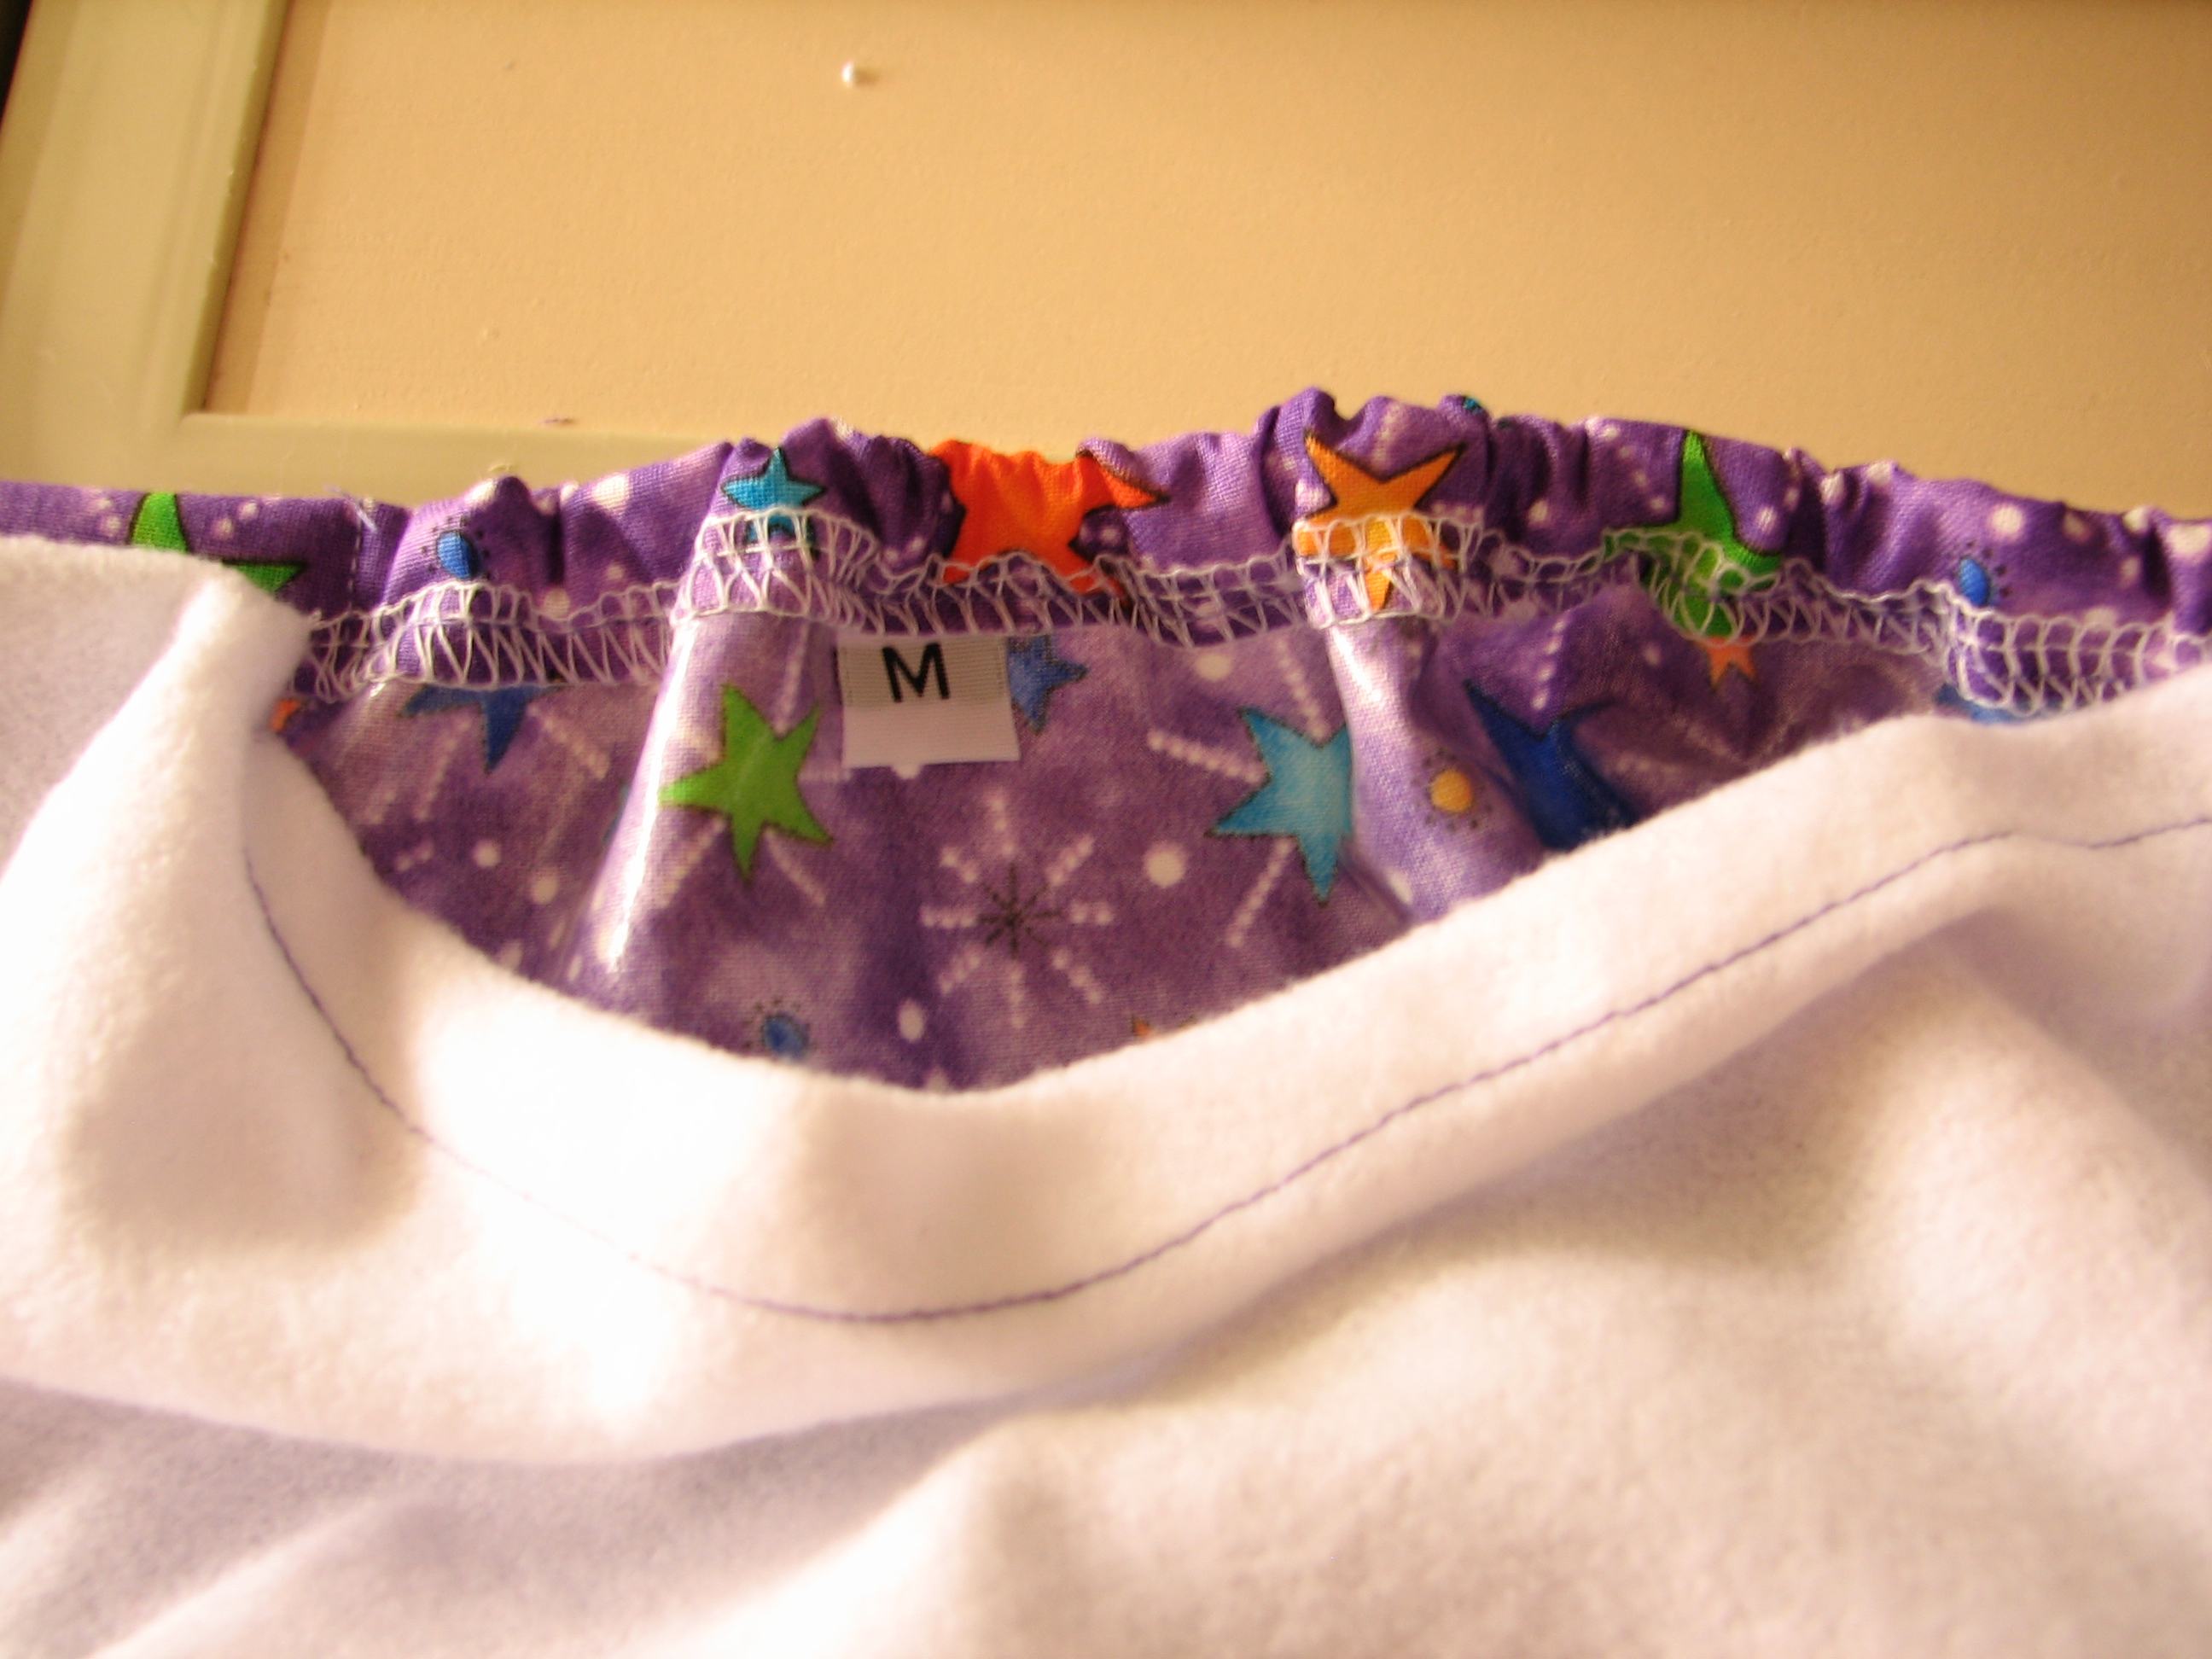
Step 16 To encase the elastic and add the size label, fold the PUL over the elastic so it is covered (one edge of the elastic will line up against the base of the overlock stitches. With a straight stitch, sew from the upper edge down to the middle of the overlock stitching (it doesn’t matter if you sew over the edge of the elastic here). With the needle down, turn the nappy 90° and stitch to the other end, taking care not to catch the elastic. At some point, insert the size label if you want to put one in. As you get close to the end you’ll have to pull the elastic to the front of the presser foot (the material will gather behind the foot), so that you can sew the material in front flat. At the other end, turn the material 90° again and sew to the upper edge. Tie off and neaten loose threads. |
Sew from the upper edge down to the middle of the overlocked stitches. Turn the nappy 90 degrees clockwise and sew straight down the middle of the overlocking. |
Pull the elastic to the
front of the presser foot so the elastic in front lies slack |
|
At the other end, turn the nappy 90 degrees clockwise again and sew to the upper edge |
Finished pocket opening |
|
|
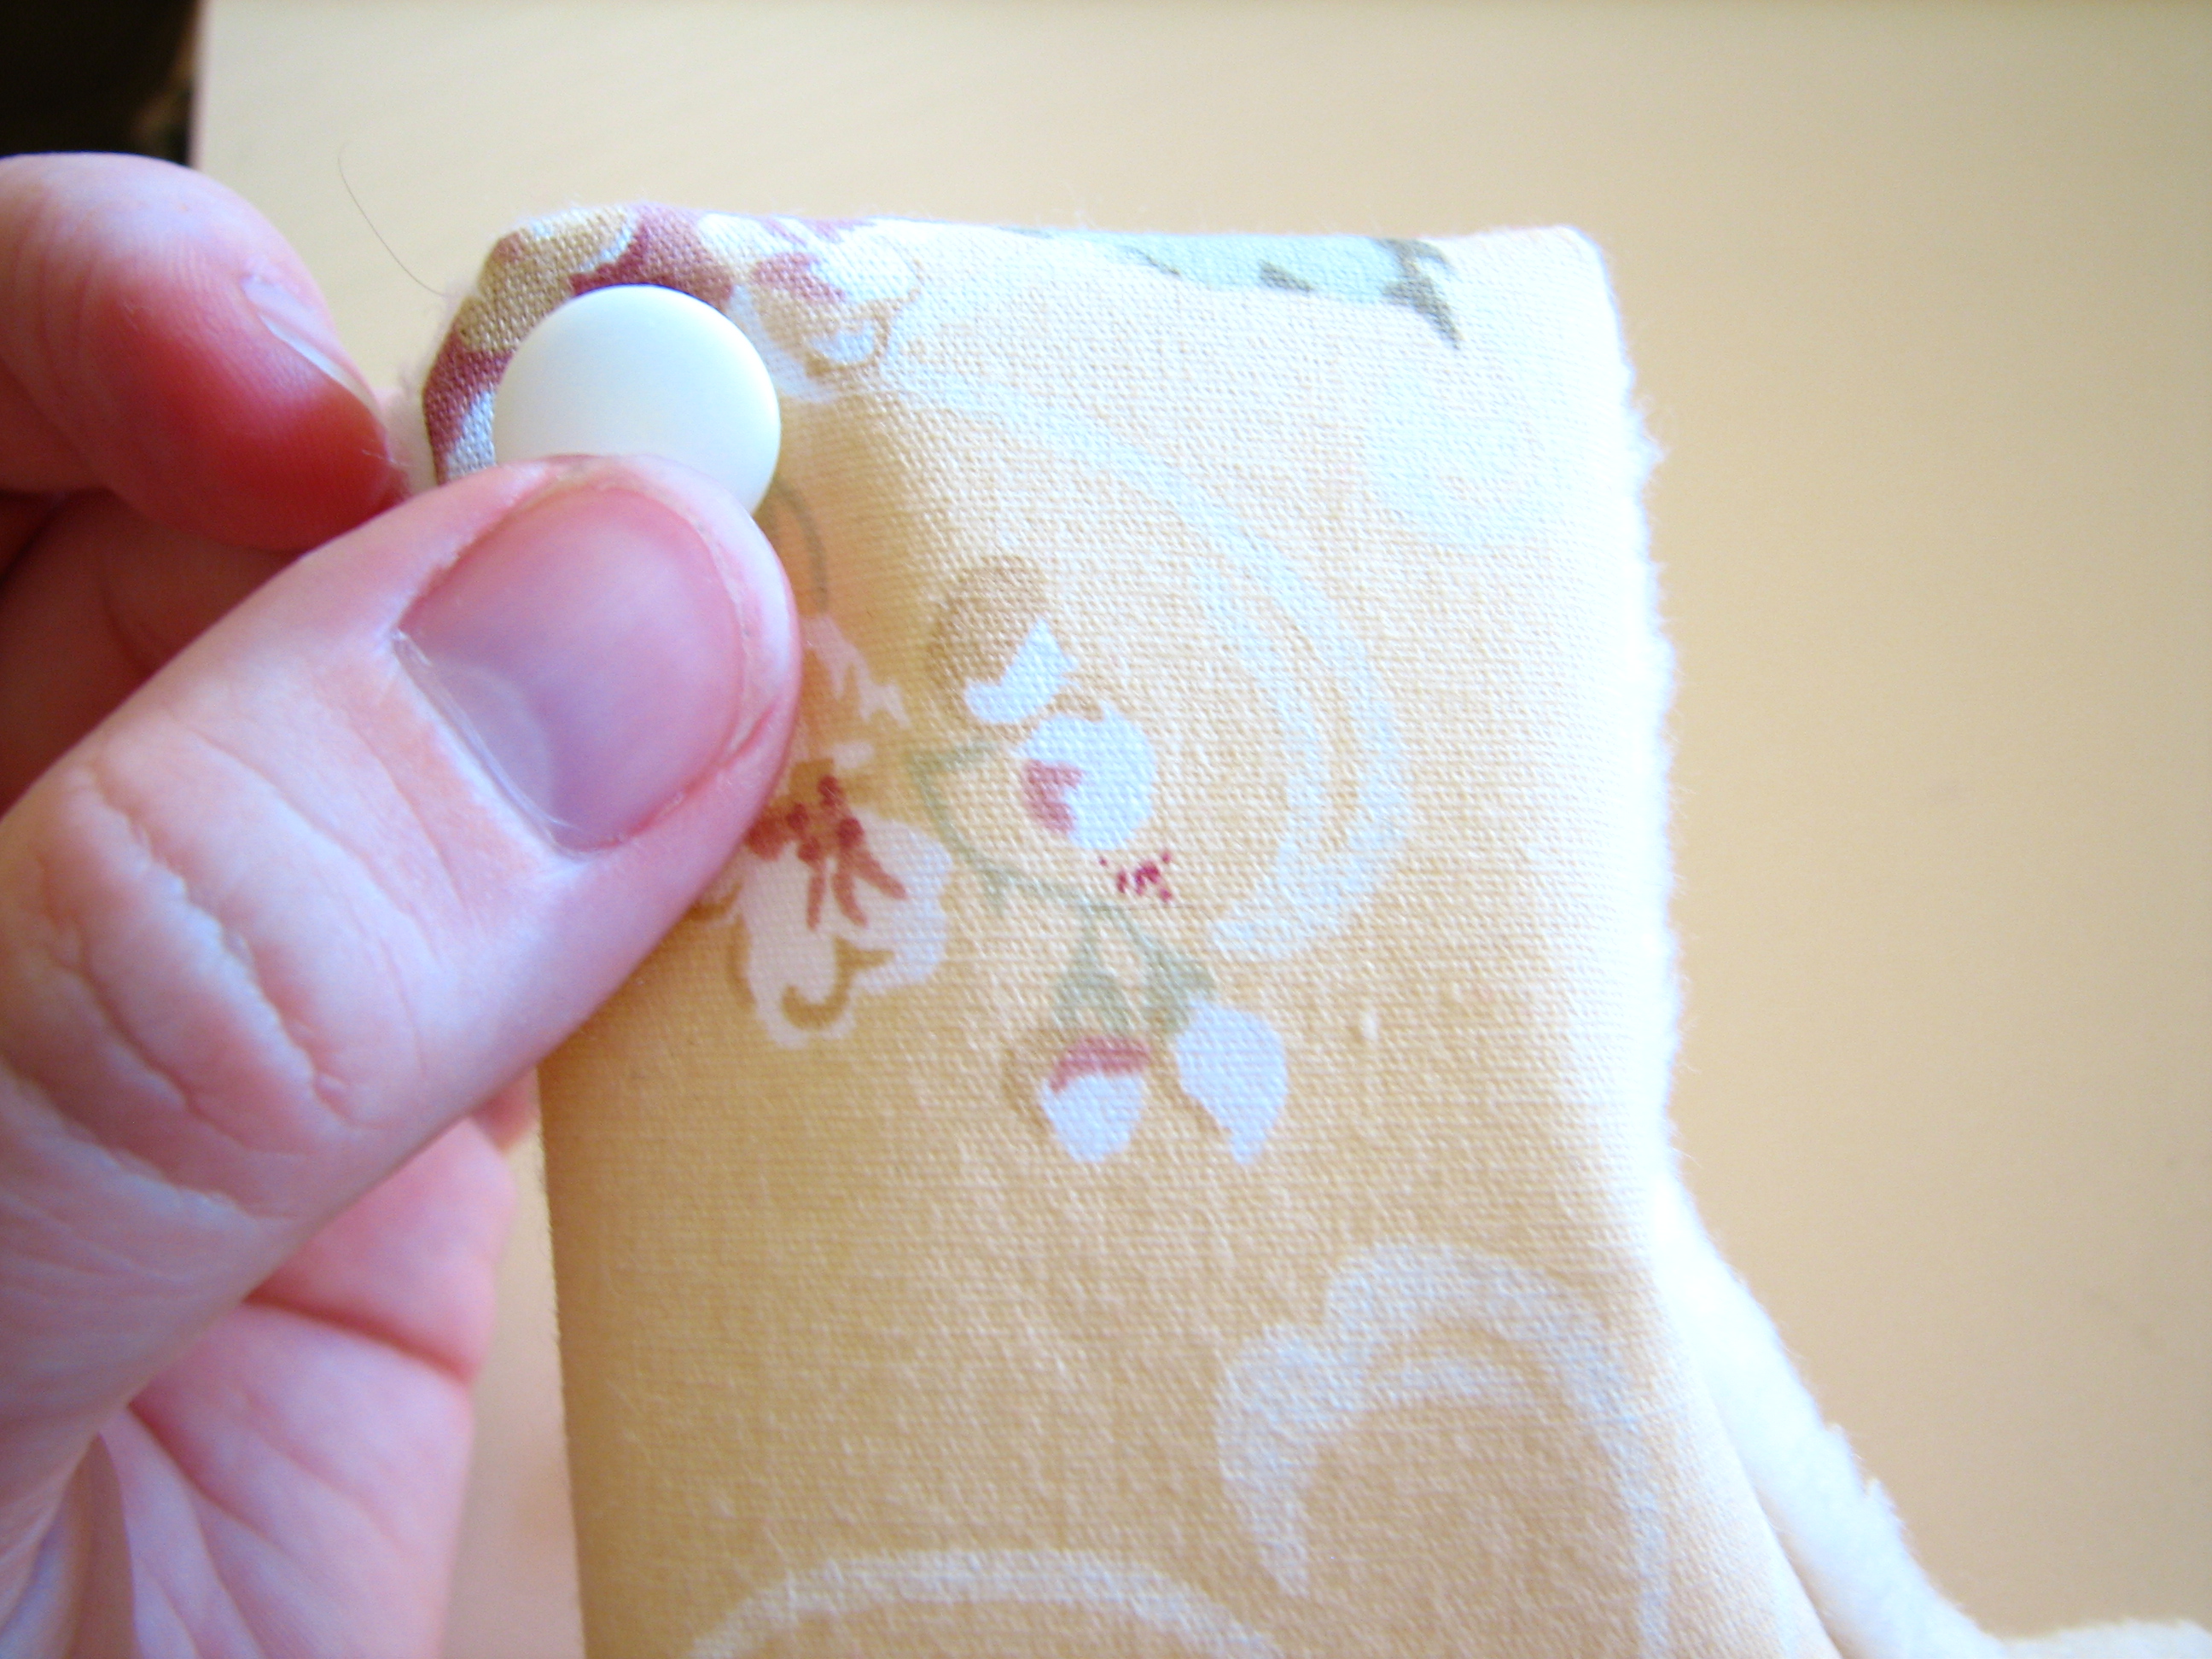
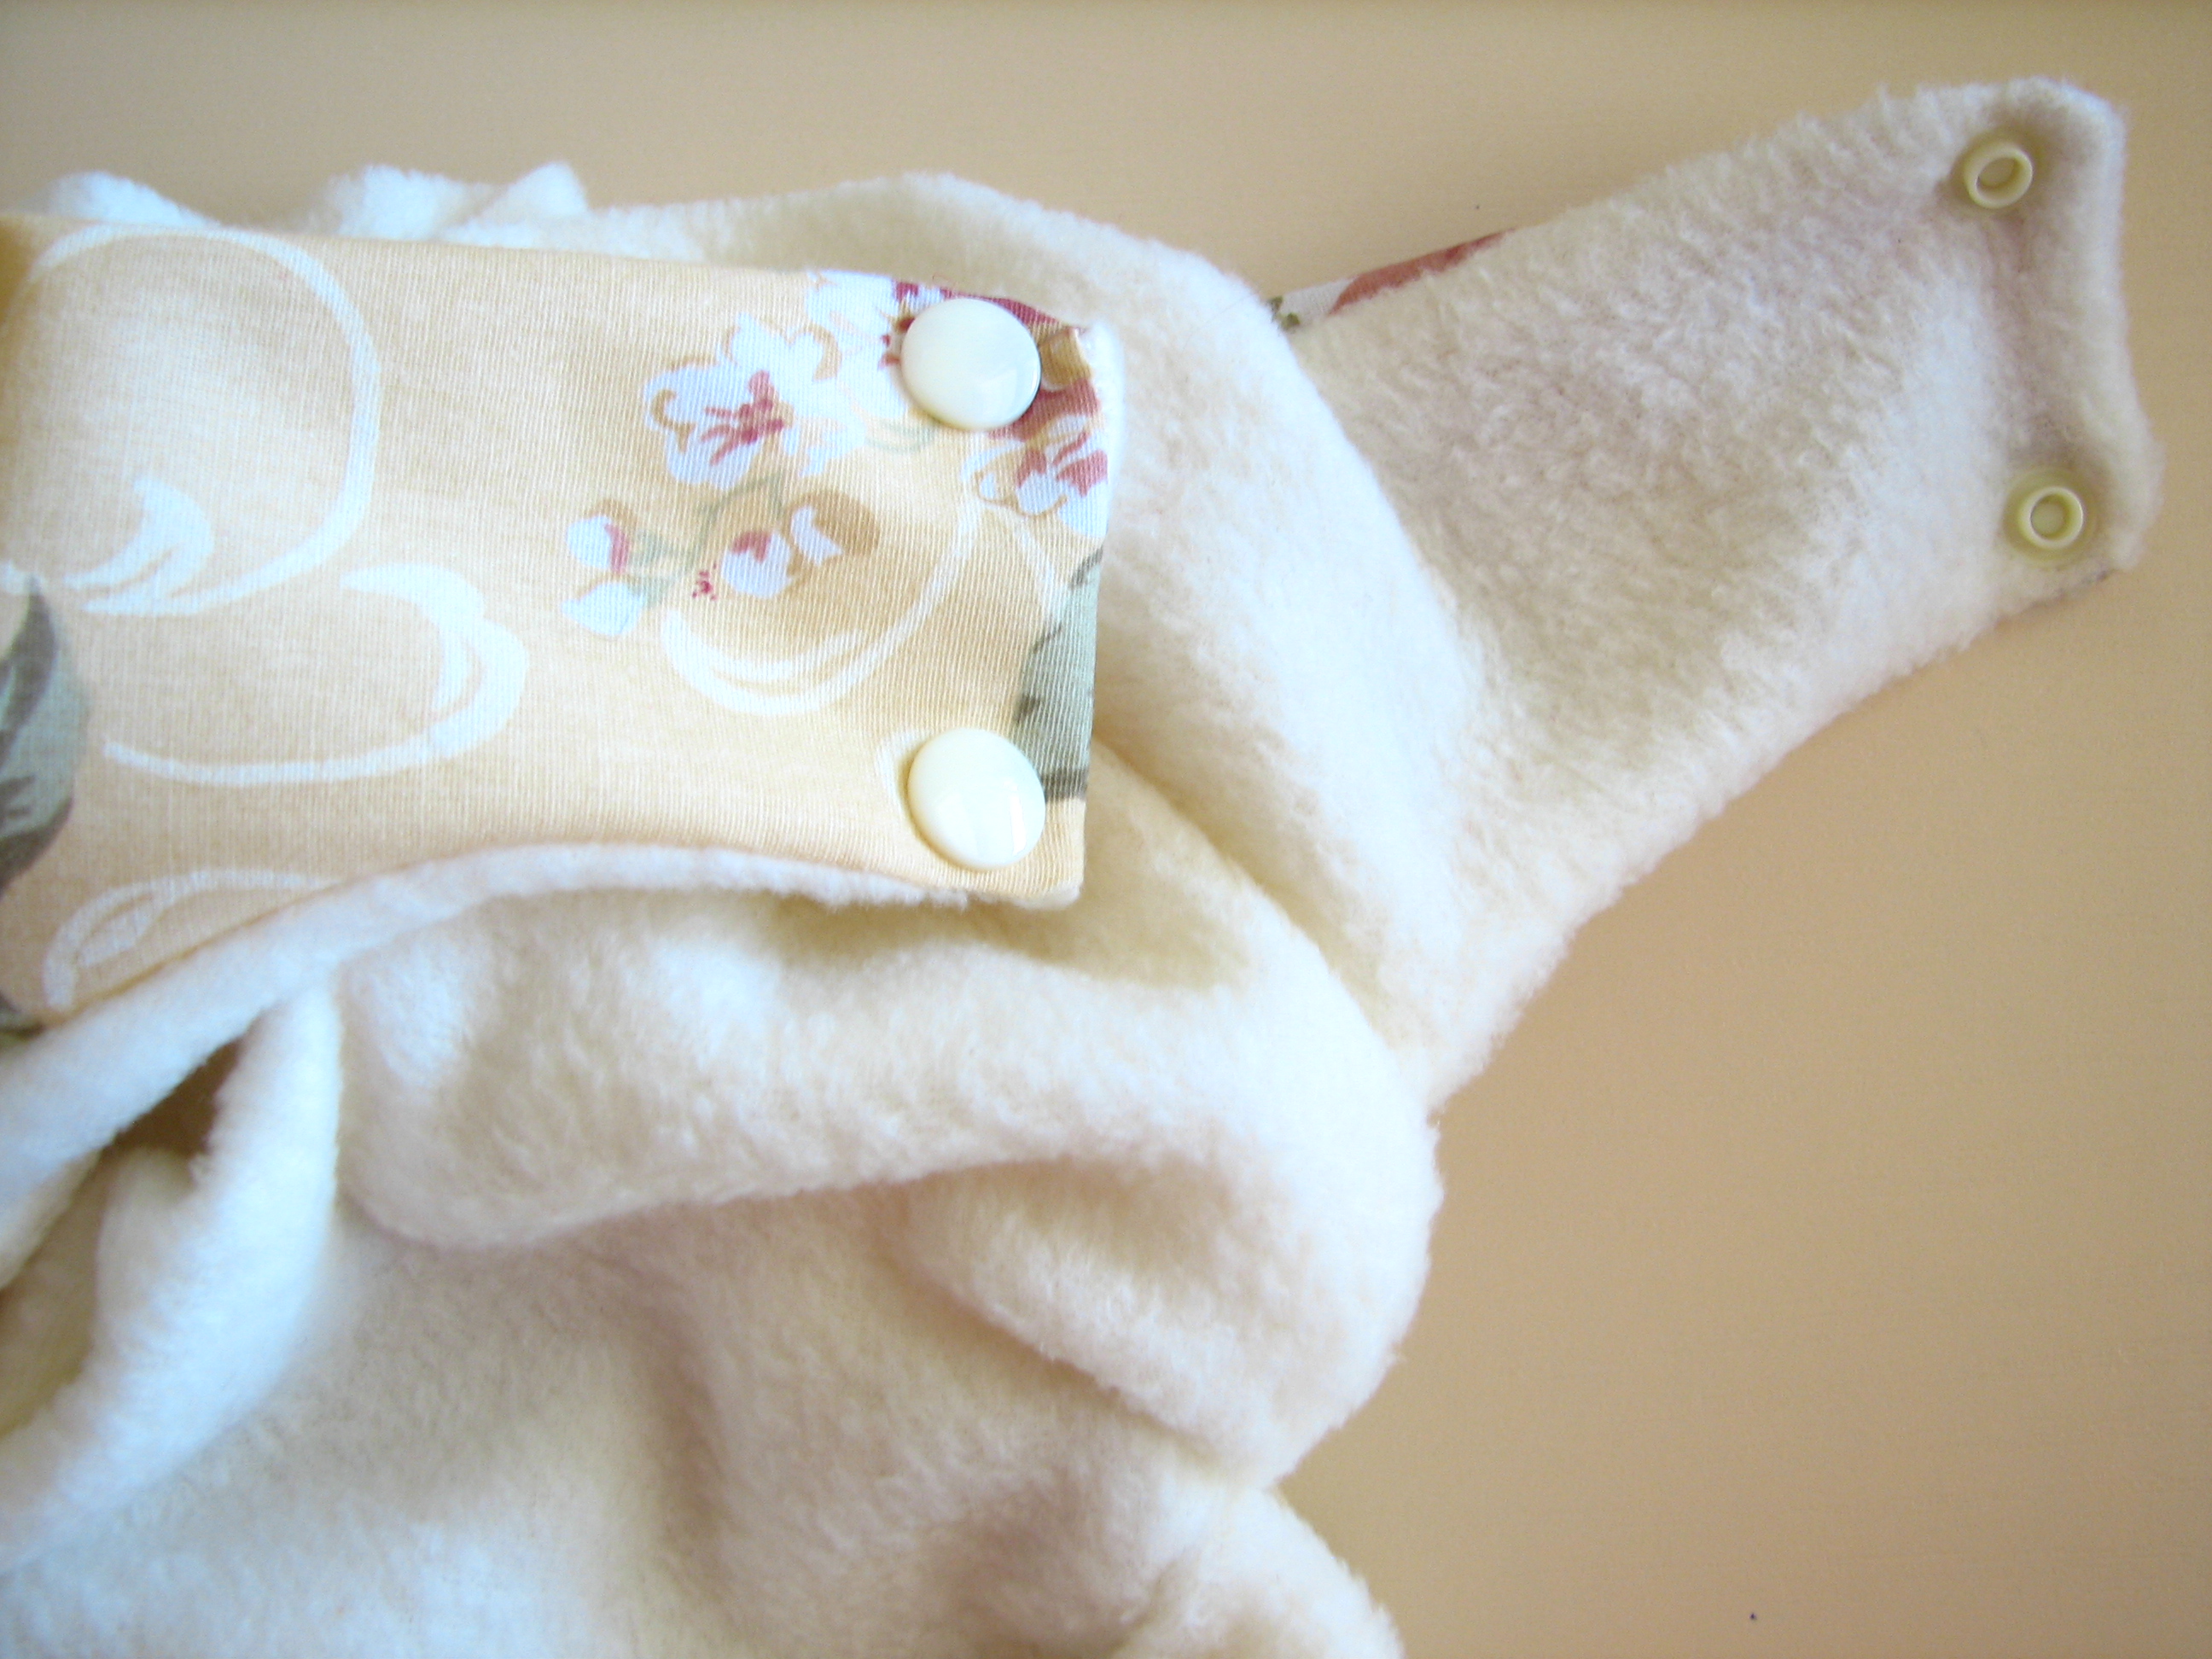
Step 17 Now you need to add the studs to the wings. Place the stud piece in the snap press die. Position a cap piece in one corner of the wing on the PUL material side, and place in the snap press. Pull the press lever down very firmly to secure the stud in the material. The cap is what you will see on the outside of the nappy, the stud will be on the suede/fleece side. |
Position the cap in the corner of the wing on the PUL material side |
Keeping fingers clear, press the lever down to secure the stud |
|
|
The finished front and inside view of the wing |
|
|
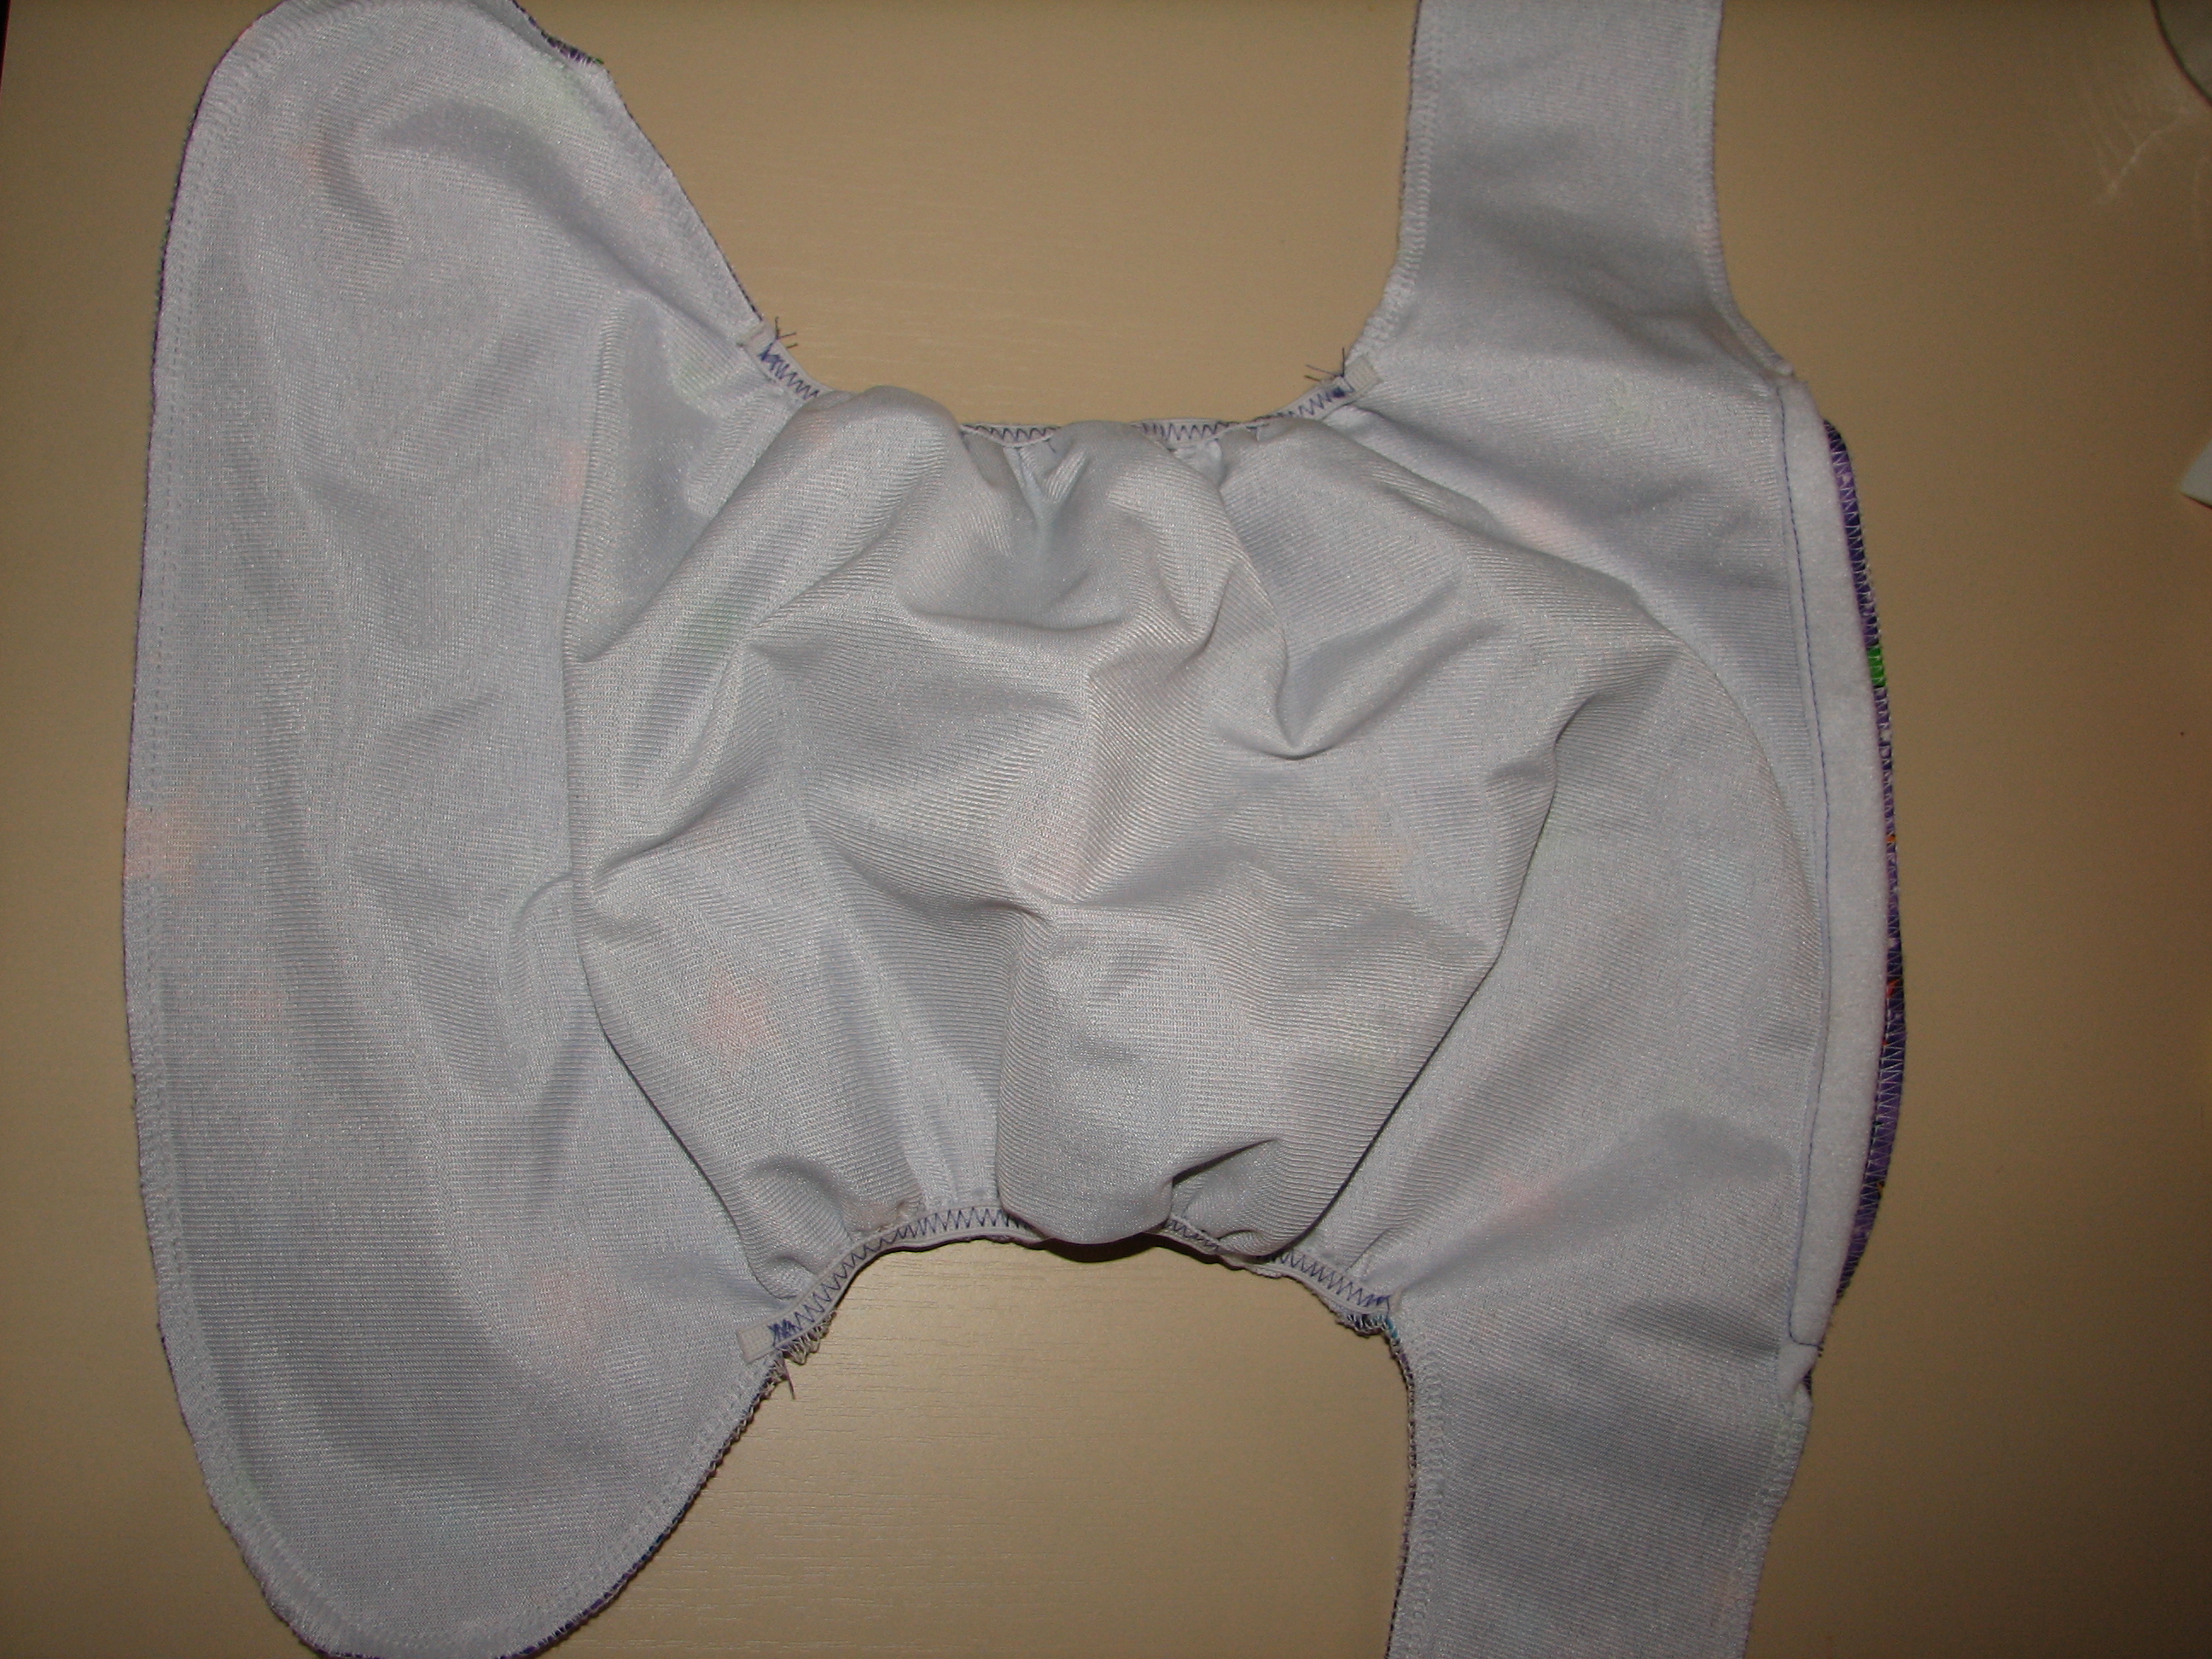
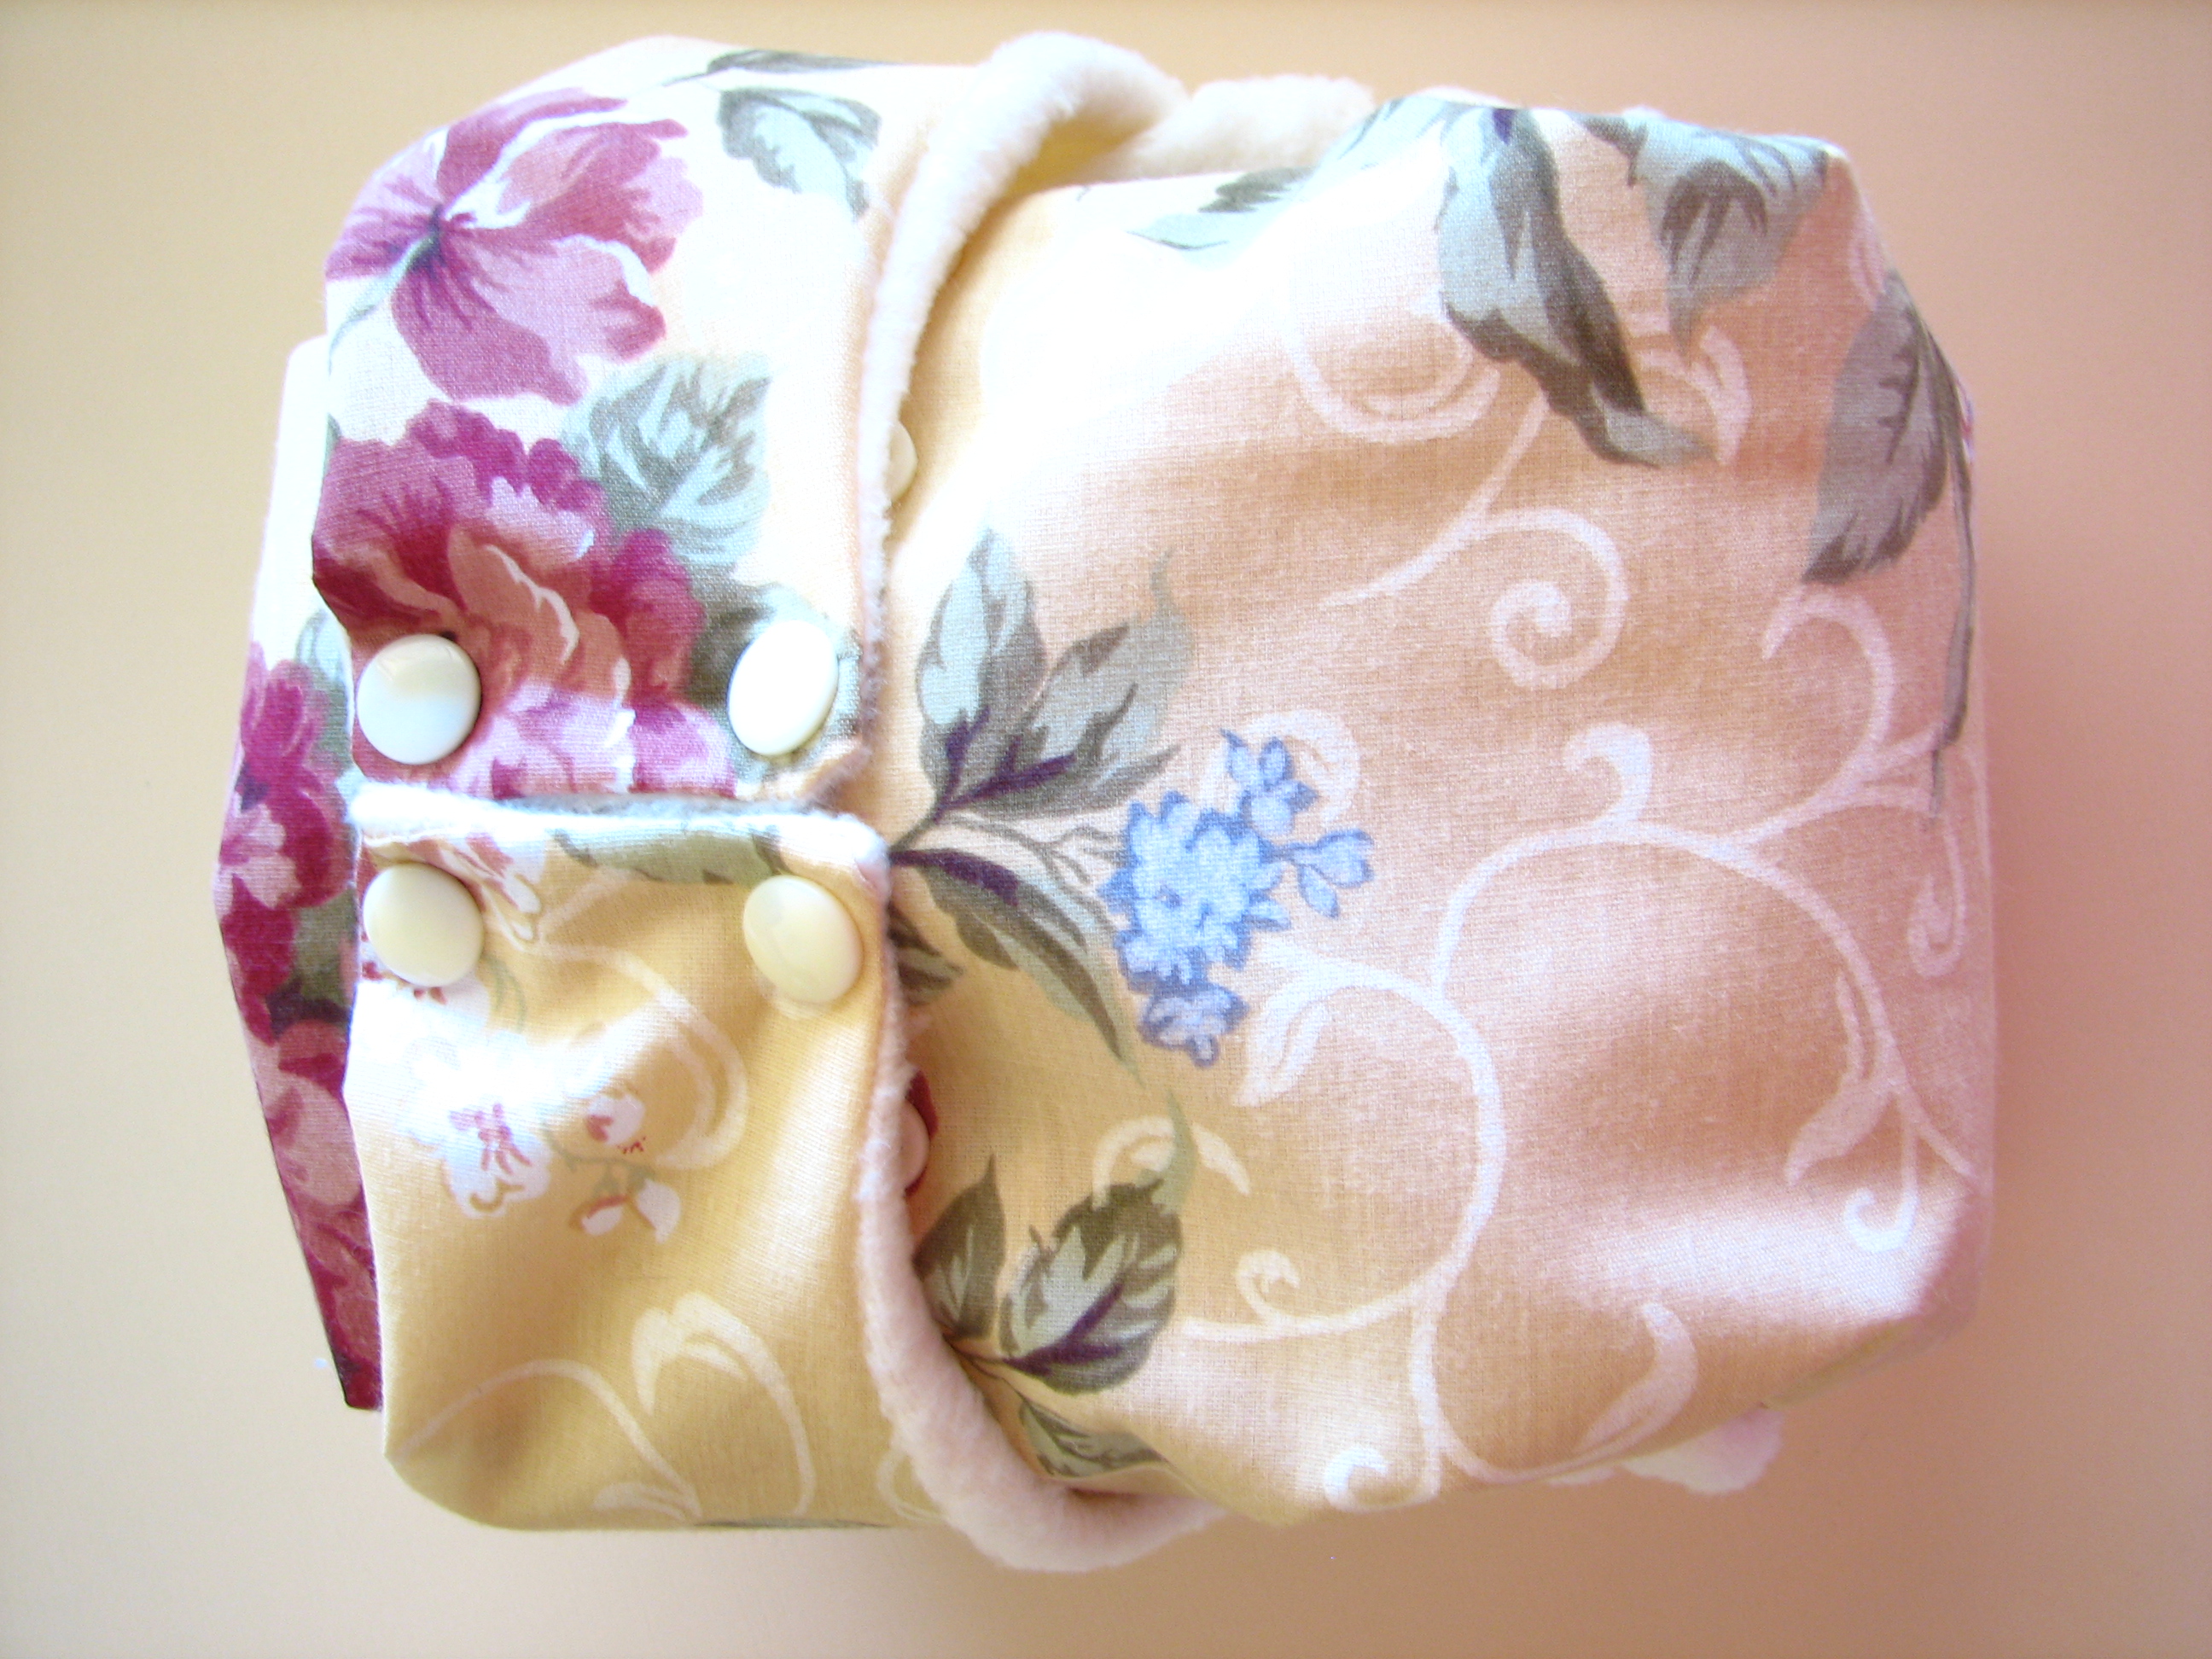
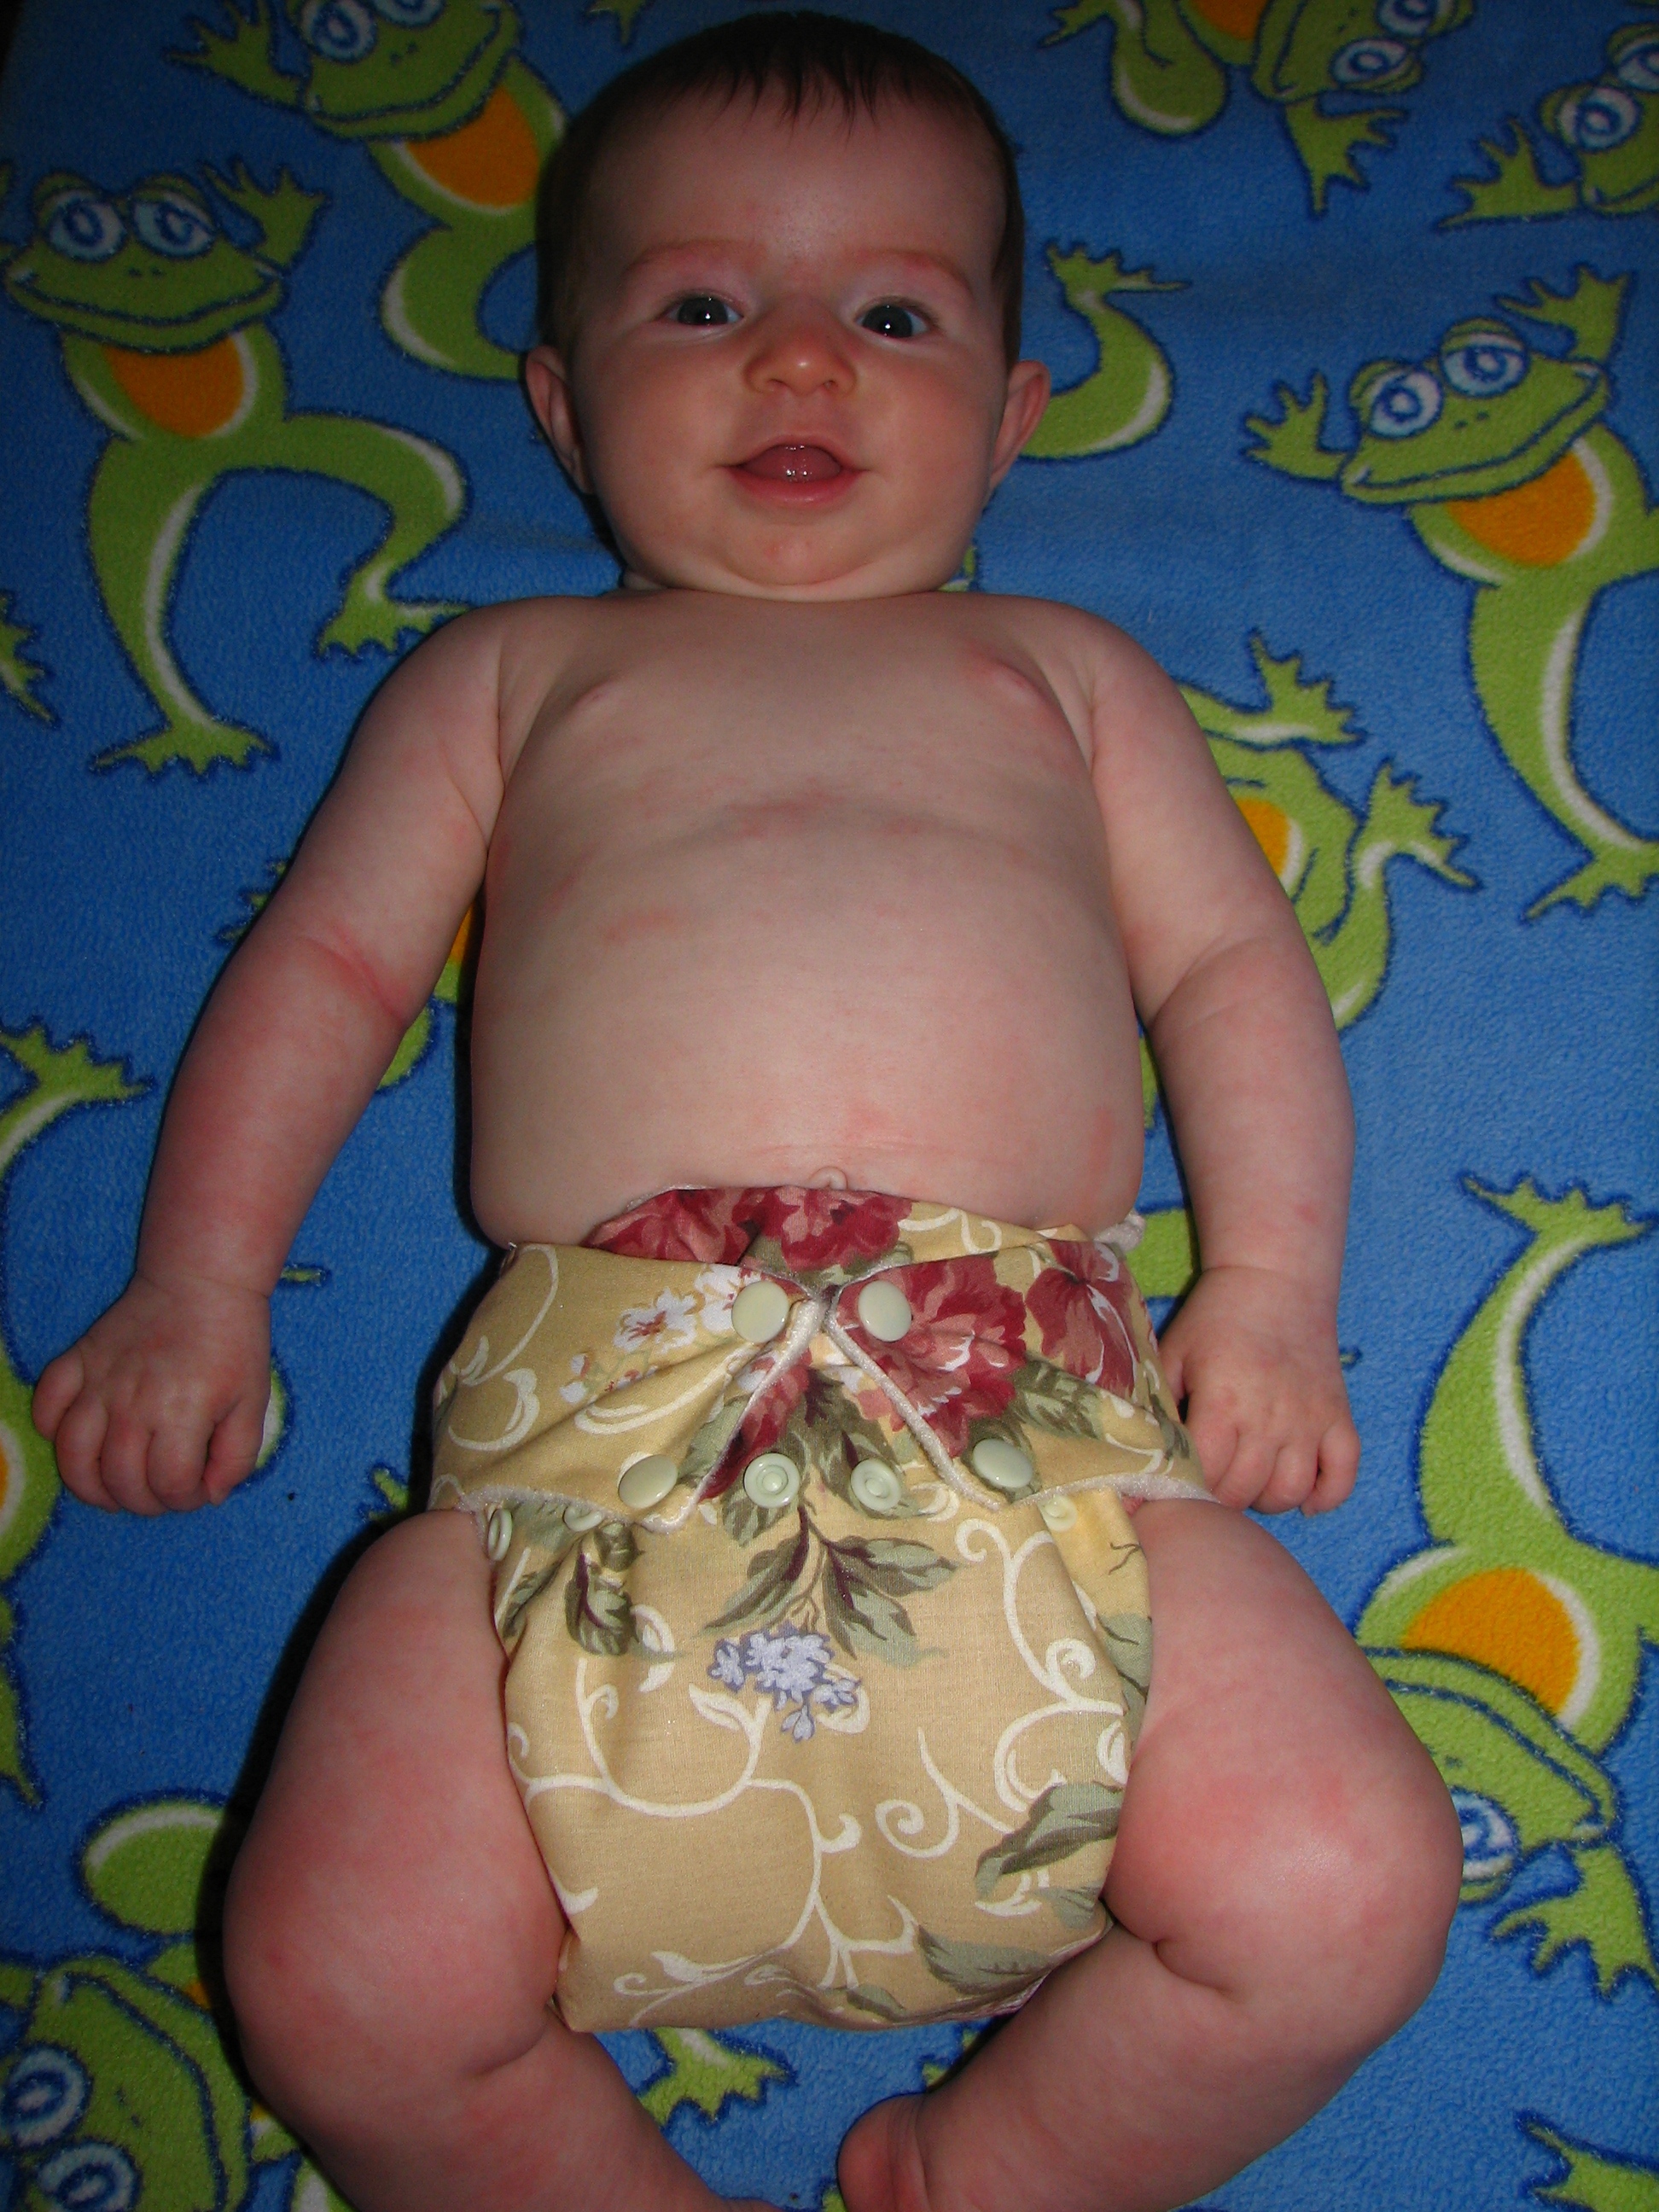
Step 14 Stuff nappy with a booster(s), put on bub, and wait for the nappy’s christening! Well done! |
||
|
|
||


